I went to the store to purchase some new heirloom varieties for transplanting into the new big garden my uncle tilled for me. They are supposed to be purple and there are some that are interesting shapes and sizes. I also planted some of the Organic “Big Boy” Tomato seeds I bought a few years back into a covered pallet. They grew huge! They overflowed out of the container and all I used was normal potting soil and kept it moist.
Anyways – all of these plants needed transplanting with some fertilizer onto the newly fenced area I had made for them. I thought I should inform you of how I did it because now they are growing lots of tomatoes 3 weeks later!
Here is how I transplanted my tomatoes this year and I will keep adding pictures through out the season so we can all see the progress of their growing! Planted April 6, 2014.
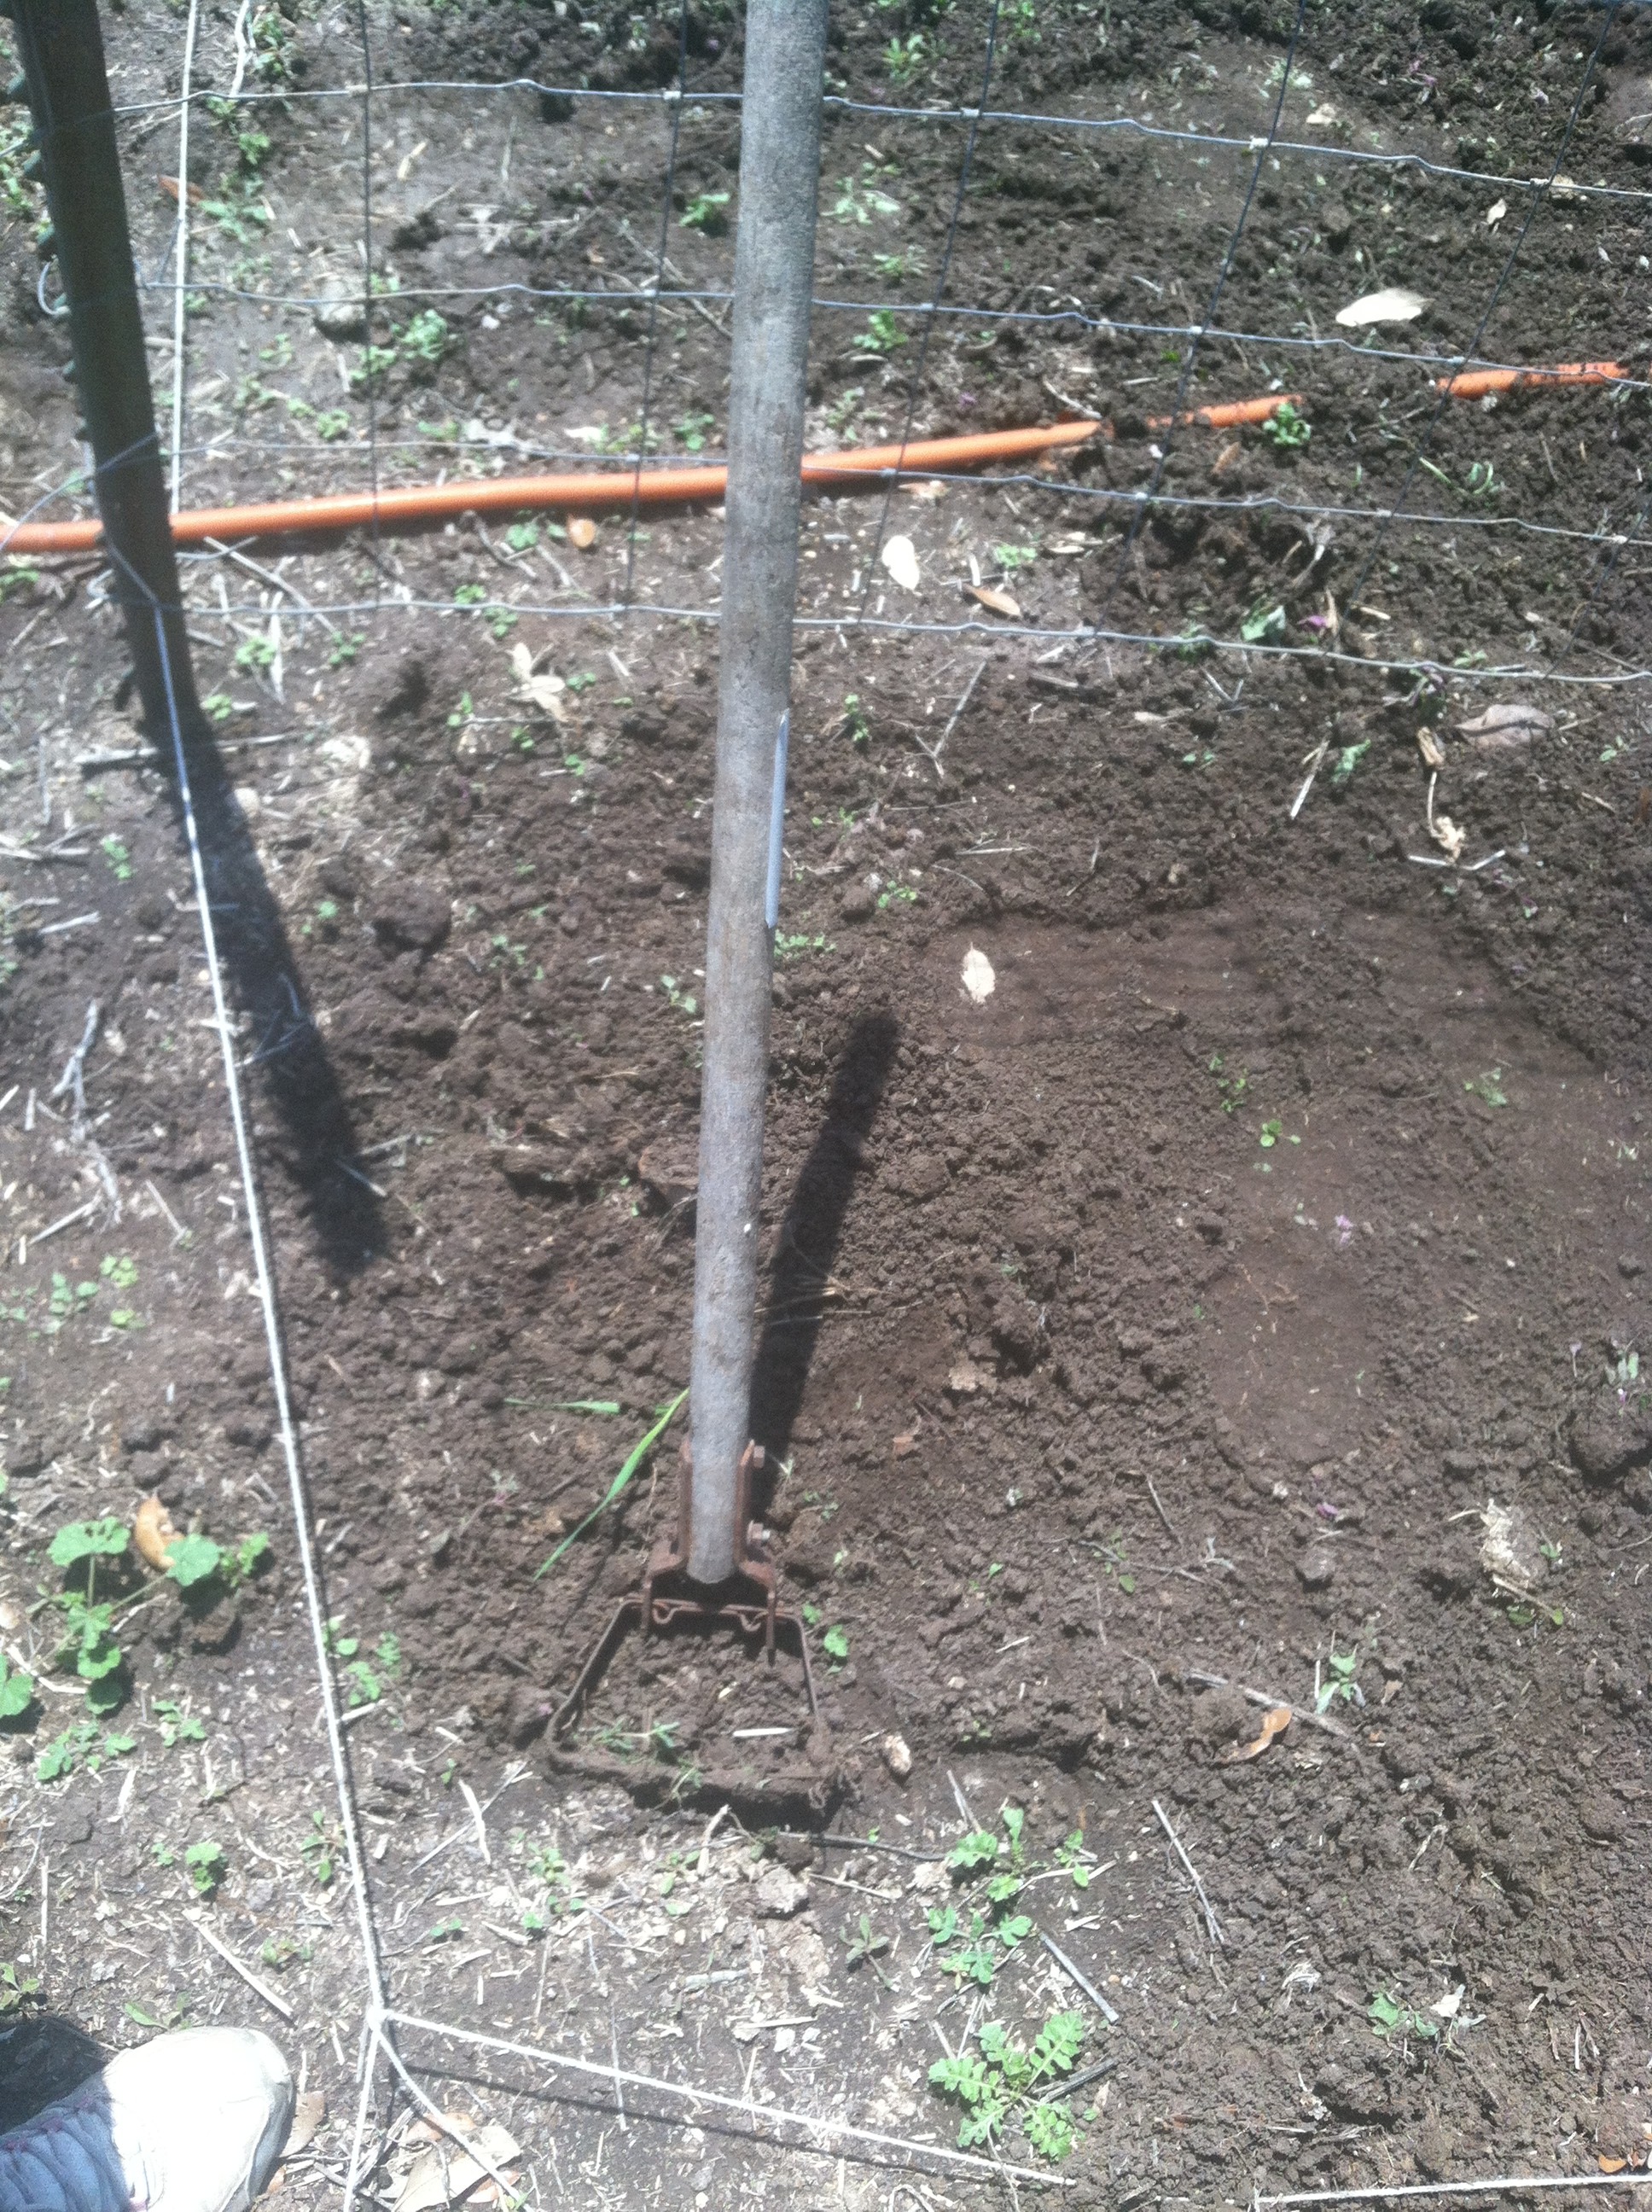
First, I let the garden go a little bit…. oops. I had to weed the part I wanted to put the tomatoes in.


This tool is great for weeding – it goes below the roots and plucks them out.
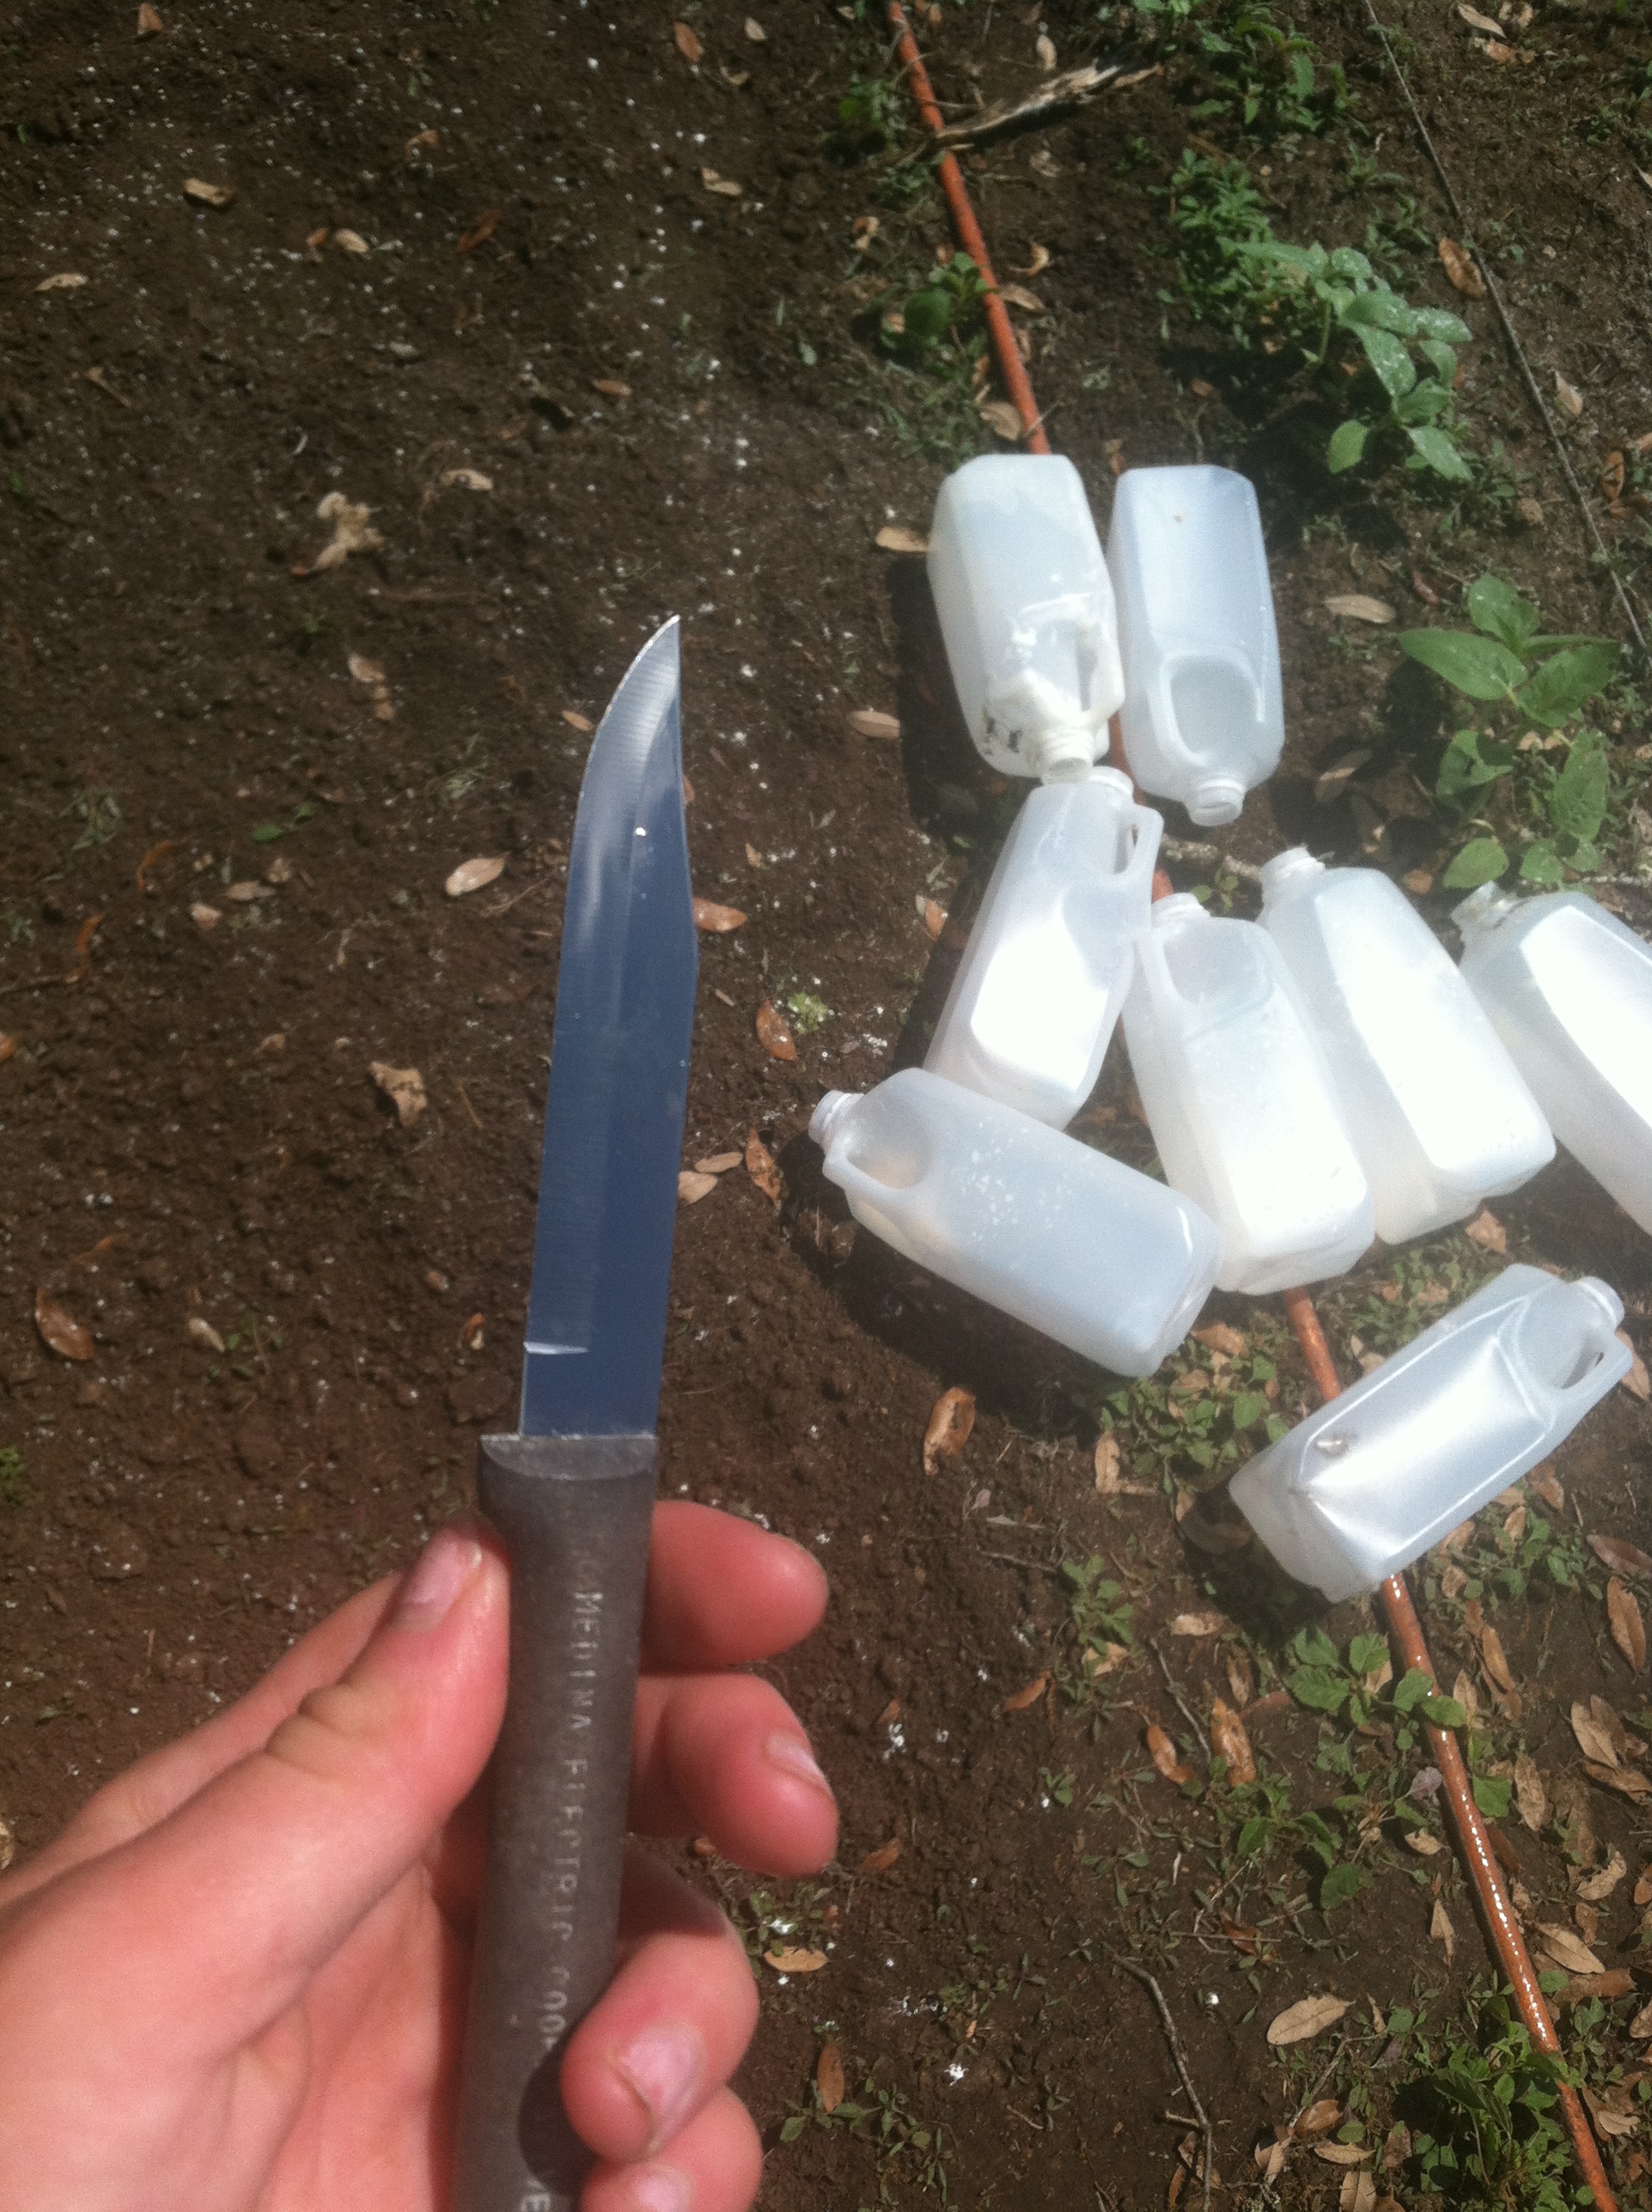
After all that weeding and sweating… I gathered my materials. I love recycling materials so I used my old milk jugs from storing soap milk and some rabbit pellets (tomatoes LOVE rabbit poo). I also used a sharp knife. You will see why in a little bit. I did not clean out my jugs because plants apparently love milk whenever it is diluted and poured in the garden. Thought I might give the transplants some treats.


I have heard a lot of good things about the ancient practice of using pottery under ground to wick water off into the soil when it becomes dry. In the summer months tomatoes need tons of water and they don’t always get it whenever they get their normal watering. I had the idea to make my own wicking system for each plant to get extra water using the milk jugs. It is fairly simple – just make sure that you are careful!
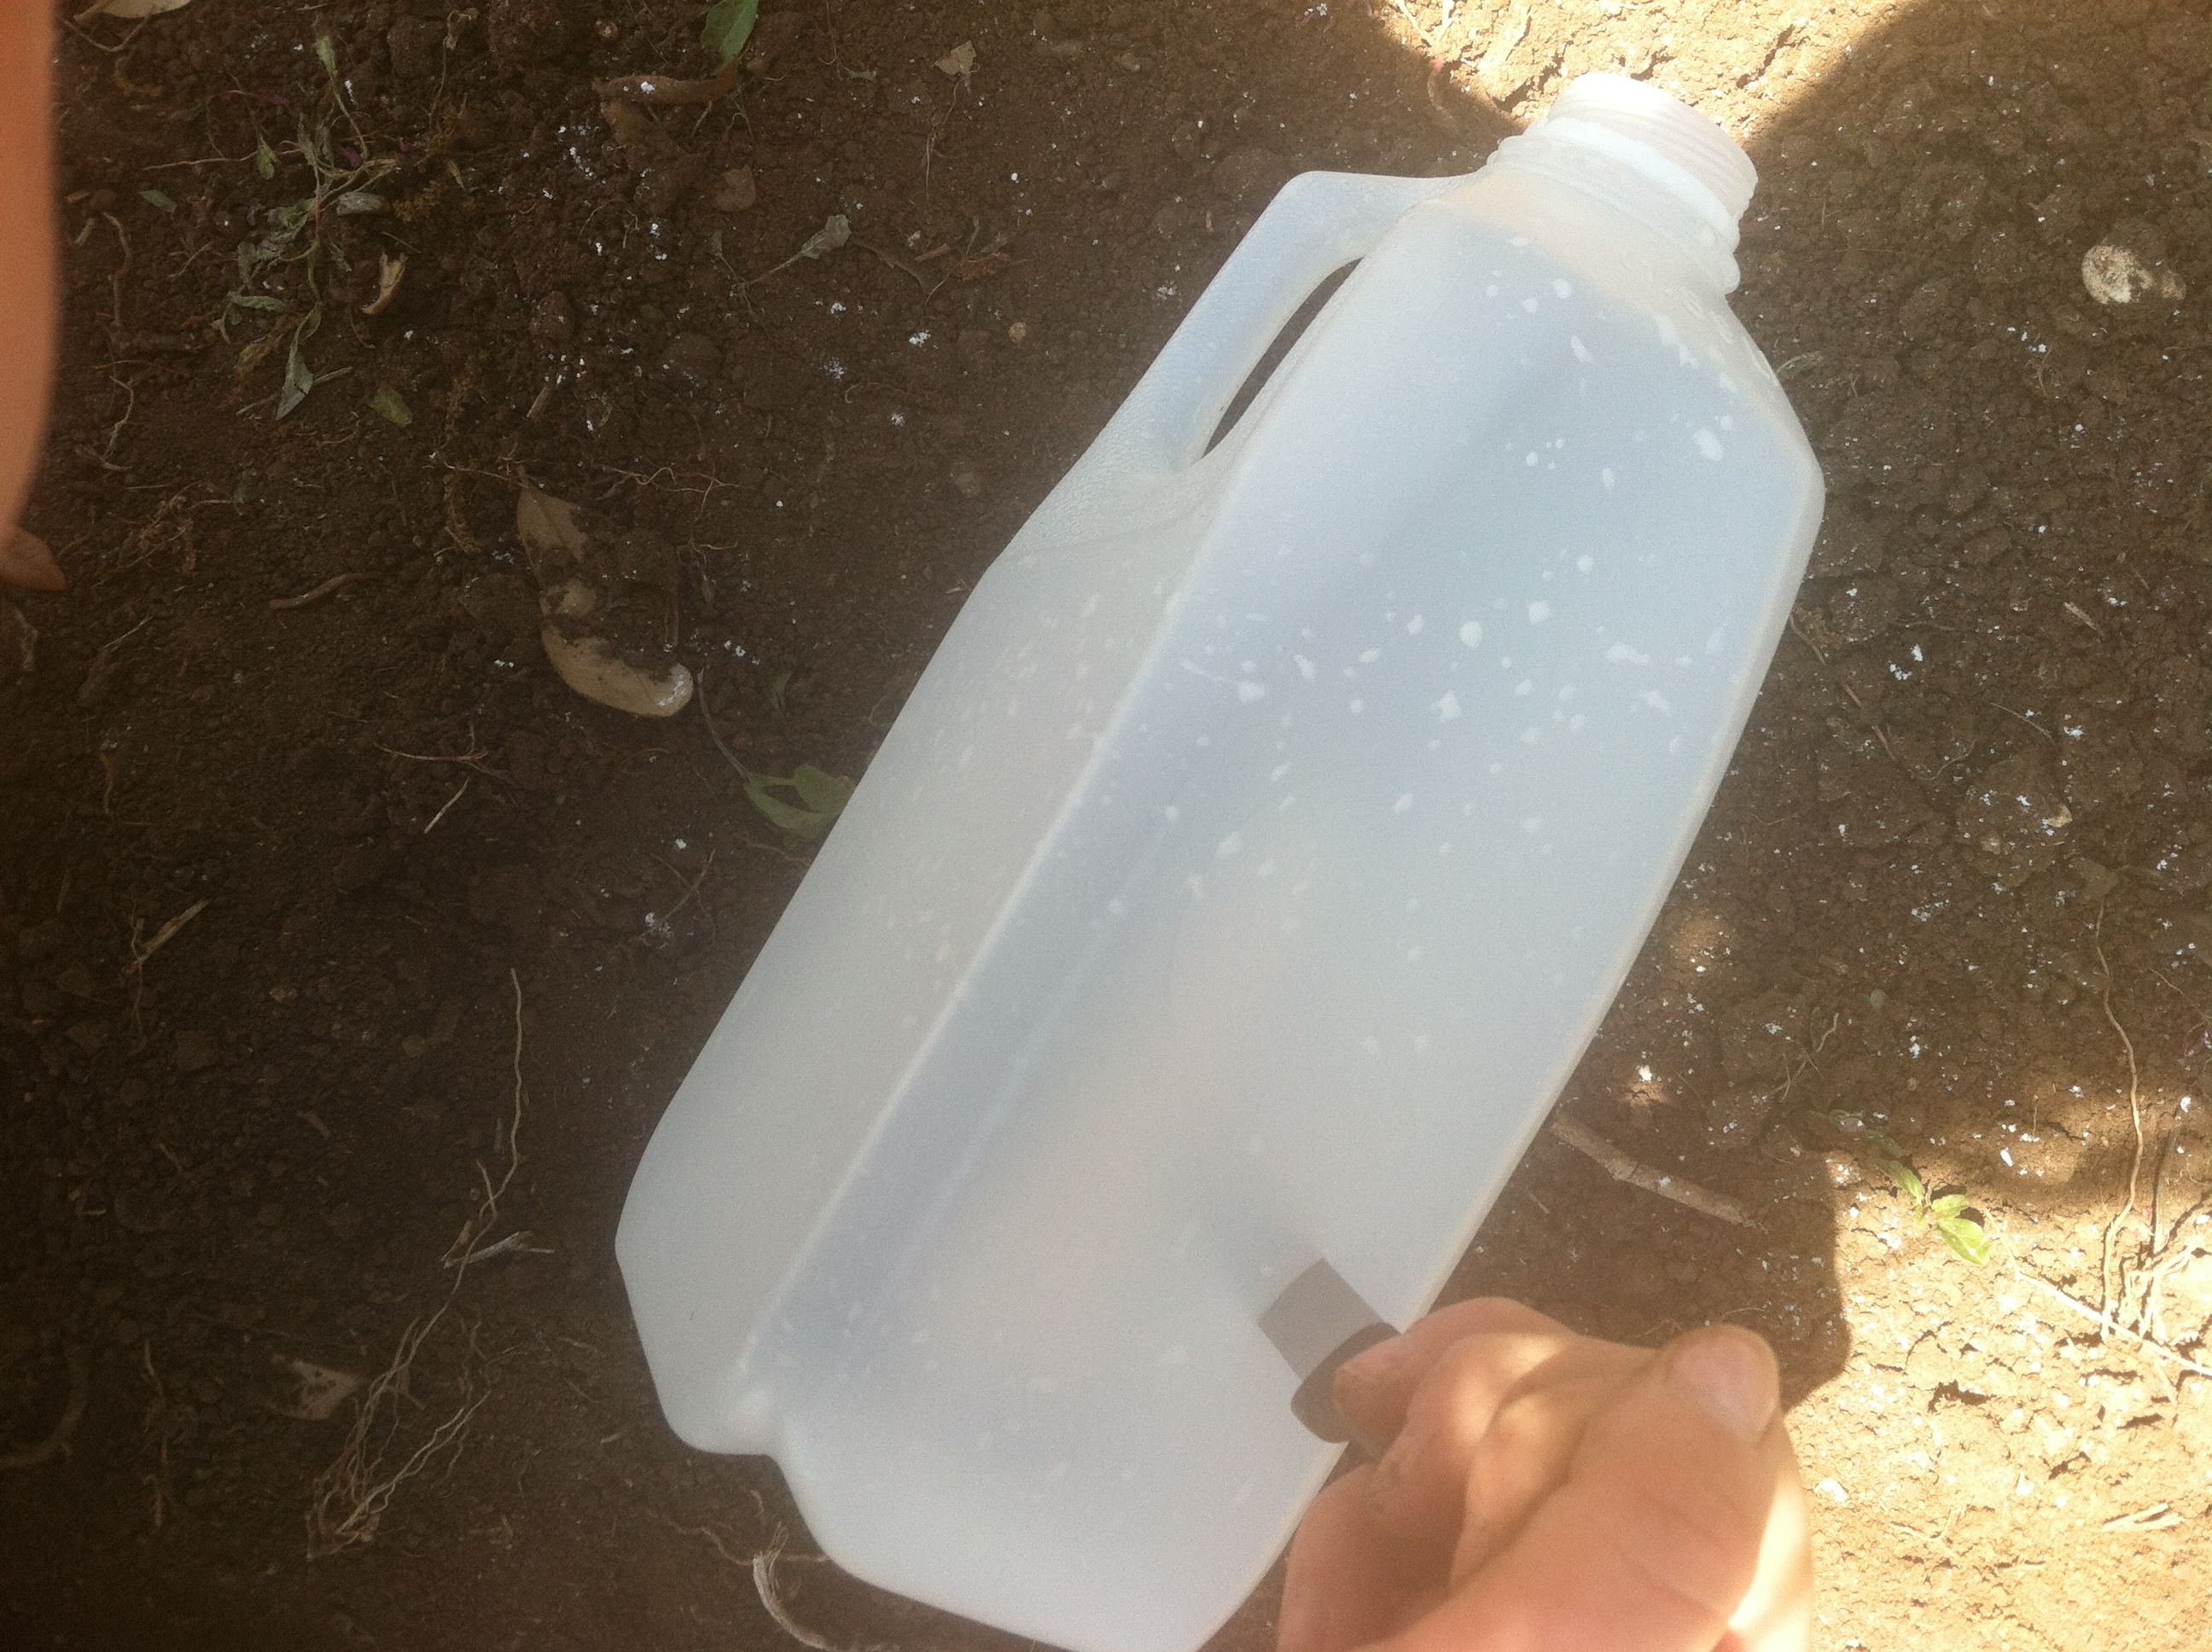
So I took my sharp little pairing knife…
And poked tons of holes in the jugs exept for the top and bottom.
Then I dug a hole big enough to put the plant in with extra fertilizer – tomatoes like being planted to where some of the stem is covered so that they can get adequate stabilization. I put the rabbit fertilizer straight into the hole.

I put the plant in the hole and then packed the soil in around the plant. They like being snug.


I then proceeded to plant all the rest the same way- making sure that there was enough room inbetween the plants – they get pretty big whenever they are full grown fertilized bushes.

I dug down after right by the plant to where the jug could fit in but the jug opening and about 2″ was sticking out. That way the water could be inserted without foreign material getting in and blocking the waterway to the plant.
The end result looked like this:

And that is how I planted my tomato plants. Updates will come soon on how they have done! Date of planting: April 6 ,2014.
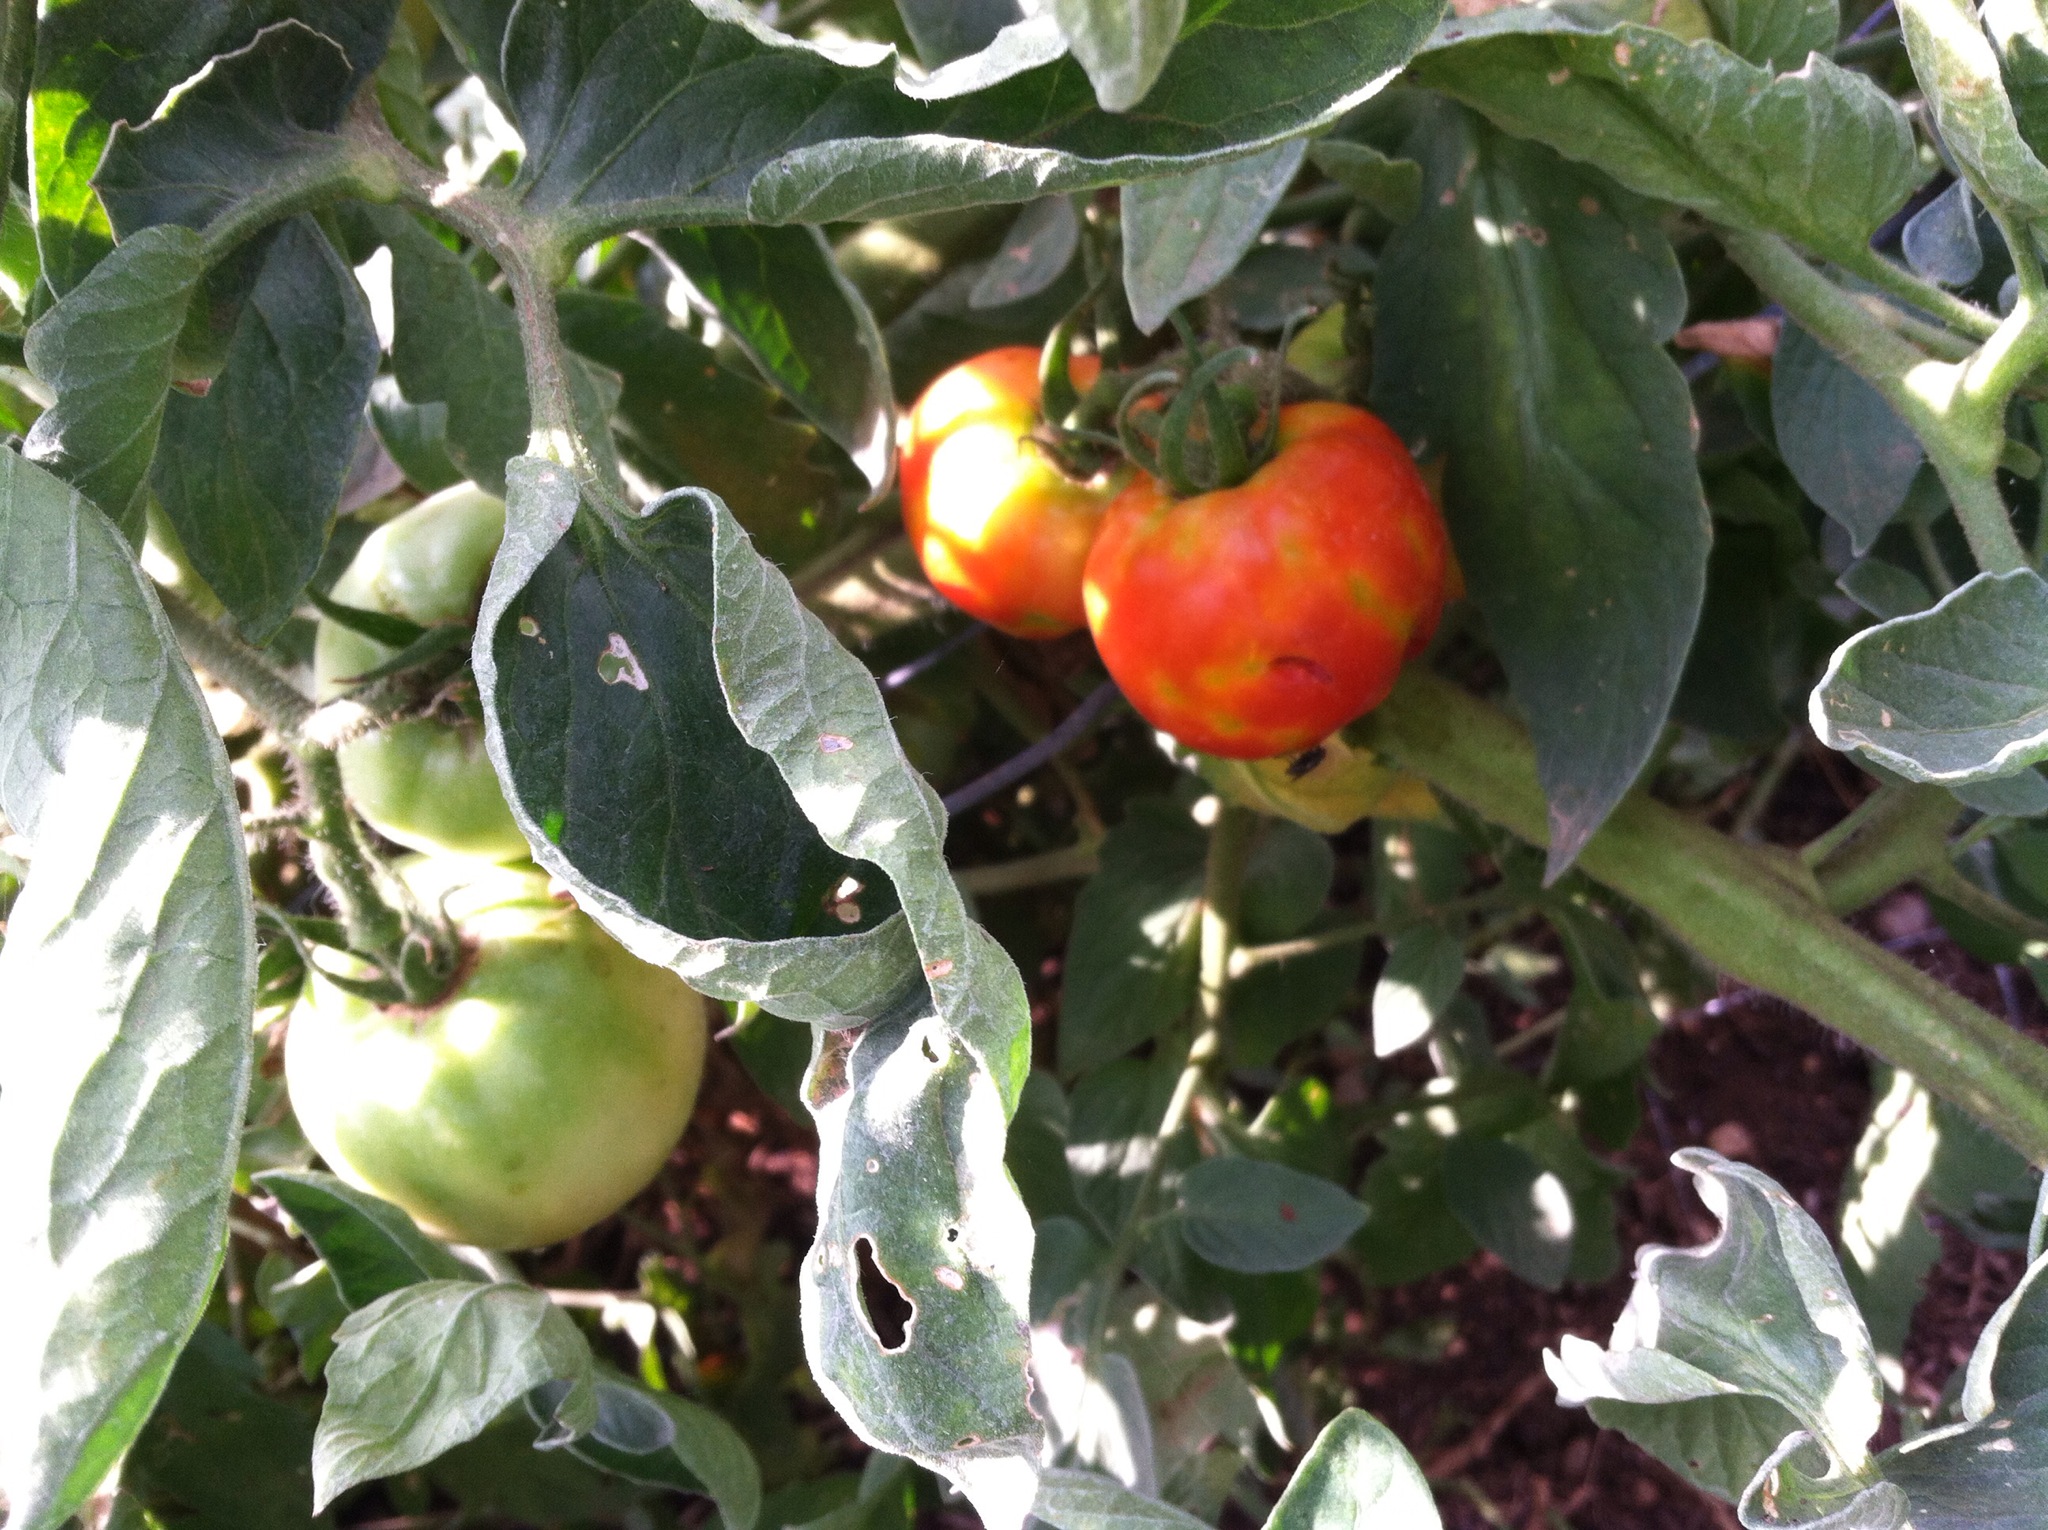
Update: August 18, 2014
The tomato plants are pretty huge and are producing tons of tomatoes! Next year I need to find something to control pests from biting the fruit – making it all splotchy looking and hard.
The purple heirloom tomatoes did not make it through. They only lasted about 4 weeks and died off. Cause of death: Unknown.
Overall – got plenty of tomatoes around August/September before the first frost. Need to transplant a lot earlier! Will have a greenhouse in 2015 so we shall see how it will go! Super excited for the next growing season.