
Many people are asking about this so I thought I should share. I have learned a lot from online, books, and my family that has been milking cows most of their lives. Milking is in our family, so it seems to come natural to me and I very much enjoy it.
The rewards are endless – milk for me, for making soap to sell, for my chicks/chickens, and all sorts of cheeses, ice cream, and lovelies for us to eat. (I will put recipes and tips on creating these lovely things in later posts).


A few things to say before I start explaining – it is a commitment. You have to milk every day at around the same time or else your goats will dry up (unless they have babies still suckling on them). Some days can be hard, but don’t give up! The benefits can be rewarding!
I am milking one Pygmy goat and four Nigerian Dwarf goats, so this is for the more mini breeds of goats – I’m sure that what you will need for minis could be upsized for whatever breed. I milk only once a day. Some breeds would have to be milked twice. Make sure that it is close to 12 hours apart when the milkings are if milking twice (i.e. 9am and 9pm). It is usually on how much your does produce.
Below are the supplies and how to milk for any goat:
Supplies:
-
A Milking Table
-
I made my milking table with 2×4’s, some hardware cloth, some paint, and an old piece of pipe that was in a V shape to put their heads through. I built it into a square with hardware cloth over the top so the could stand. From that, I fastened the V so it would hold their heads and made a holder for their food bucket. They can eat while being milked, but their heads are stuck in the V incase they decide otherwise.
-

Here is the milking table with chair and trash bucket. 
The head holder on the milking table with buket holder helps restrain and keep her busy eating. Also known as “the V”.
-
-
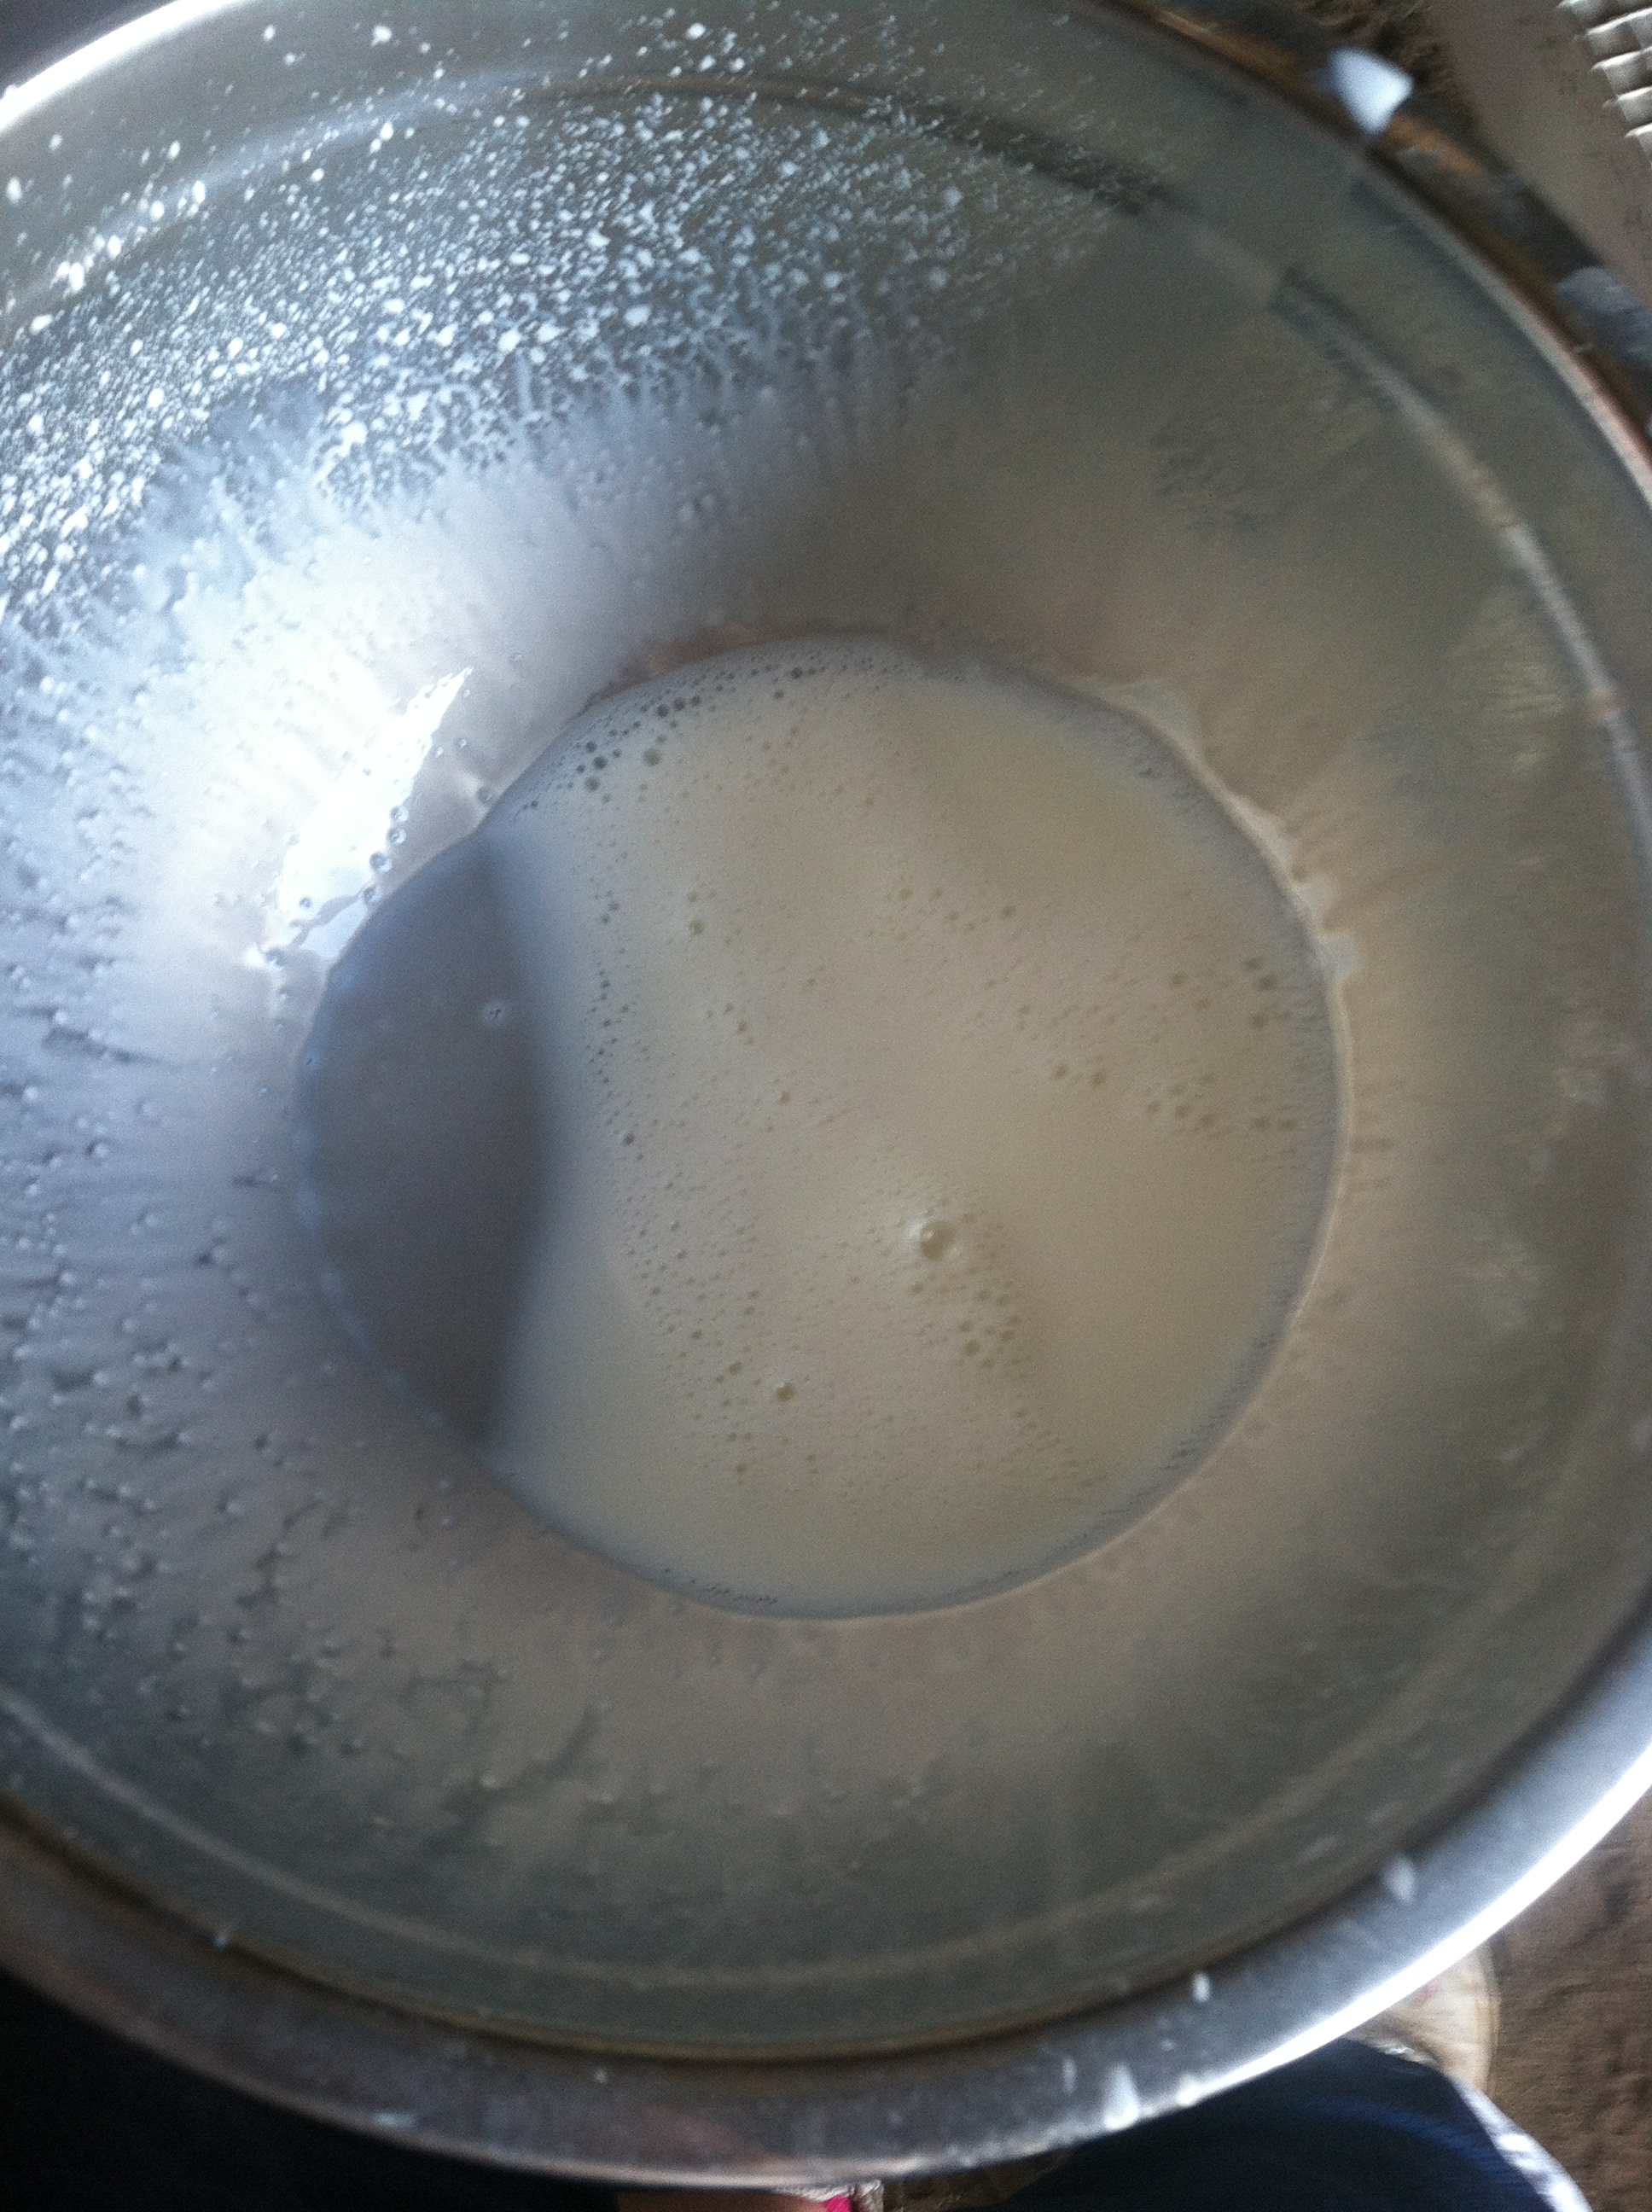
A Stainless Steel Mixing Bowl and a Small Stainless Steel Pot with Lid
-
Stainless steel is a good holder for milk because it doesn’t transfer or hold the tastes from the metal – unlike plastic or aluminum. It is also easy to clean. The mixing bowl will be used for catching the milk and the pot for an udder wash.
-

- A stainless steel bowl helps the milk stay tasting fresh. Plastics or aluminum make it taste off.
-
-
A Black Cup
-
A black cup is very useful in milking because when inside the cup, milk can stand out when inspecting your milk quality. I use a black guacamole bowl – it works perfectly.
-
-
Roll of Paper Towels and a Teat Dip or Spray
-
Paper towels are a must and it’s okay to get the off-brand, but not the really cheap one ply ones that fall apart. Teat dip is also necessary unless they still have kids suckling on them to prevent infection of the teat/udder. You can get this at a dairy supply or feed store. You could also use an appropriate iodine spray that is for cleaning, but NOT wounds.
-
-
Milker or Hands
-
There are a lot of milkers out there – I did some research and use a hand operated one that uses pressure. It sucks the milk right out! And for a less expensive option than buying ones for hundreds or even thousands of dollars.
-
-
Clippers
-
I usually use clippers and clip the hair inside the back legs, on the front of the back legs, and all around the udder area plus some every few weeks. It’s easier to handle and keeps the hair away from the milk. I use some pet clippers and olive oil as lubricant for the clippers so that if it gets on the does, it won’t effect the milk. The clipping part can be optional, but it is a wise suggestion. I usually do this before any milking occurs because it can be a long process.
-
-
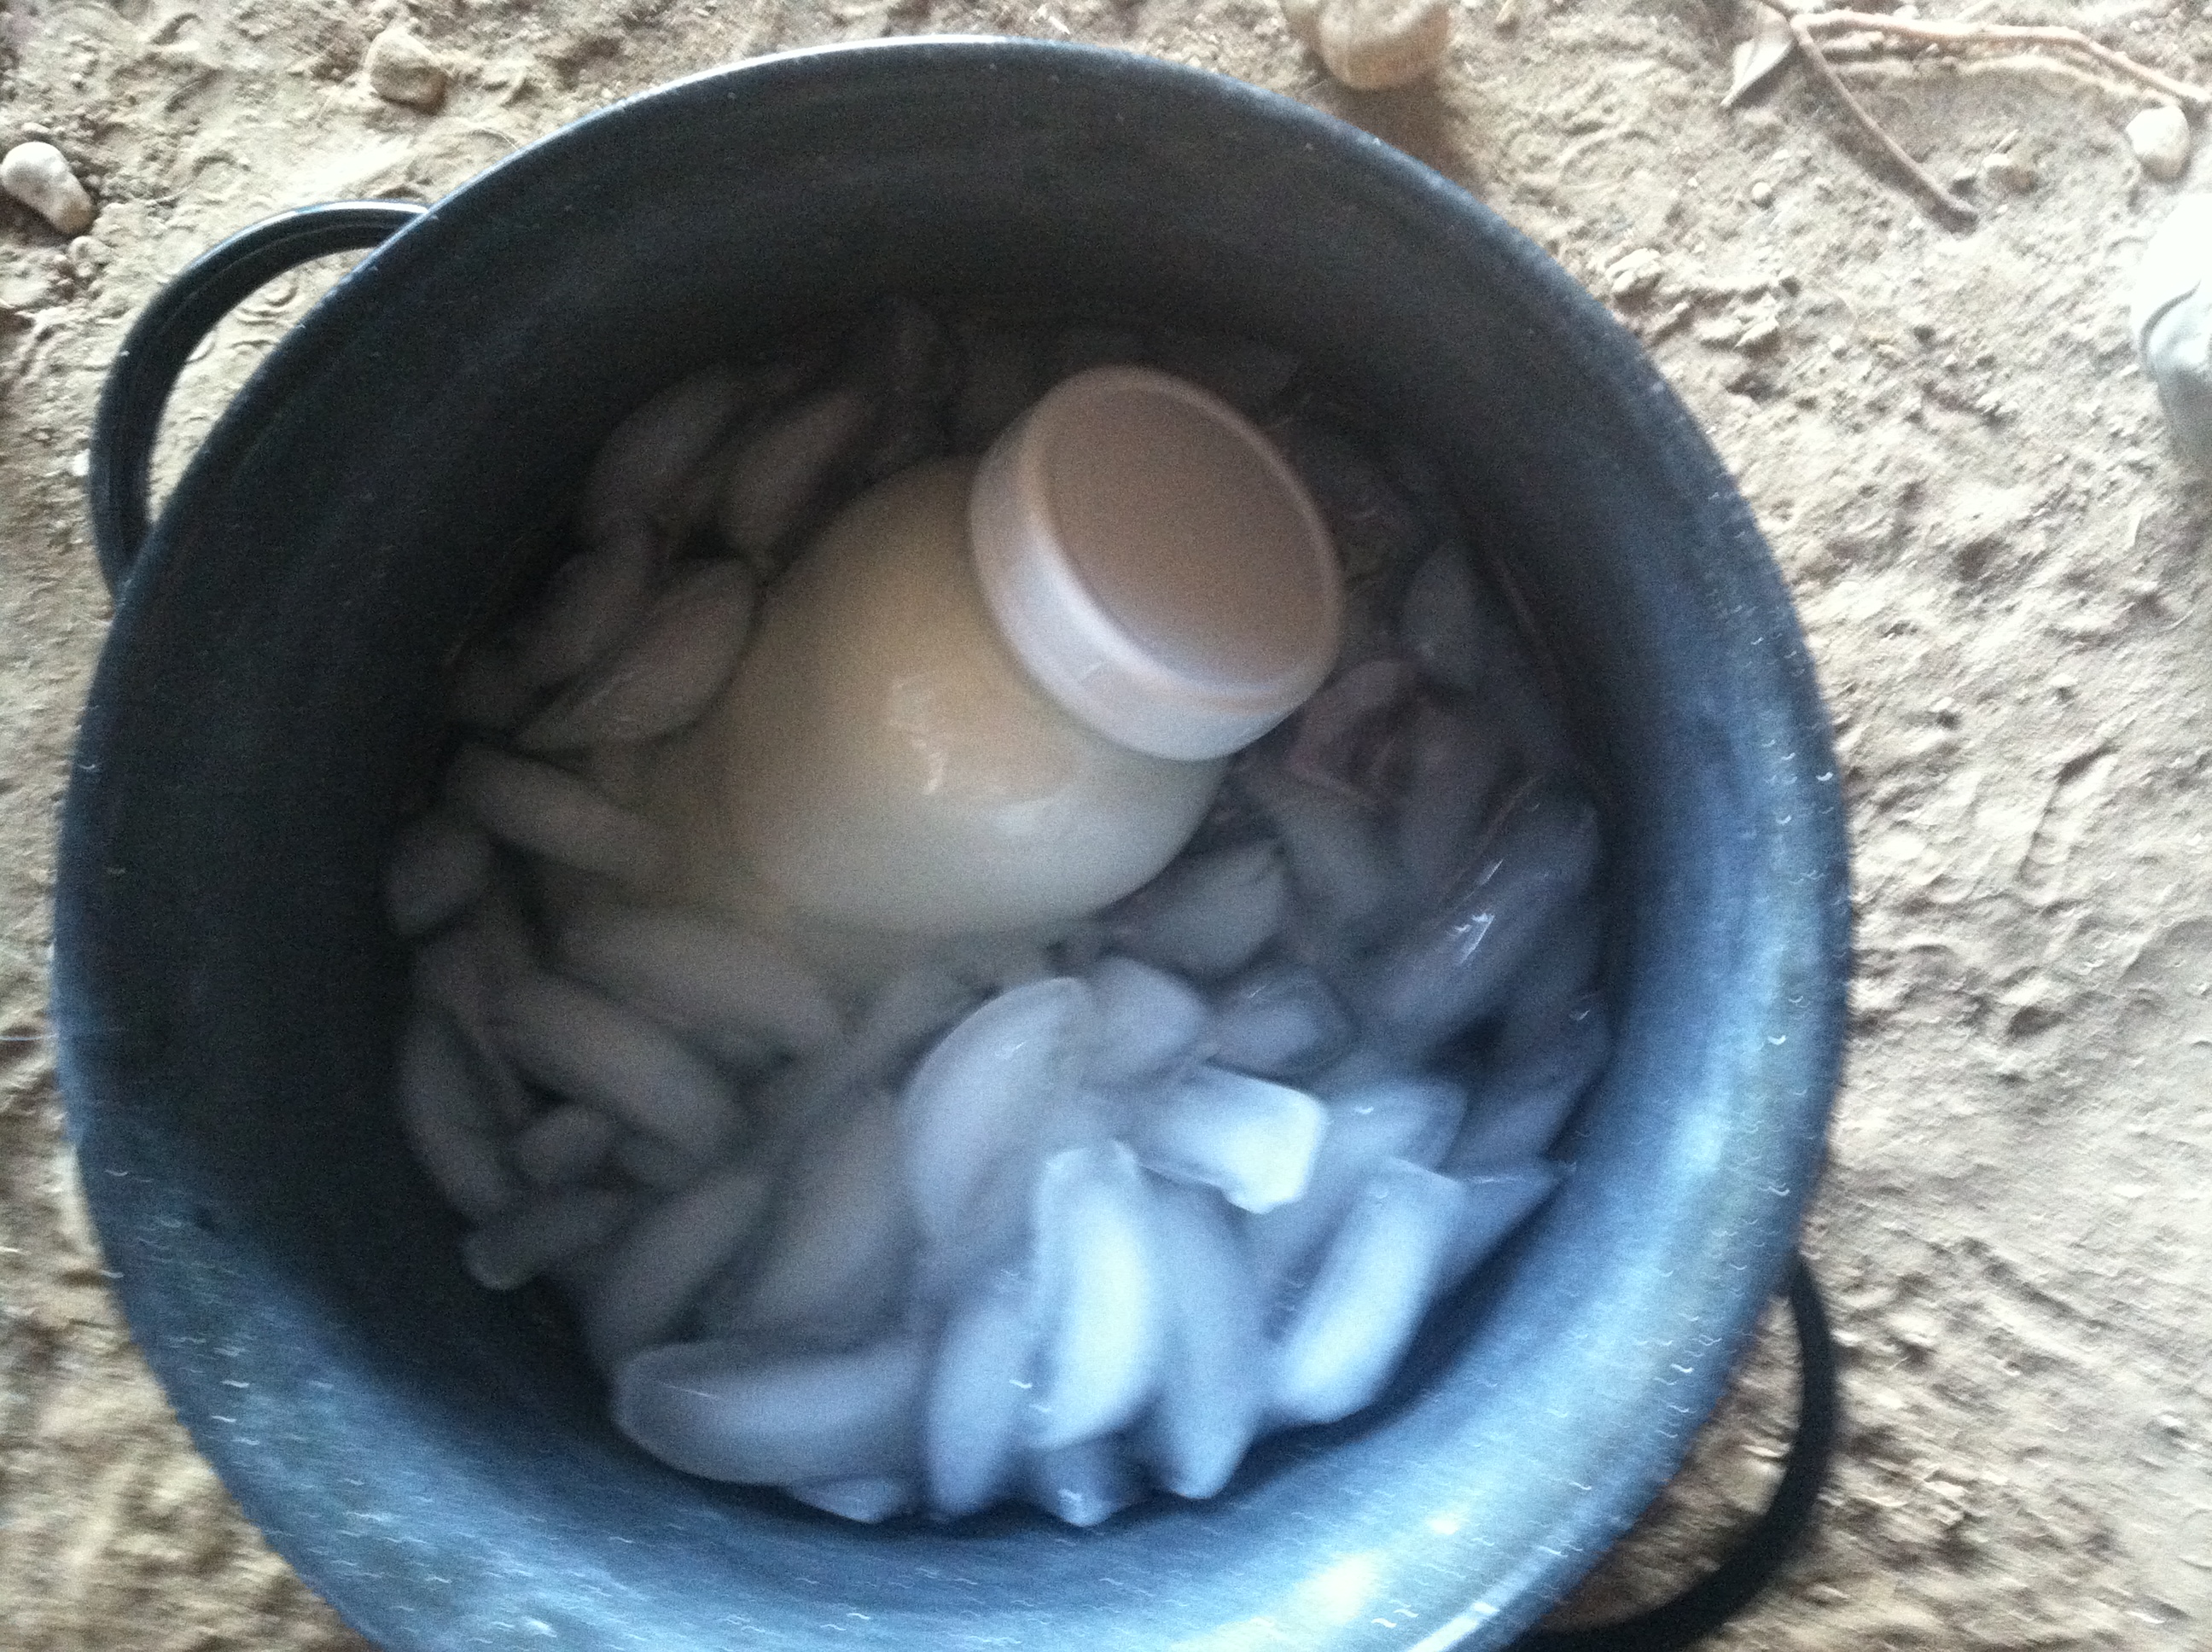
Large Pot with Lid
-
This pot will be used to keep ice water in for the cooling part of the milking process which will be discussed later.
-
-
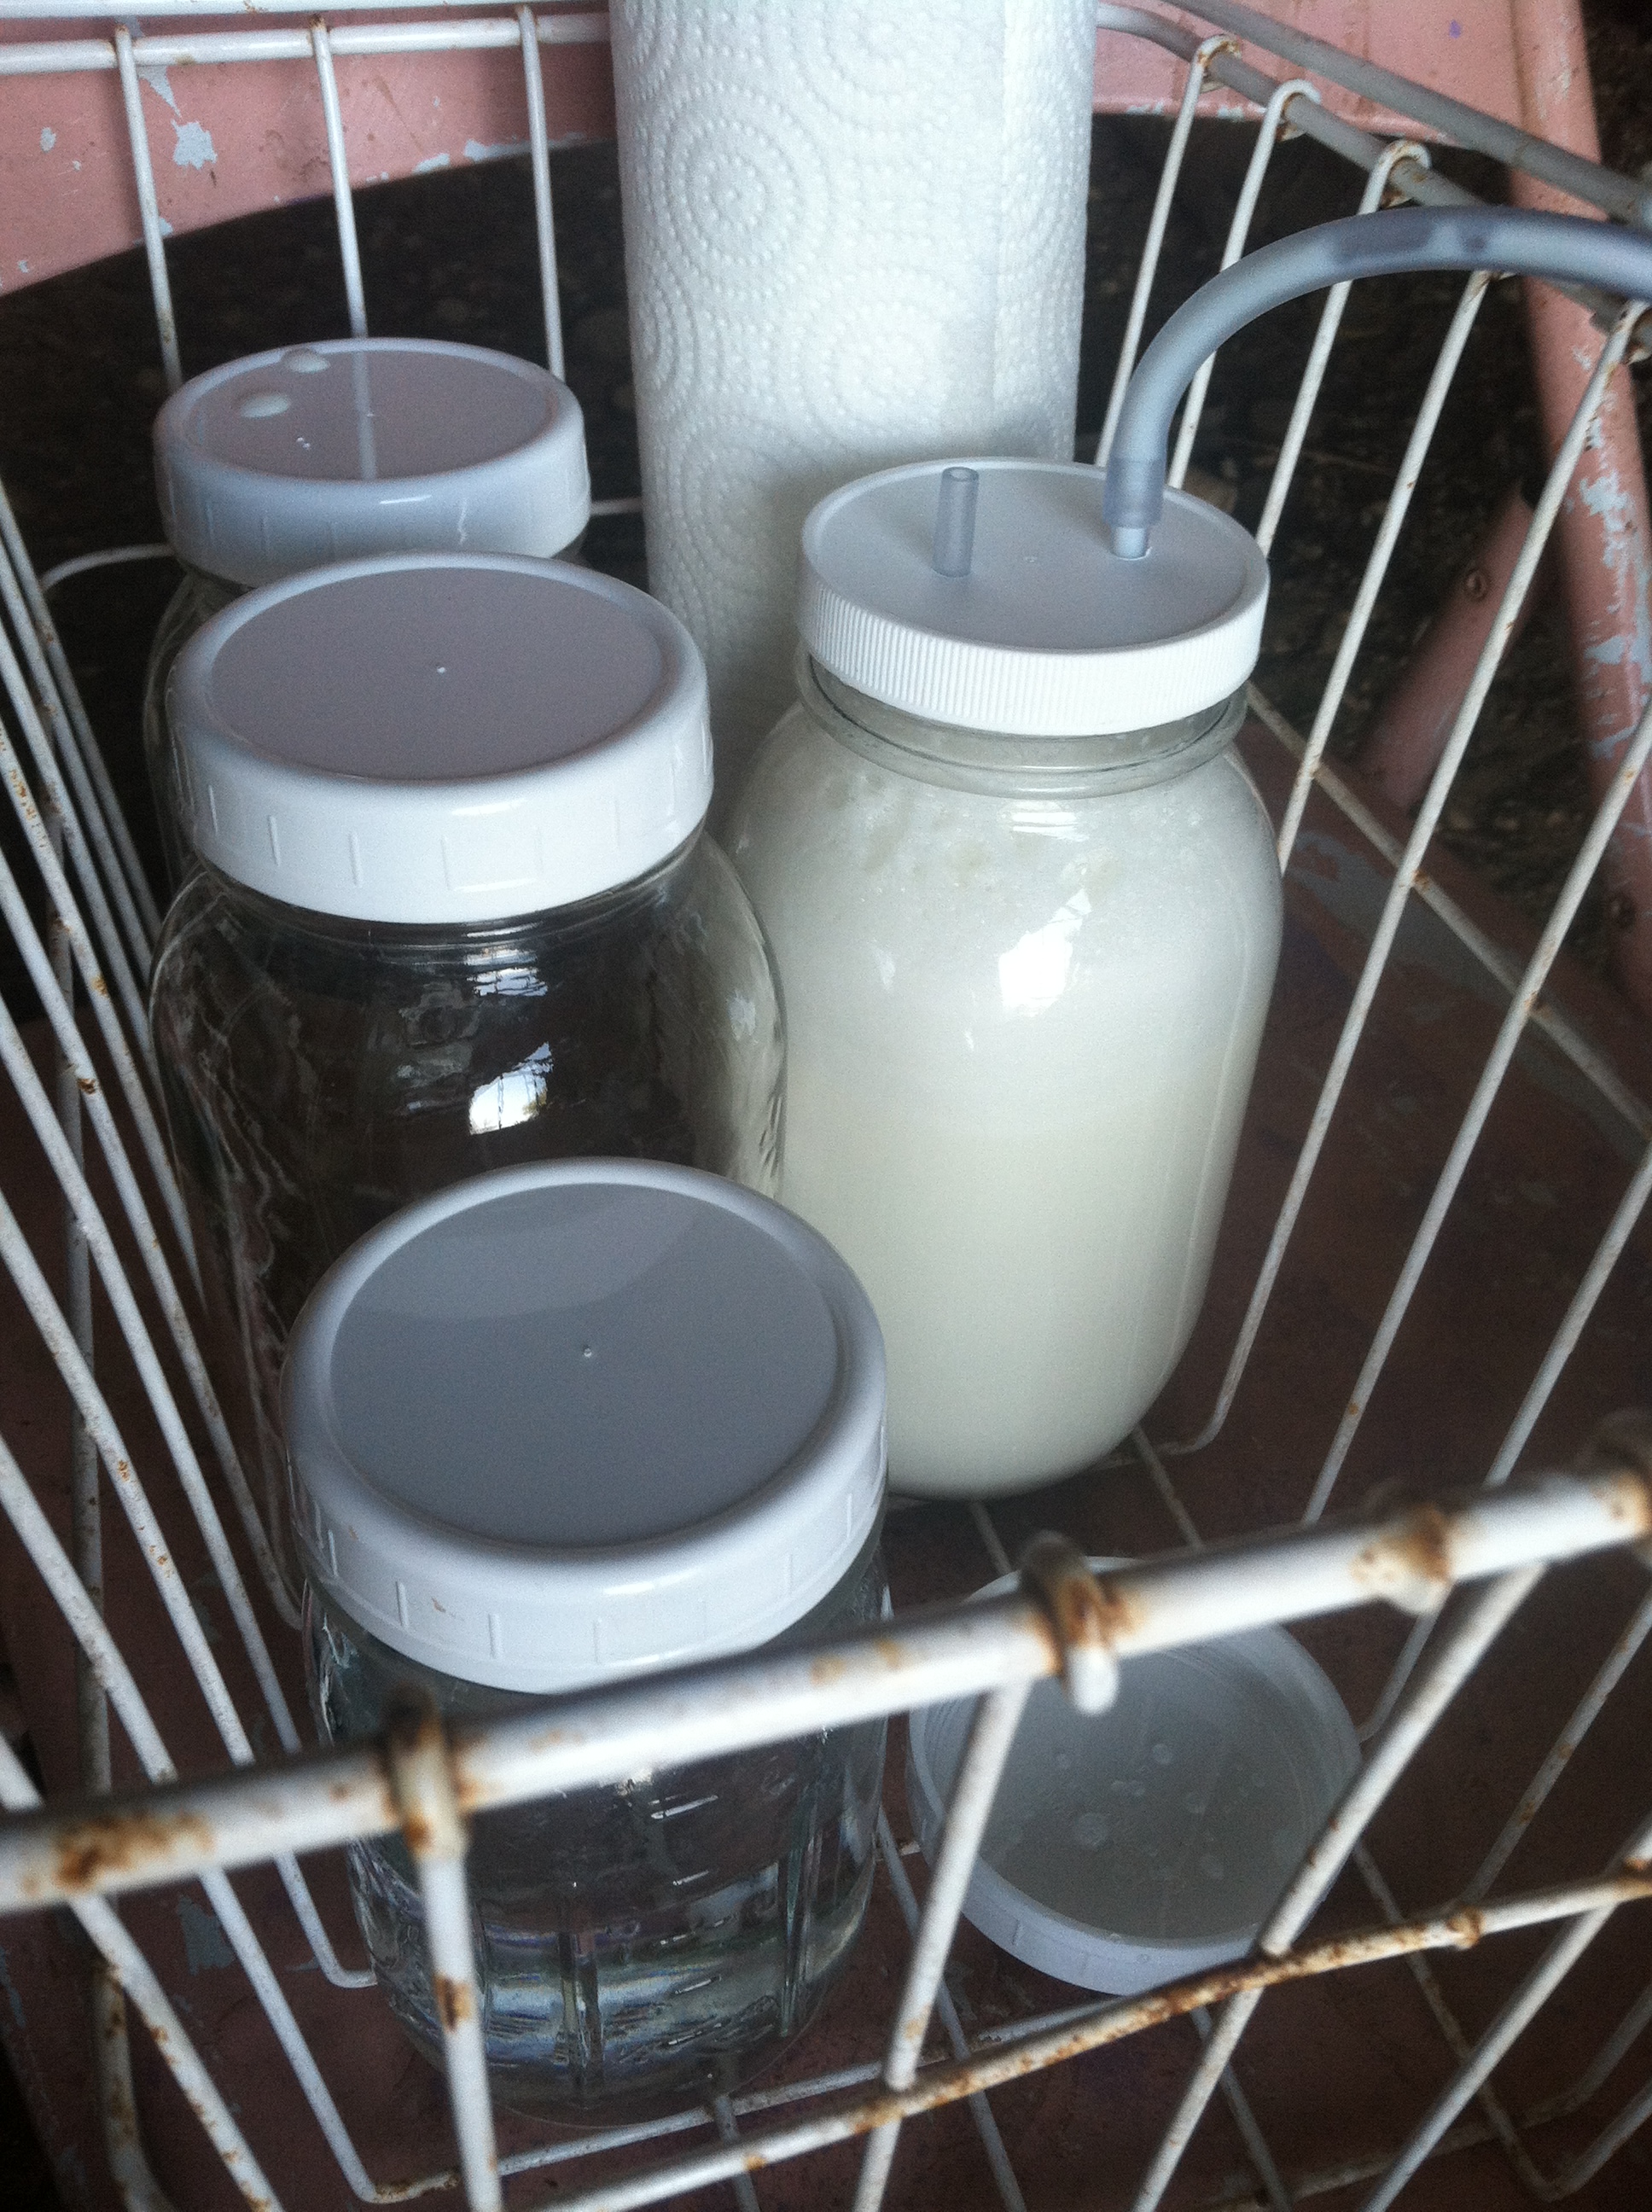
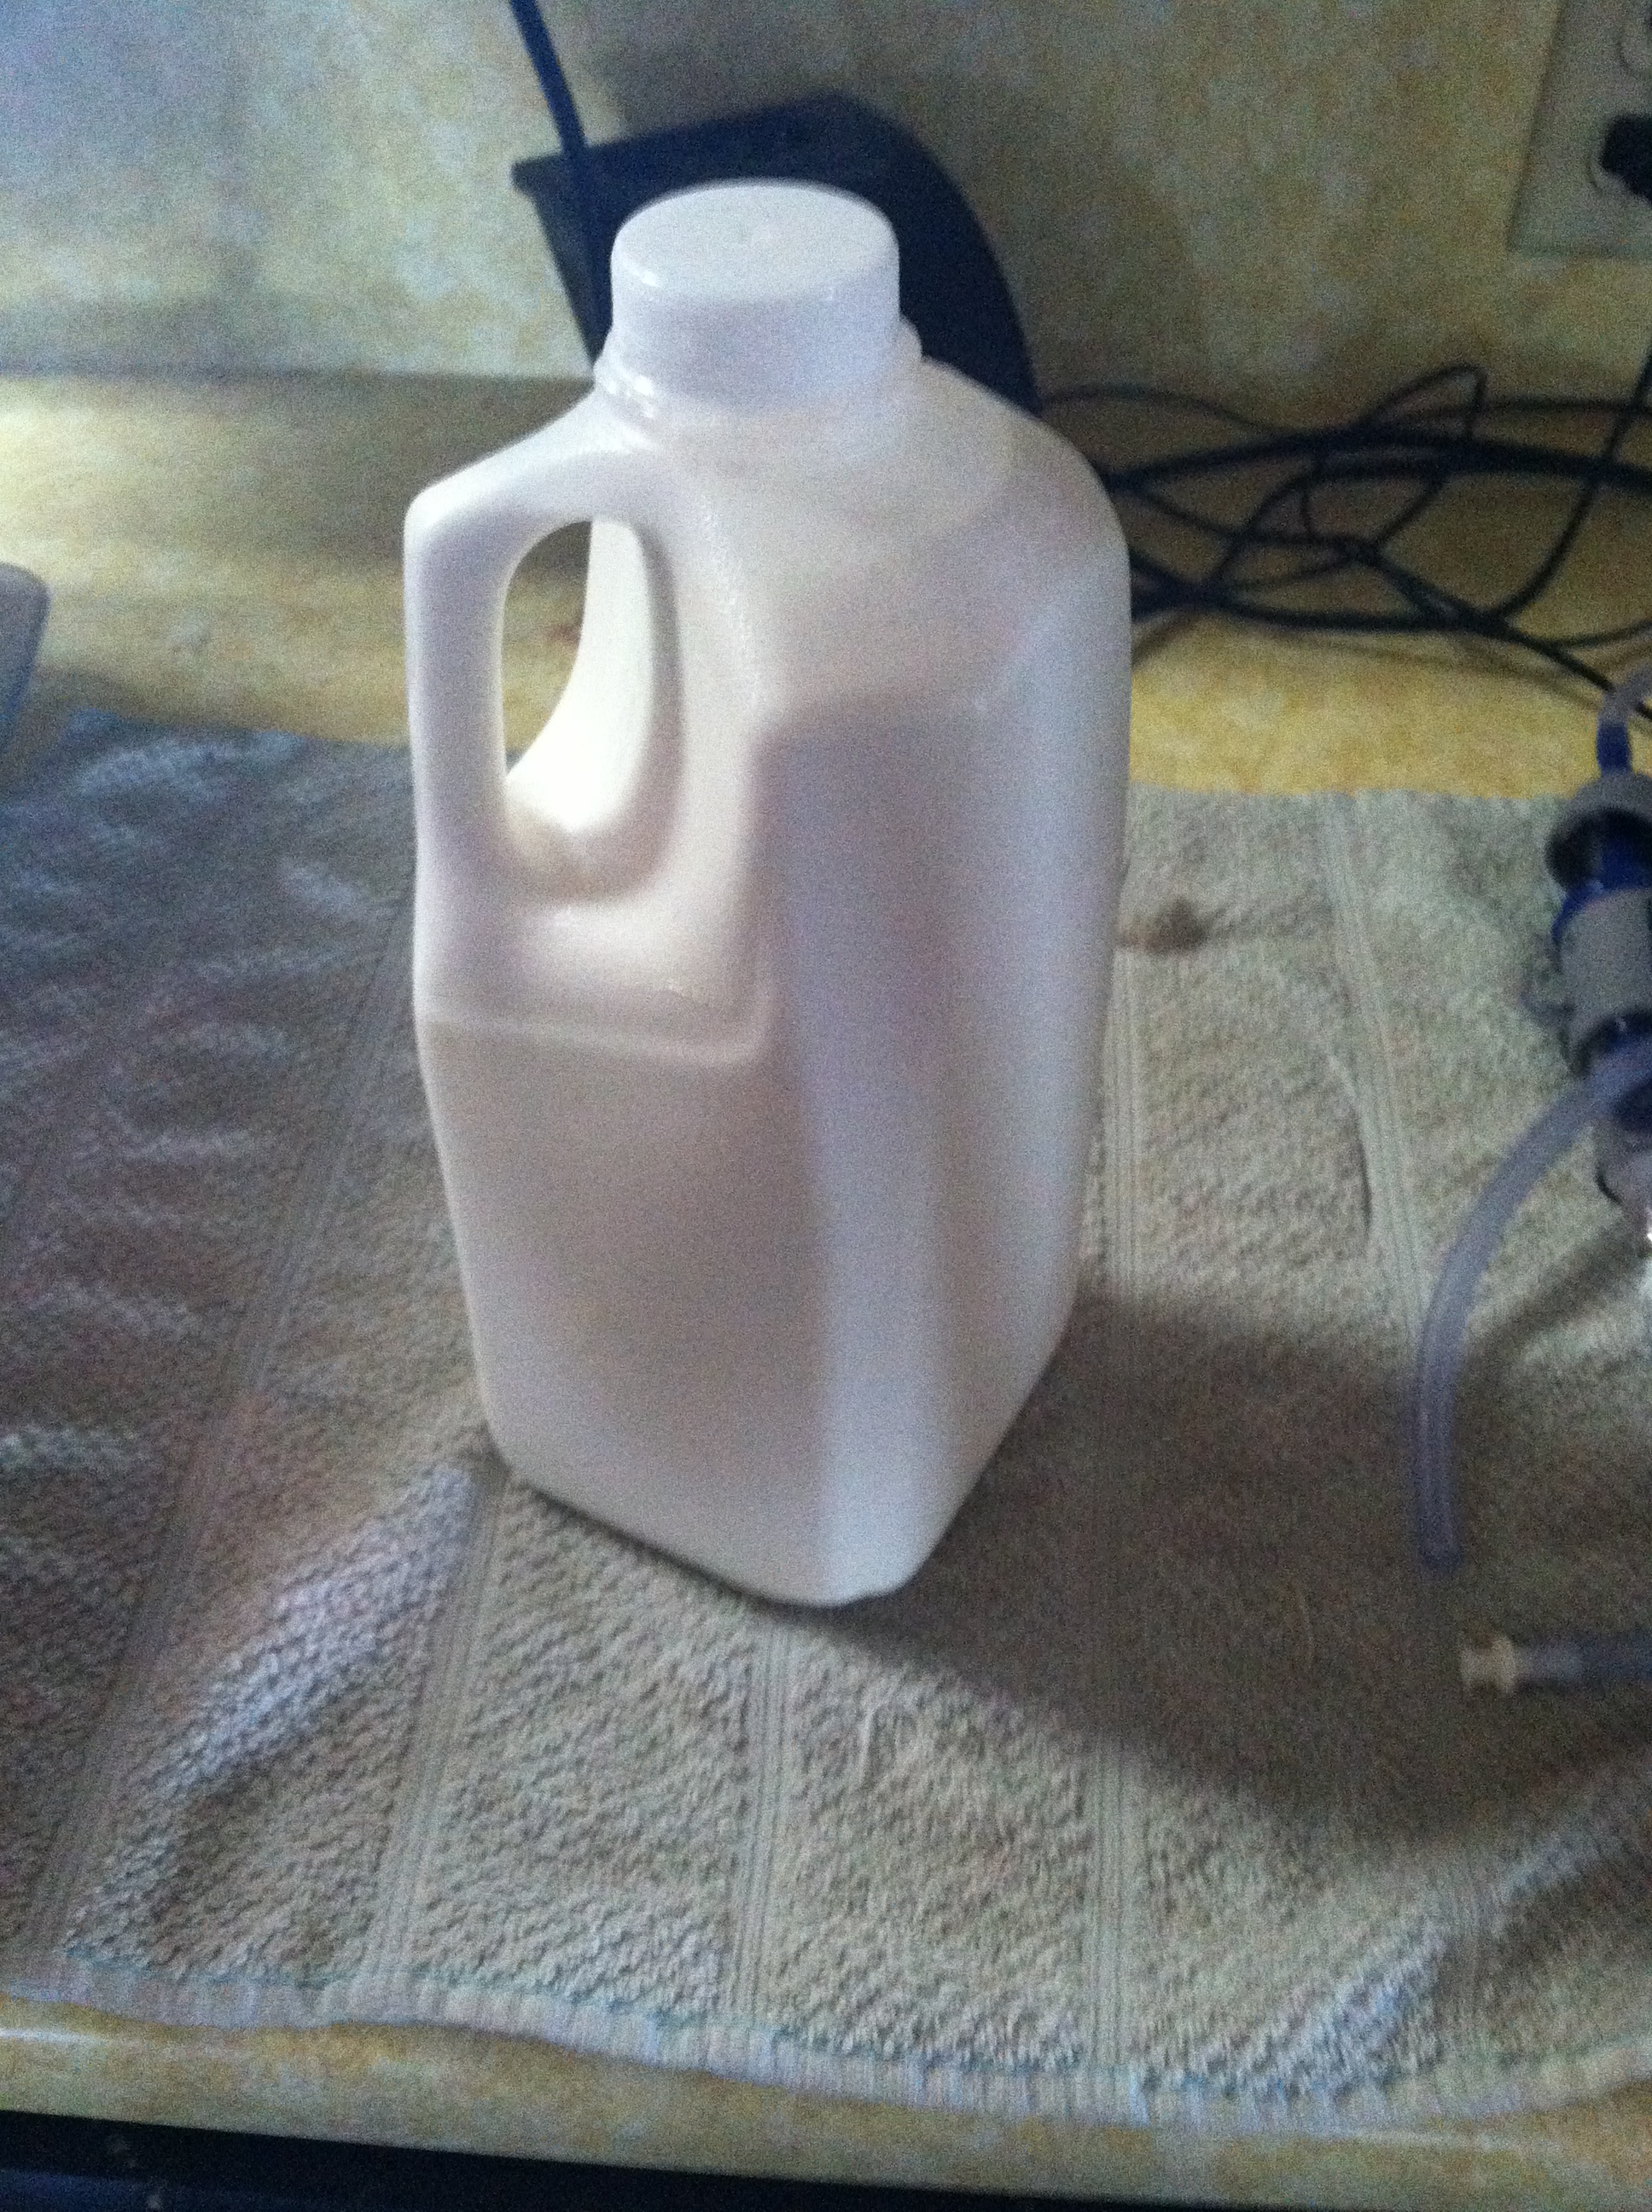
Mason Jars or Milk Jugs
-
Jars will be used to keep the milk in during milking and/or after milking and jugs just for after milking.
-
-
Milk Sieve Paper and Stainless Steel Funnel
-
This is for sieving out the milk after it has cooled and is ready to transfer into jars or jugs for consumption.
-
-
Bleach, Dish Washing Soap, and Clean Dish Rag
-
For the clean up after.
-


Process:
First, I fill up the small stainless steel pot 1/4 full with water. I use only water because soap and other washes will chap the udder, making it unpleasant to milk and unpleasant for the doe. I also fill up the large pot with all the ice from my ice compartment and fill it to about half – to where there is equal ice to water to make sure it doesn’t melt fast. I put the hand milker, stainless steel bowl, black cup, paper towels, some mason jars, and the teat dip in my basket and go out to the barn.


I then get a doe on the milking table (usually they willingly run as fast as they can and jump on the table themselves from the pen) and secure her in the V on the stand via her collar.
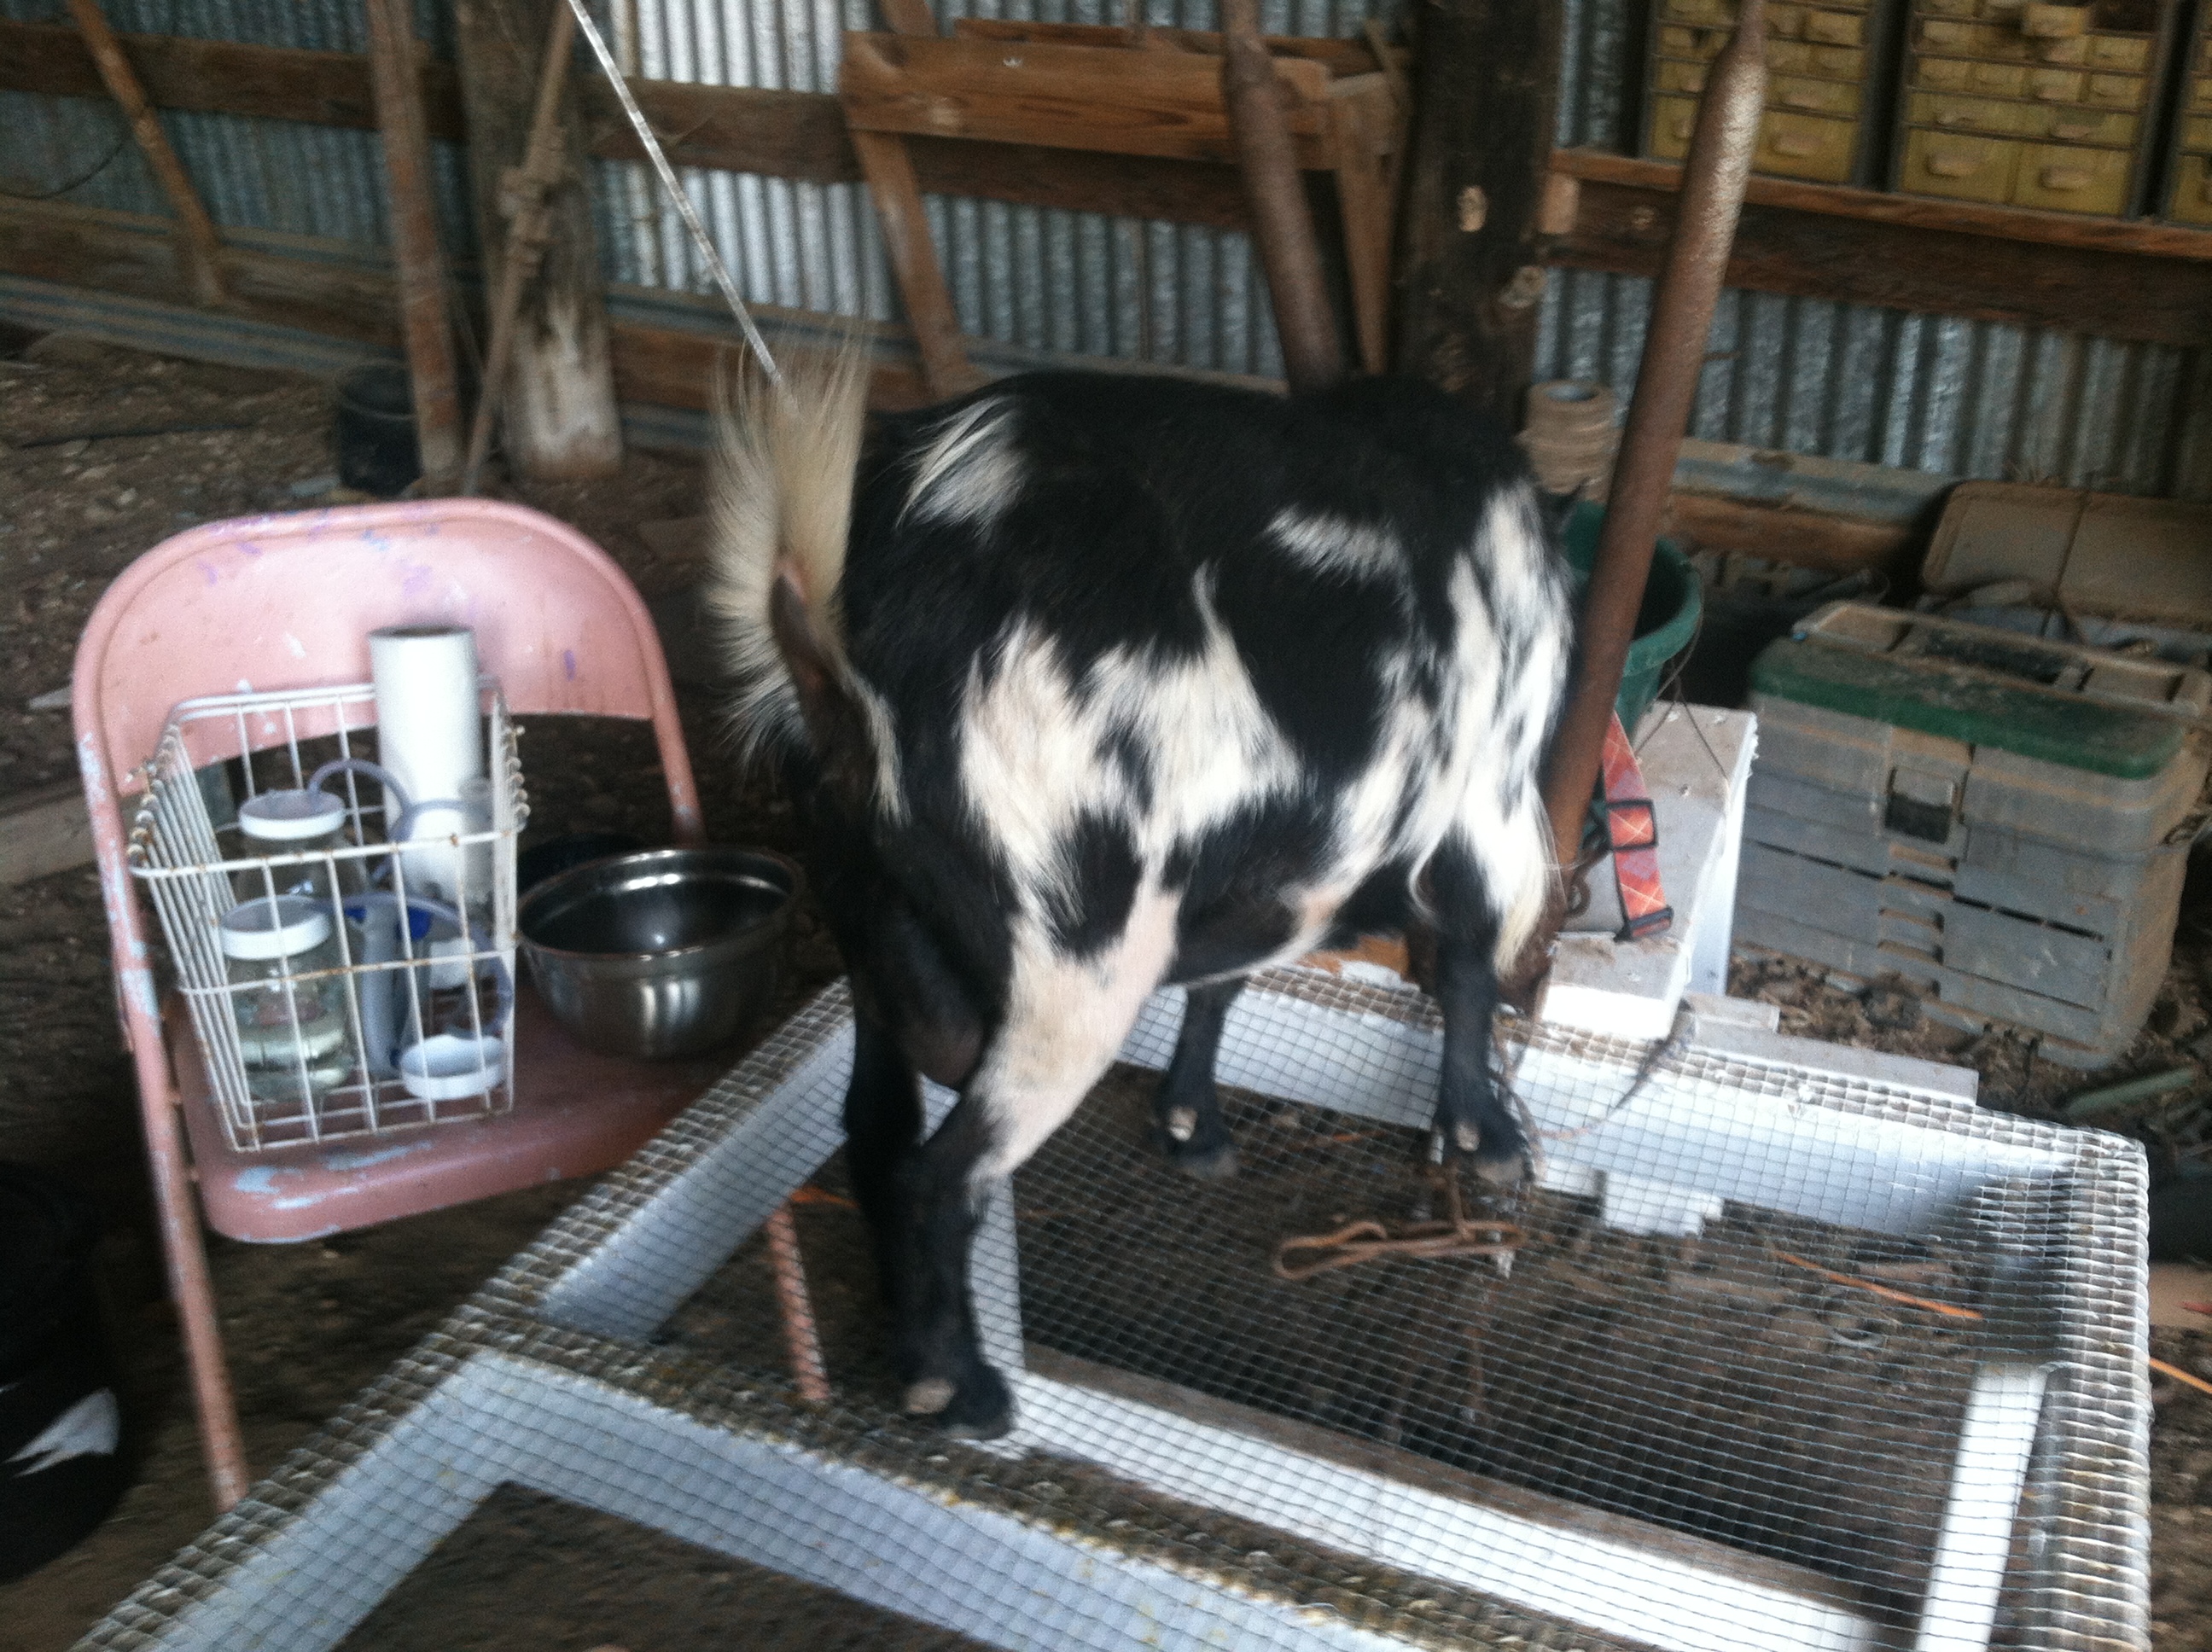
I give her the food in the bucket and she starts feeding. I secure their feet down with two dog leashes attached to the feet so she can’t kick the bucket over or try to move around.

I then take a paper towel and dip it in the stainless steel pot of water and wash her udder. I also like to clean the inside of the legs that the udder touches so that all is clean and sanitary. Sometimes it is still dirty so I take another paper towel and wash again. DO NOT reuse the paper towels because there can be bacteria and bad germs. Once you use one, throw it away and use another. Then, take another dry paper towel and dry off the udder.
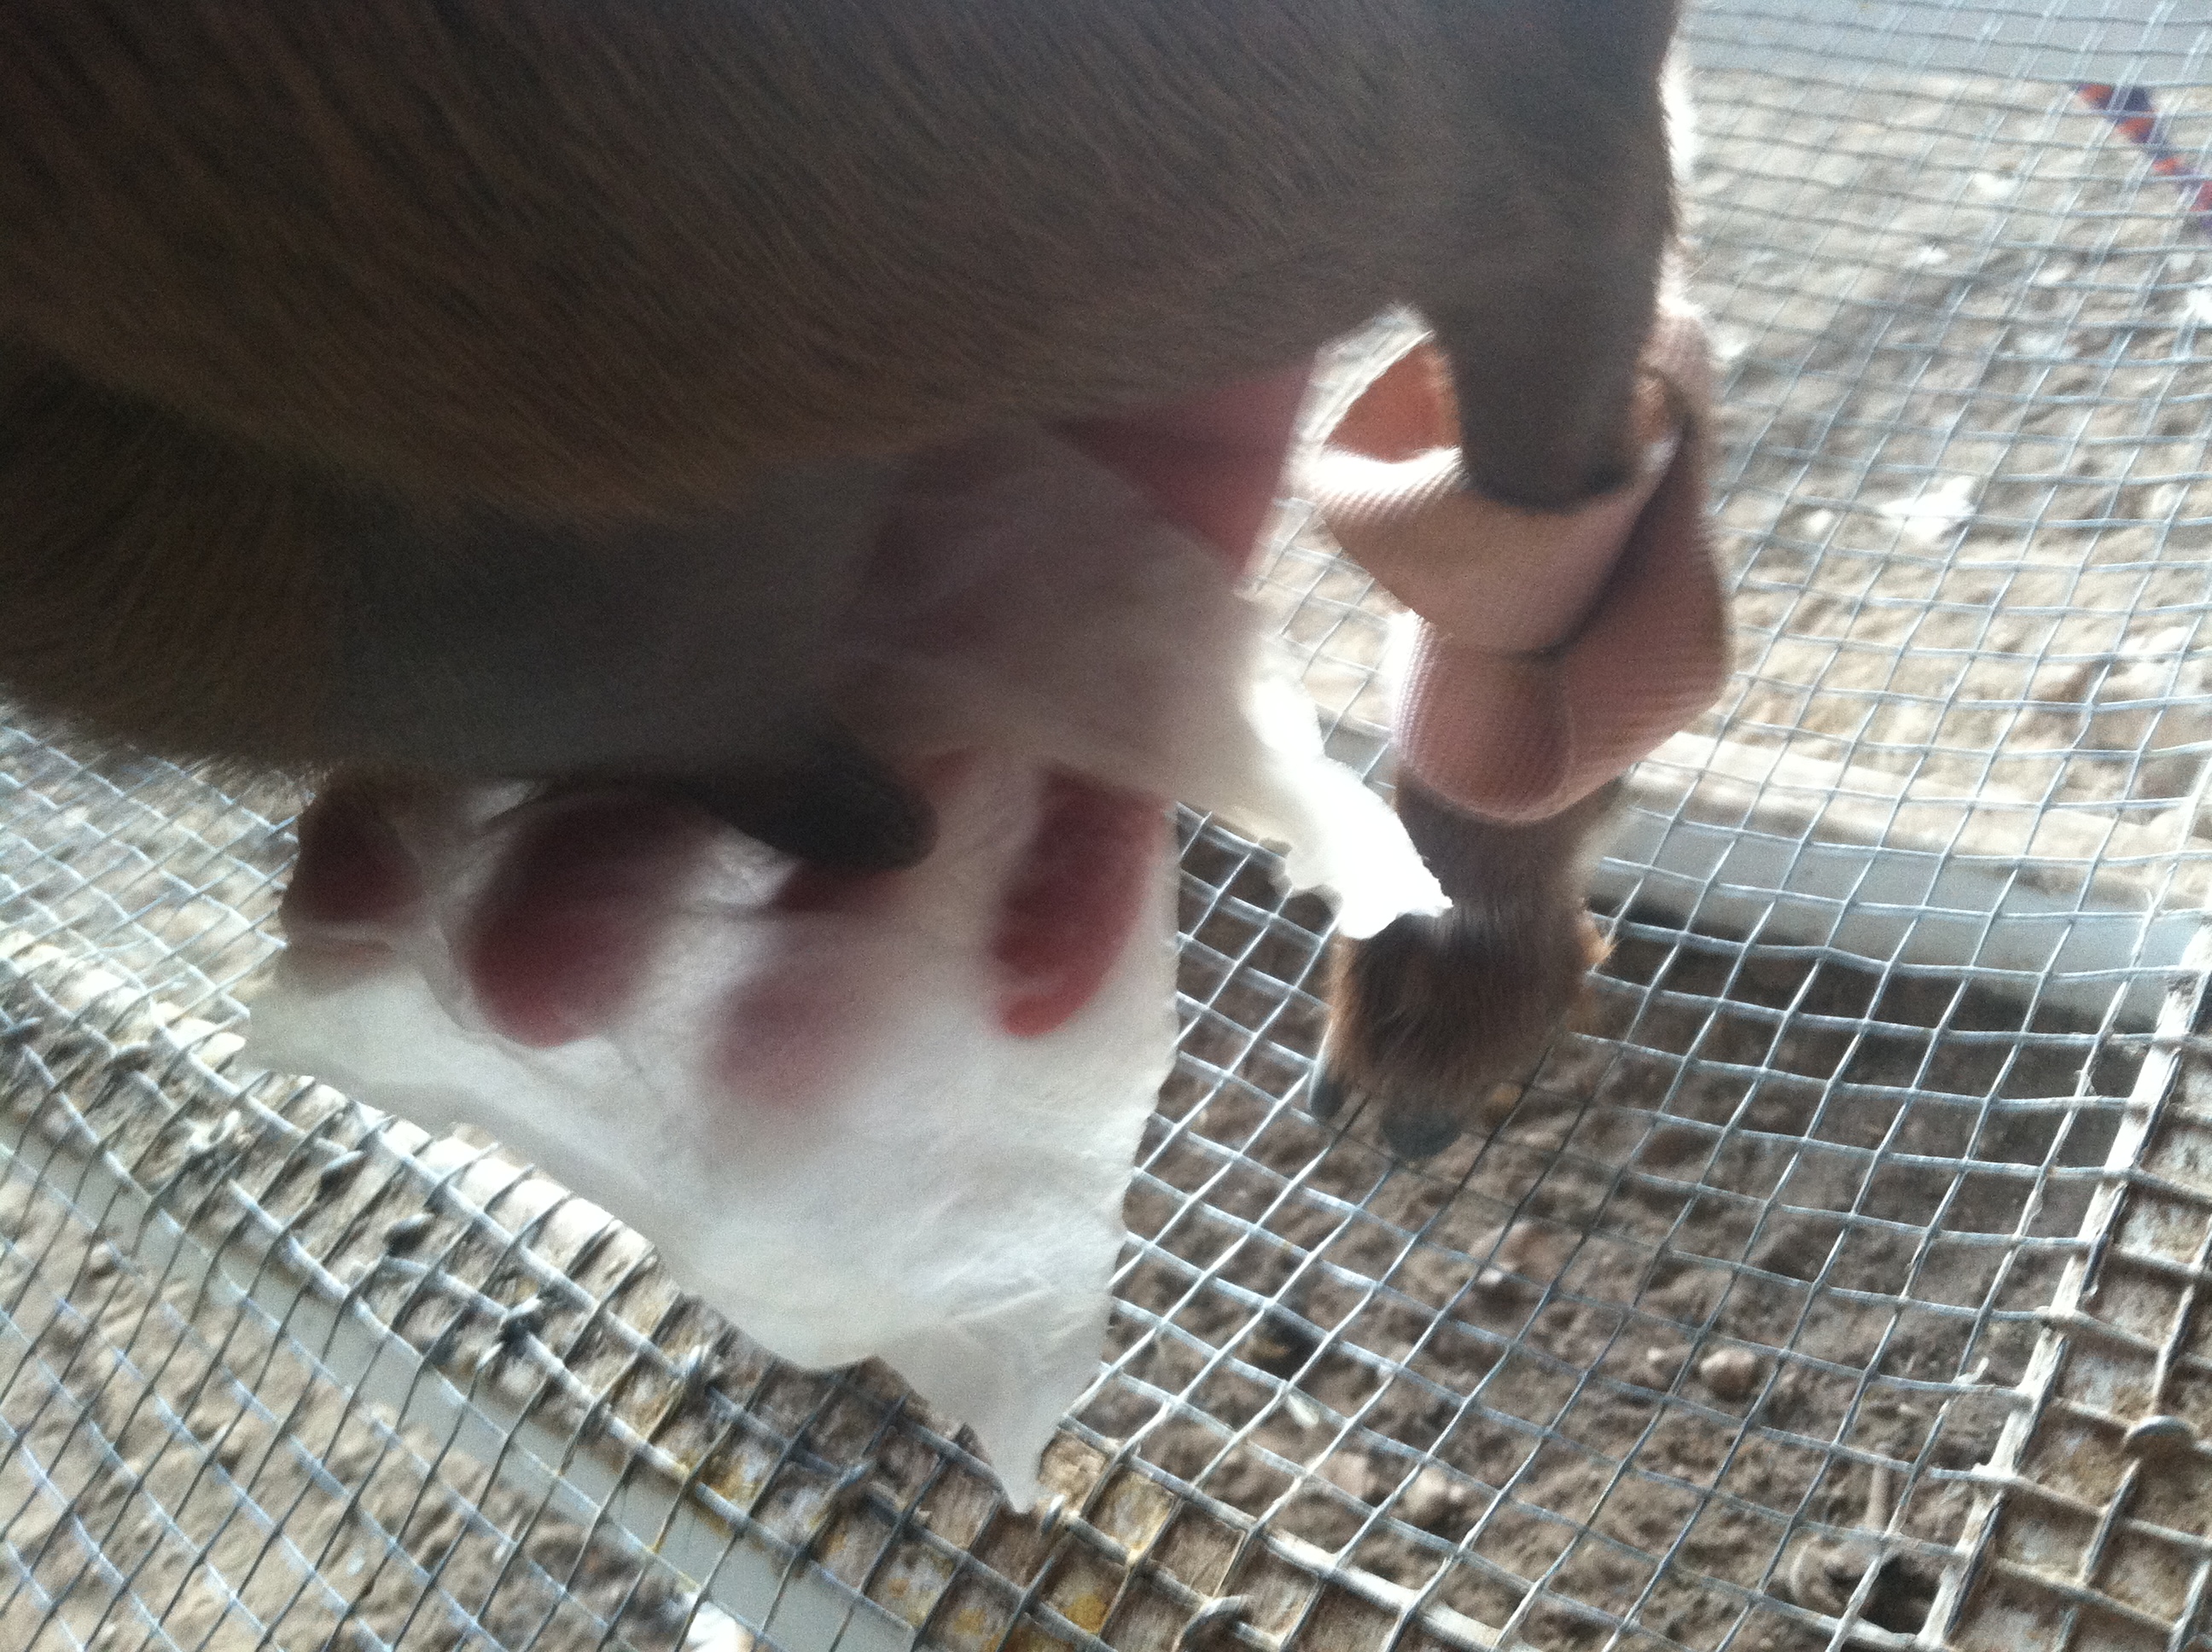

Next, take the black cup and put two squirts of milk from one teat in there. These first squirts gets out the bacteria and allows you to inspect the milk. If it has white clumps or blood, then you should not drink the milk. I would suggest milking the doe separate by hand and last so you do not contaminate. This would be a sick doe and should be taken to the vet because she may have Mastitis or another ailment. Otherwise, the milk is good to go on that side. Pour it out and do the same on the other teat.

If both are fine, then take your milker and start milking! You could also milk by hand into the stainless steel milking bowl. My hand milker milks up until the last bit which I have to milk by hand into the bowl. Usually massaging the udder will help her let down the remaining milk from her udder. If the doe puts her foot in the bowl of milk, you have to pour out the bowl and clean the bowl. Same with if you forget to squirt out the first bacteria. That milk would have to be thrown out and milker cleaned unless you were using the milk for something other than consumption. My cat or chickens usually get a treat when these things happen in the barn. Squirt or dip the teats with the teat wash.
Pour milk into the mason jars and secure with a lid. Put into the ice water bath in the large pot. Continue on the same steps with the rest of the does until all are milked. Make sure that the milk is still ice cold and put into the refrigerator after milking. Take hot water, bleach, and a clean wash rag and clean all the supplies. Using a clean wash rag every cleaning helps prevent contamination of germs to the equipment.
Make sure that the container you will use has been cleaned on the inside with hot bleach water (jar or jug) and the top as well. Put the funnel in the mouth of the container with the sieve paper in the funnel and pour the cold milk from the fridge in through the sieve. The sieve catches all of the particles like the missed hair or other things like dirt. Pour until full, date with a permanent marker, and secure the lid. The milk should last from 1 to 2 weeks in the fridge. Make sure all supplies are clean for the next day’s milking.
And that is how you milk mini goats! Thank you for reading and if you have any questions or comments, feel free to leave a comment below!

