Fall/Winter 2025 Planting/Harvesting List:
Updated 9/24/2025 – Michelle
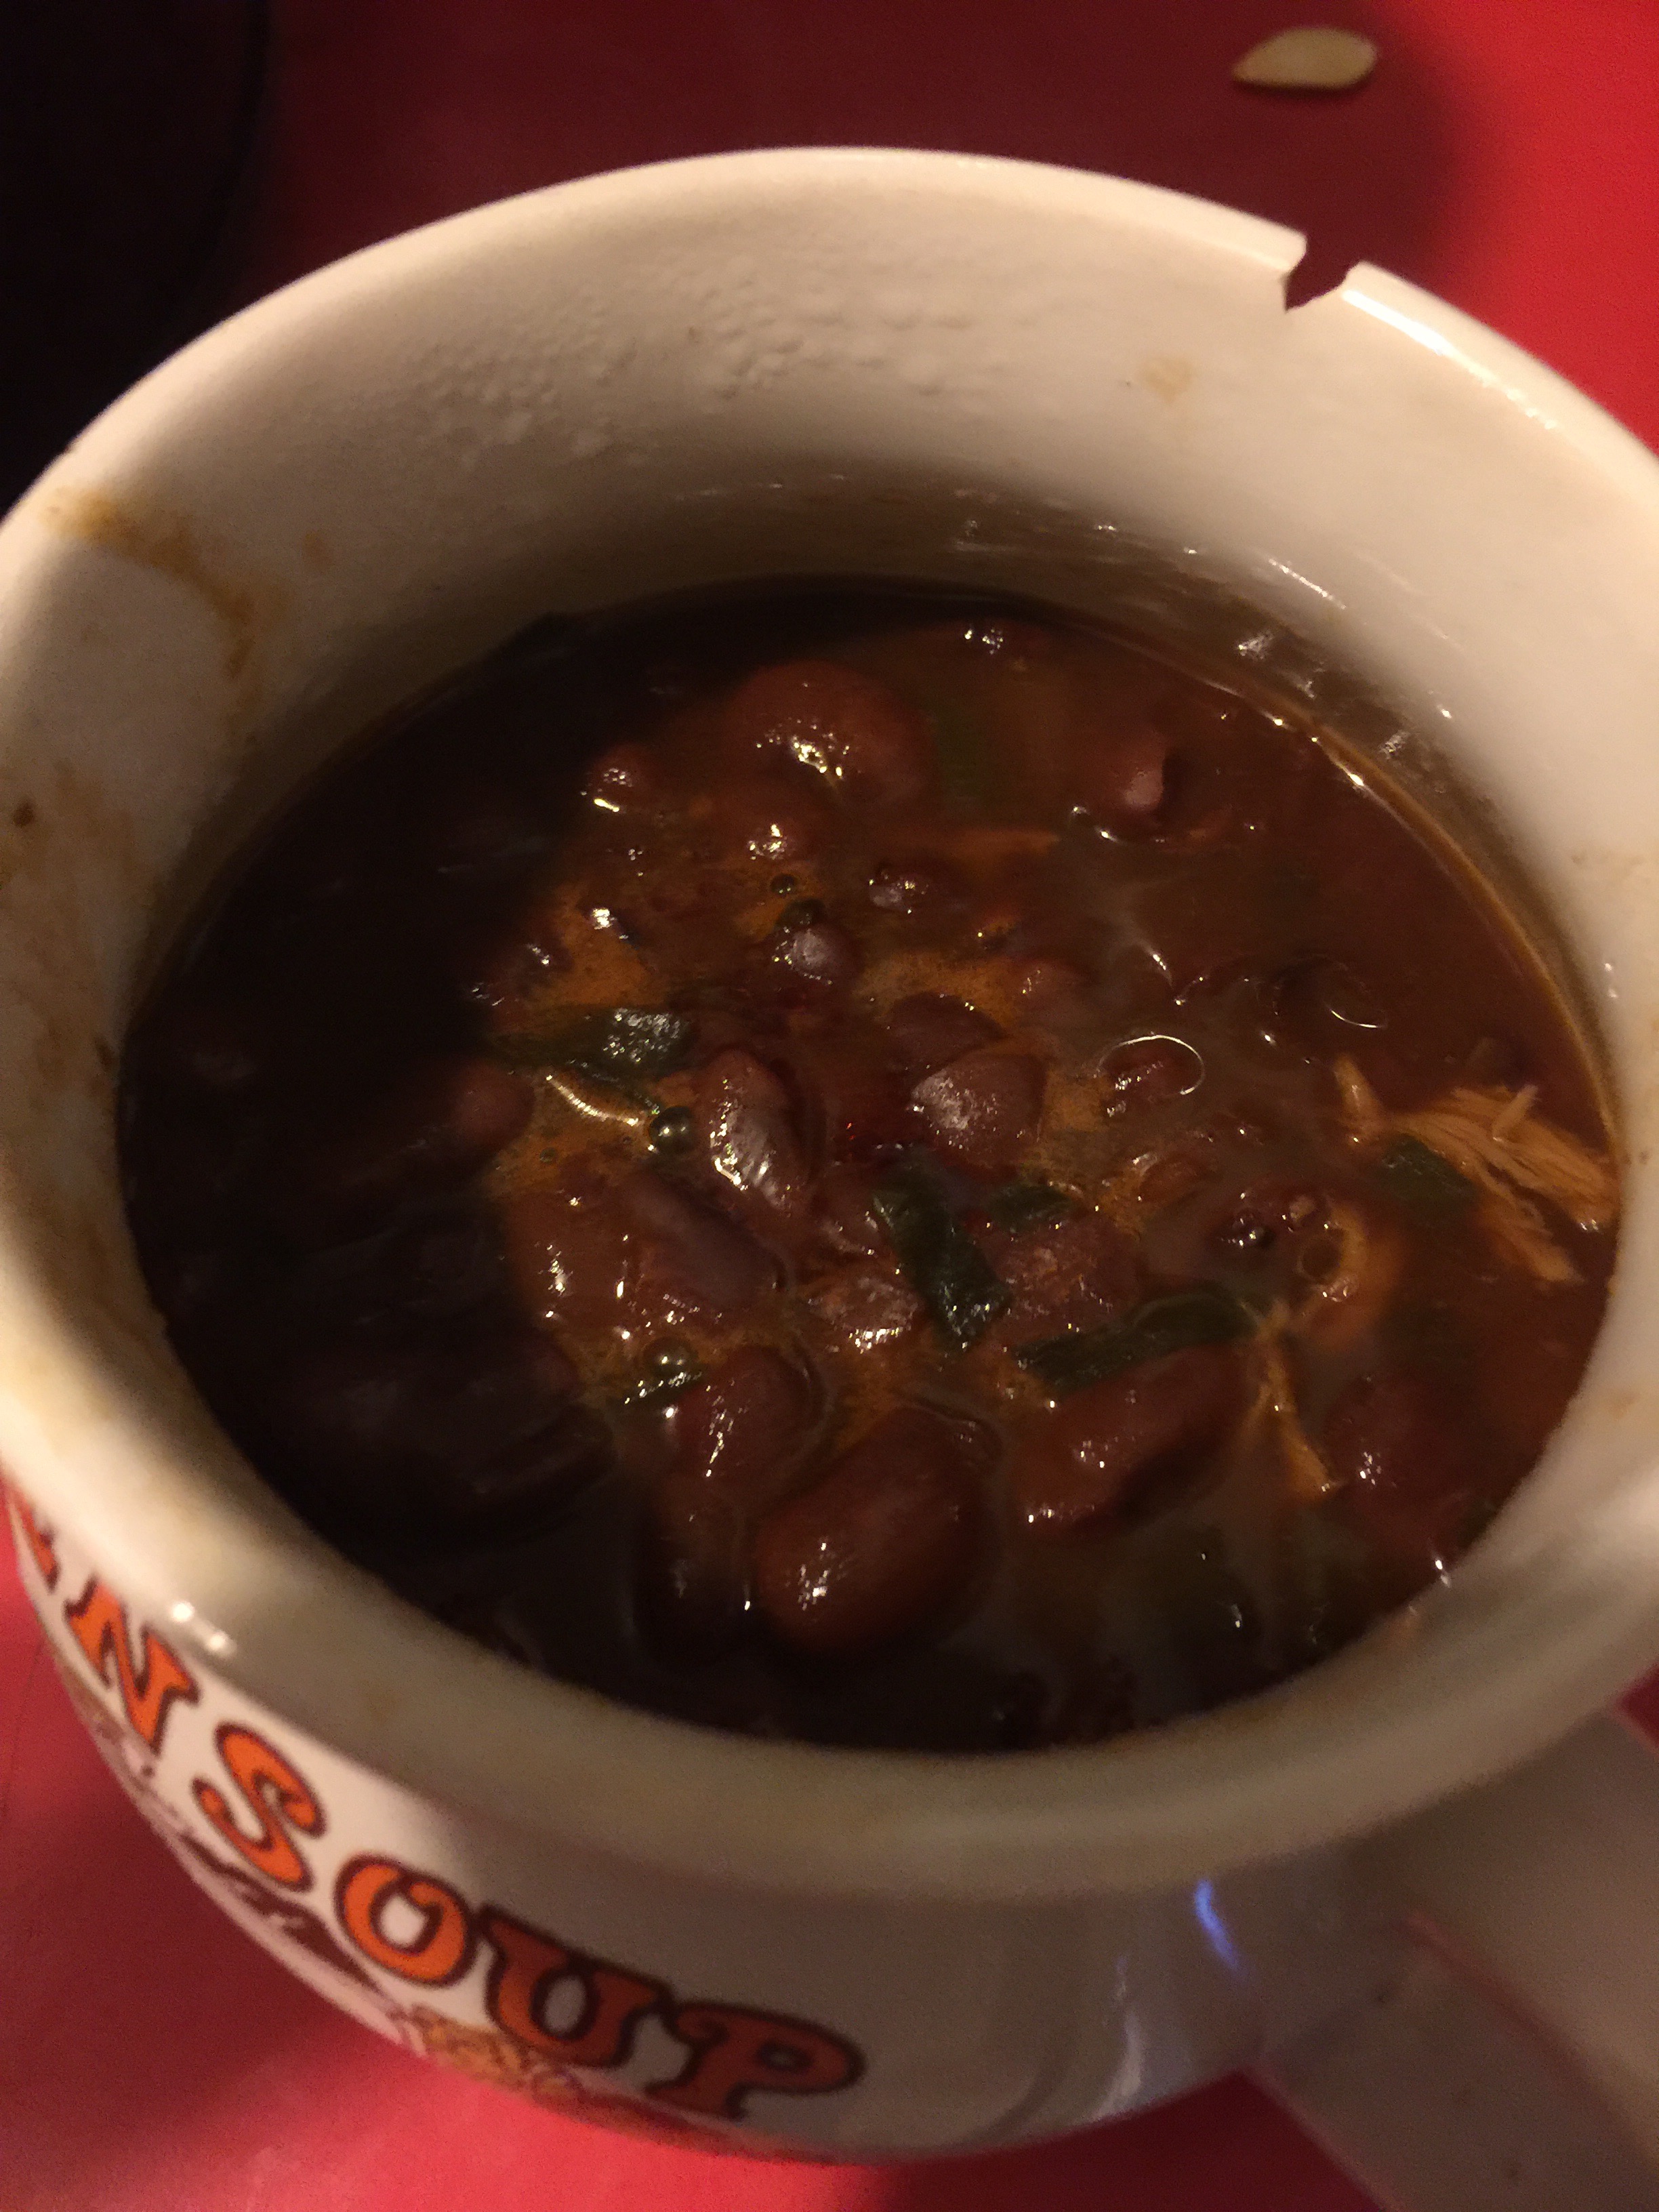
Produce we have for sale at the moment:
- Okra – limited
Here is what we have planted and on the way:
- Kale: Red russian, blue dwarf, siberian
- Lettuce: oak leaf, waldmans, red romaine, red curly
- Cucumbers: slicing and pickling
- Tomatoes: yellow pear, florintino, slicing, cherry
- Butternut squash
- Acorn squash
- Black eyed peas/purple hull peas
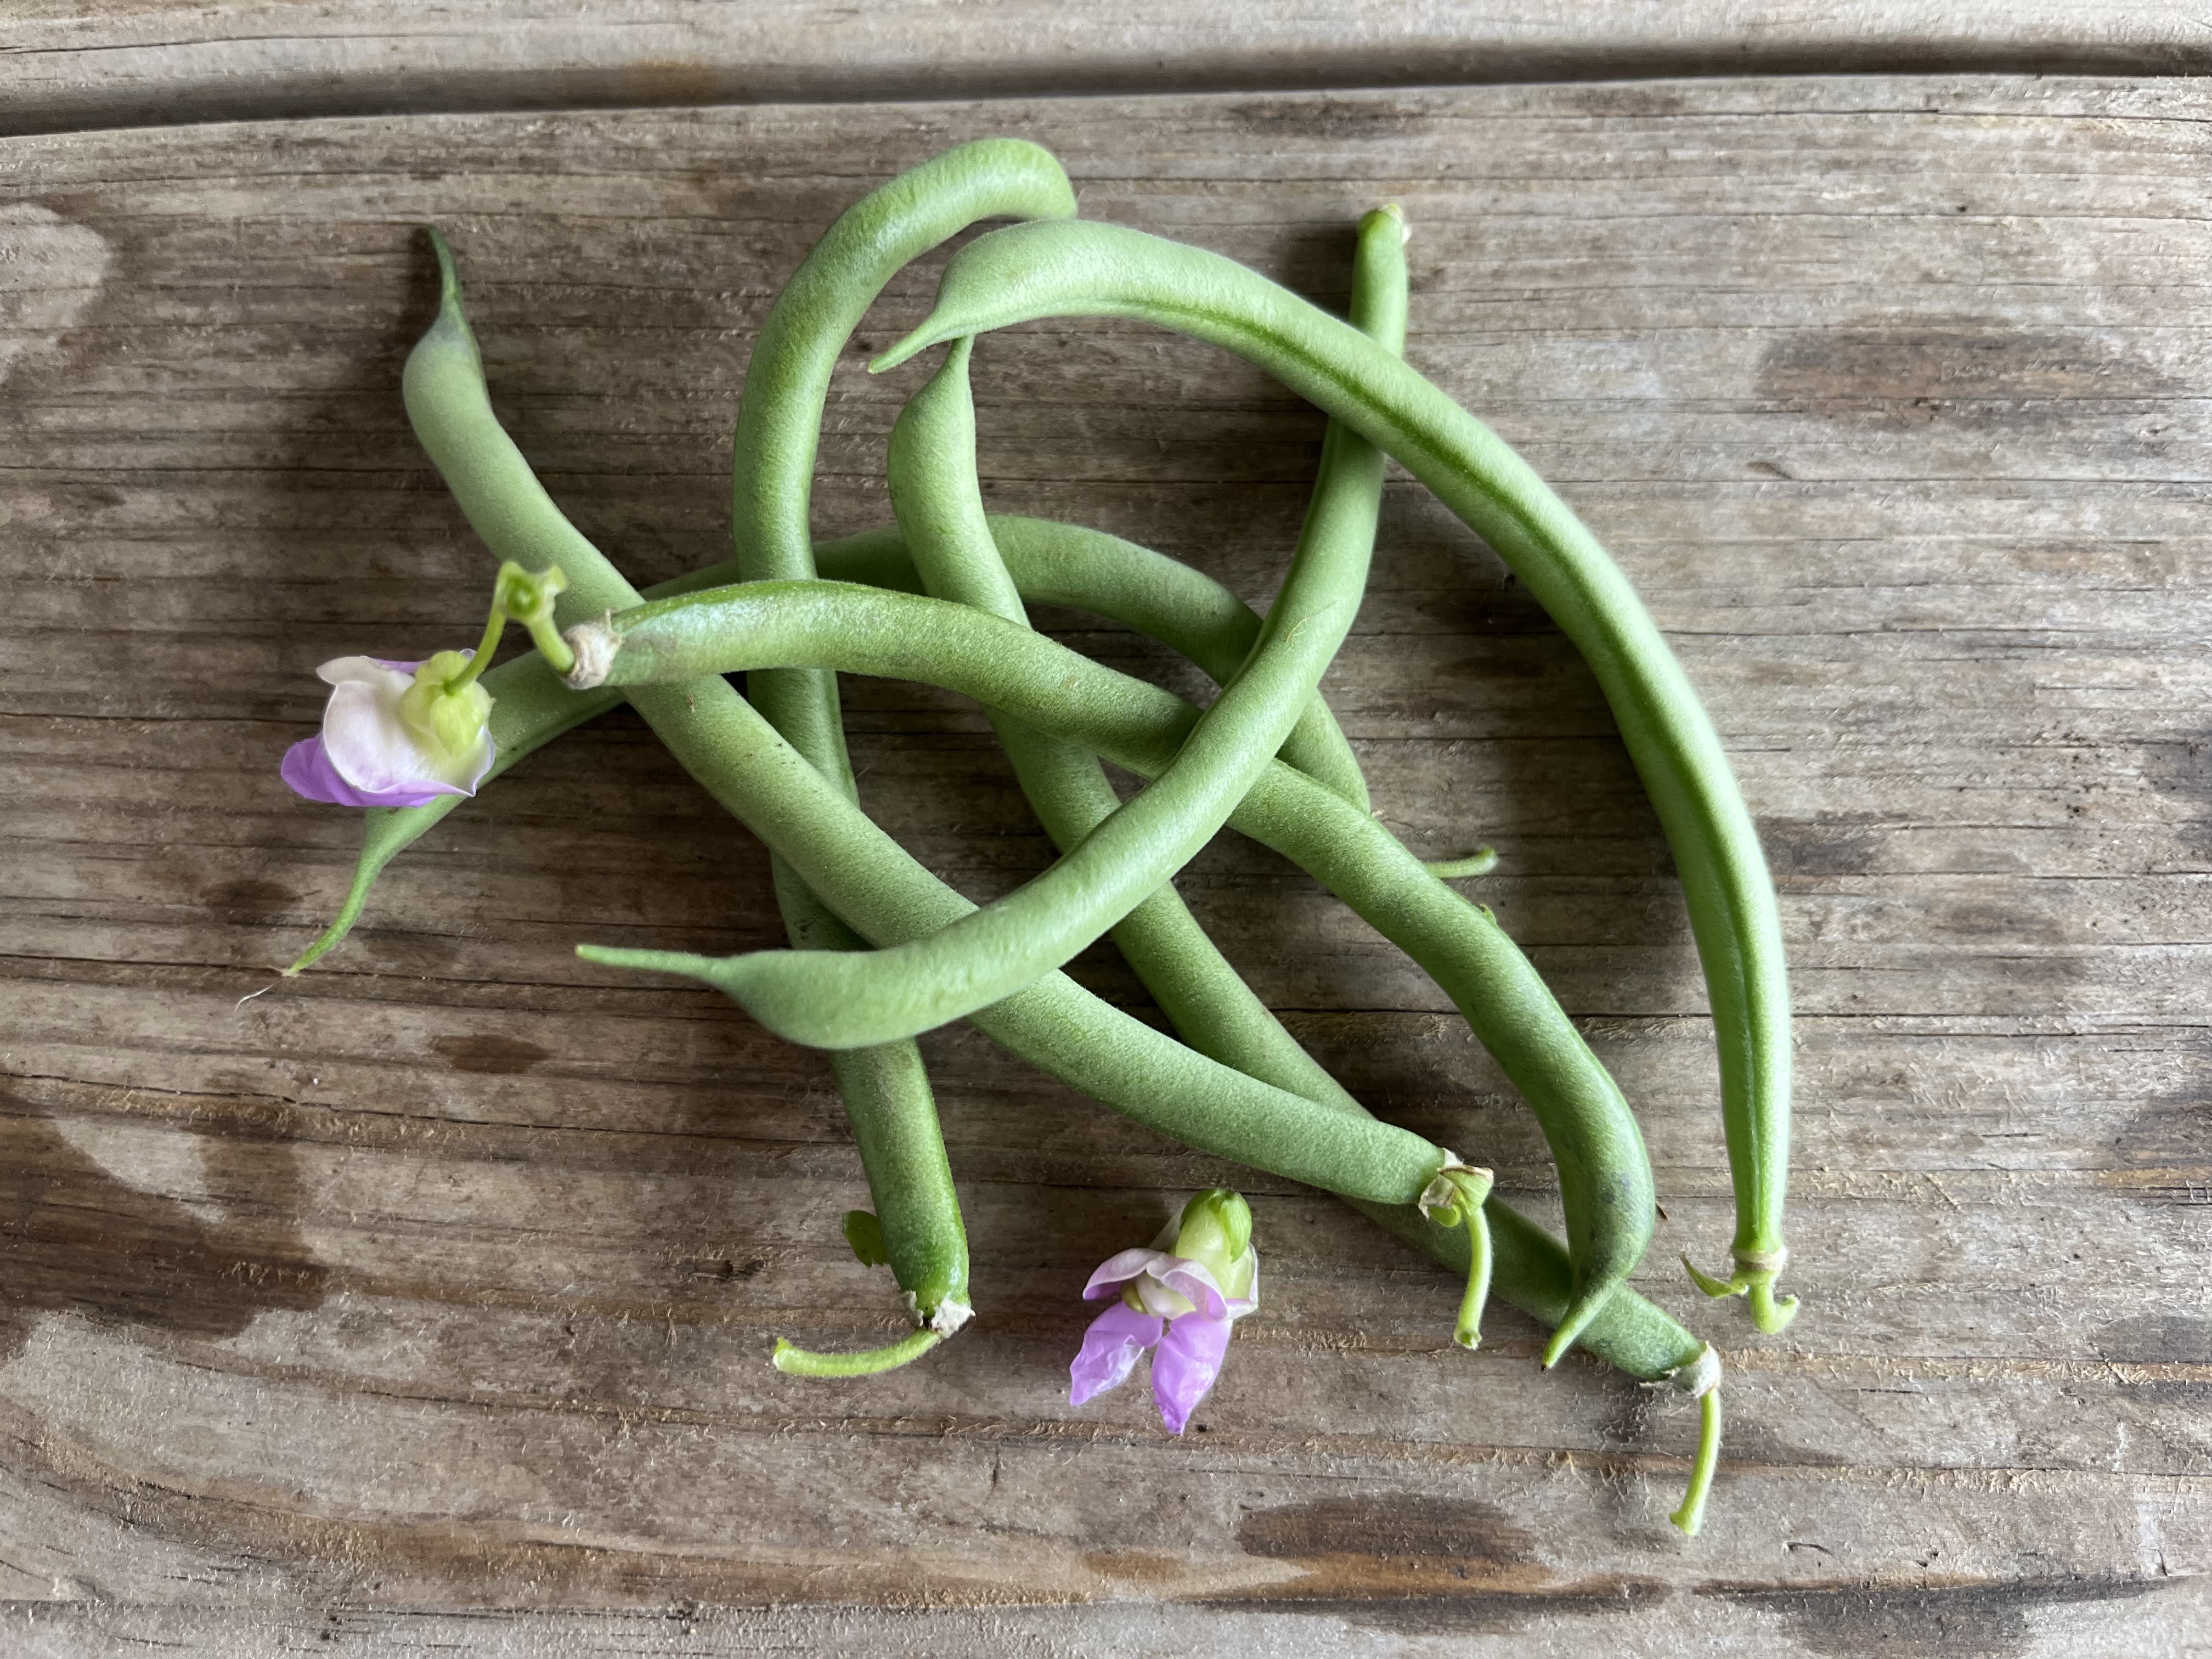
- Green beans
- Zucchini
- Yellow squash **plants have silver leaf – may be limited*
- Radishes: French breakfast, pink beauty, watermelon, cherry belle.
- Turnips: golden globe & white egg.
- Southern Mustard greens
- Green Sprouting broccoli
- Banana squash & buttercup squash **Striped cucumber beetle takeover – may be limited*
Planting before October 2025:
- Purple sprouting broccoli
- Arugula
- Green onions
- Carrots
- Beets
- Sprouting broccoli
- Broccoli
- Cabbages: red acre, copenhagen, savoy.
- Cauliflower
- Cilantro
- Dill
- Spinach
Normal Scheduled Plantings:
- Oct 1st – green onions – start harvesting 3 weeks after planting
- Jan-Feb – sugar snap peas – start harvesting a month-ish after planting
- Feb-Mar – potatoes – start harvesting 3 months after planting
- Aug 1-15th – Fall planting – ready starting in Oct
- Mar 1st-15th – Spring planting – ready starting in May
Updated 9/24/2025 – Michelle
** Listed is what is planted – we grow organically, and some produce may succumb to pests, disease, weeds, or weather-related crop failures. We try our best to bring healthy food to you!