

I love sunflowers so much. To me, they symbolize the start of Summer and the harvest of Fall. The bright yellow to orange or red color always lights up people’s faces at the market. Some like to grow and keep them in the garden, others like to cut them for fresh flowers. We do both!
This year we had close to 100 sunflowers in the garden. It will be the third year of drying, saving, and planting our own seeds from the original seeds. Seed saving is so easy and your initial investment of the first seeds is the only money you would spend. The joy of saving is that you also can not predict what will come of your seeds. Sometimes they cross-pollinate and become a whole different variety. You can notice that the flower color you planted is not the same color the next year- or one year the flower is huge and the next it has lots of little ones. This year we had a new variety that made the flower a neon yellow color when the year before they were all dark yellow. Sometimes some of your seeds just won’t produce. You never know what you’re going to get!
It is super easy to save seeds. Below are the steps with pictures:
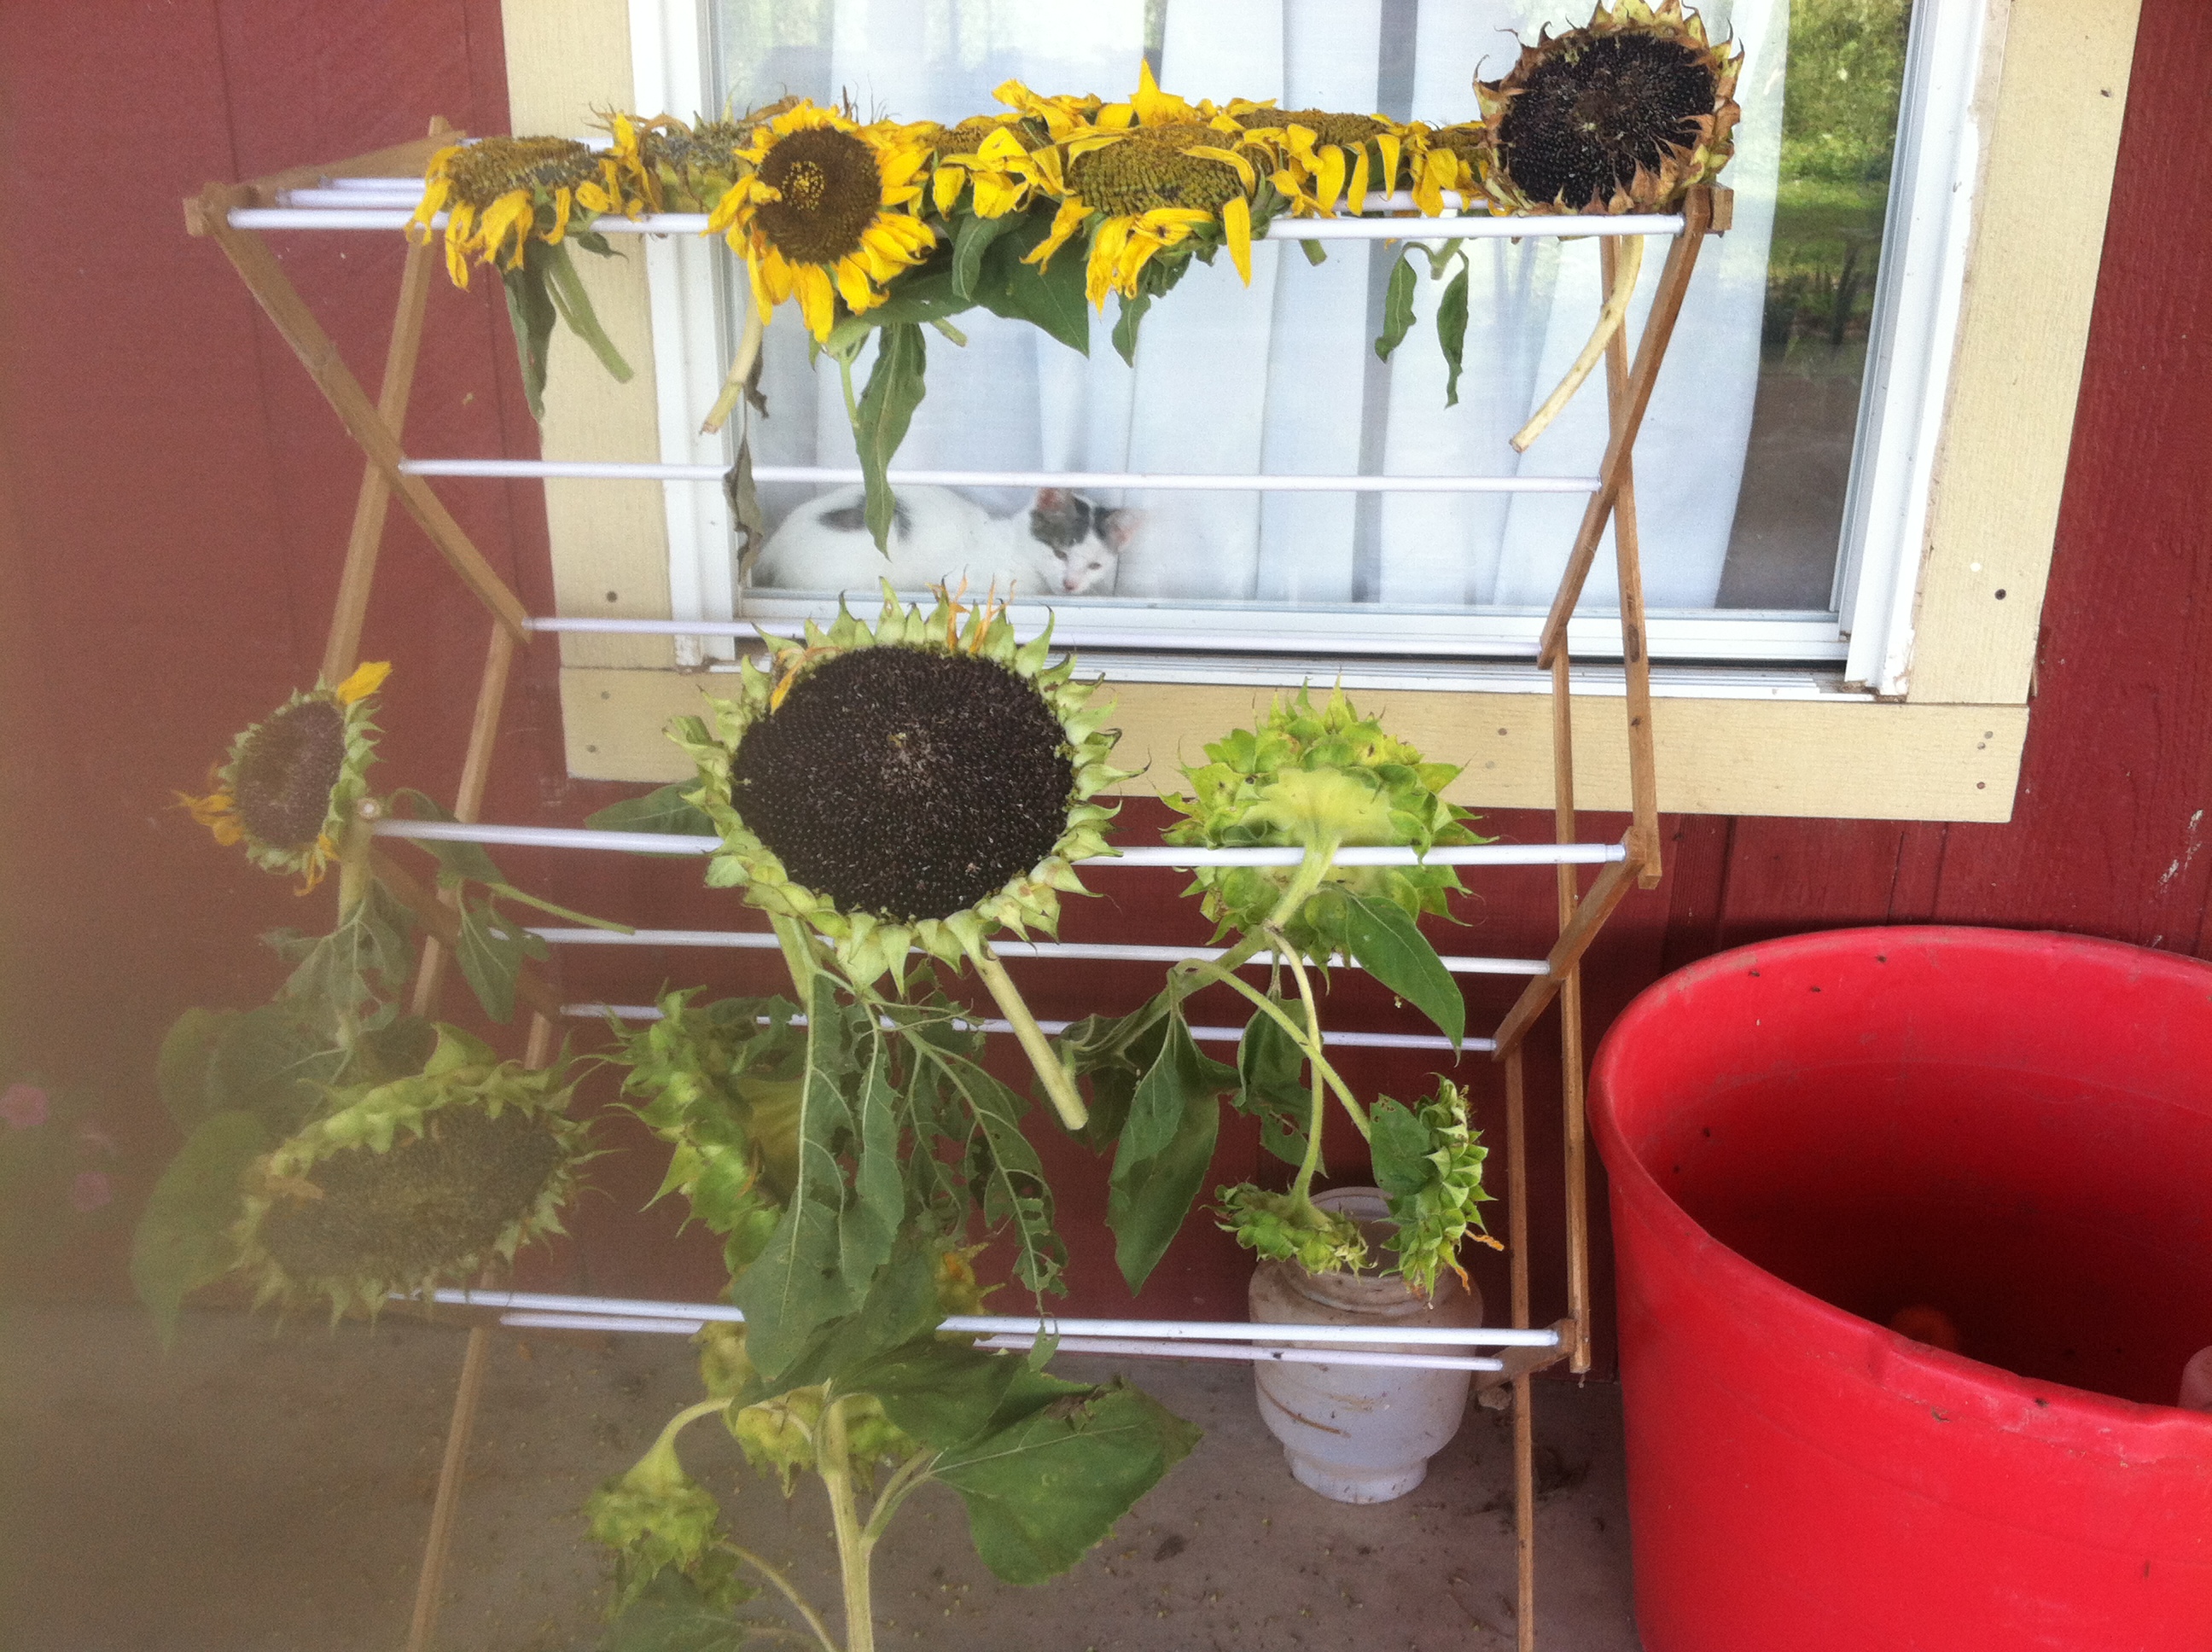
First, you should select your Sunflowers from your garden. Once your flowers have sprung from the ground and delighted your days, they will become almost wilted. They will loose their flowers and pollen holders and droop over on the stalk. This is when the oportune time is to start drying your seeds. Some people leave them on the plant to dry, but usually pests and birds get to them before you can harvest!
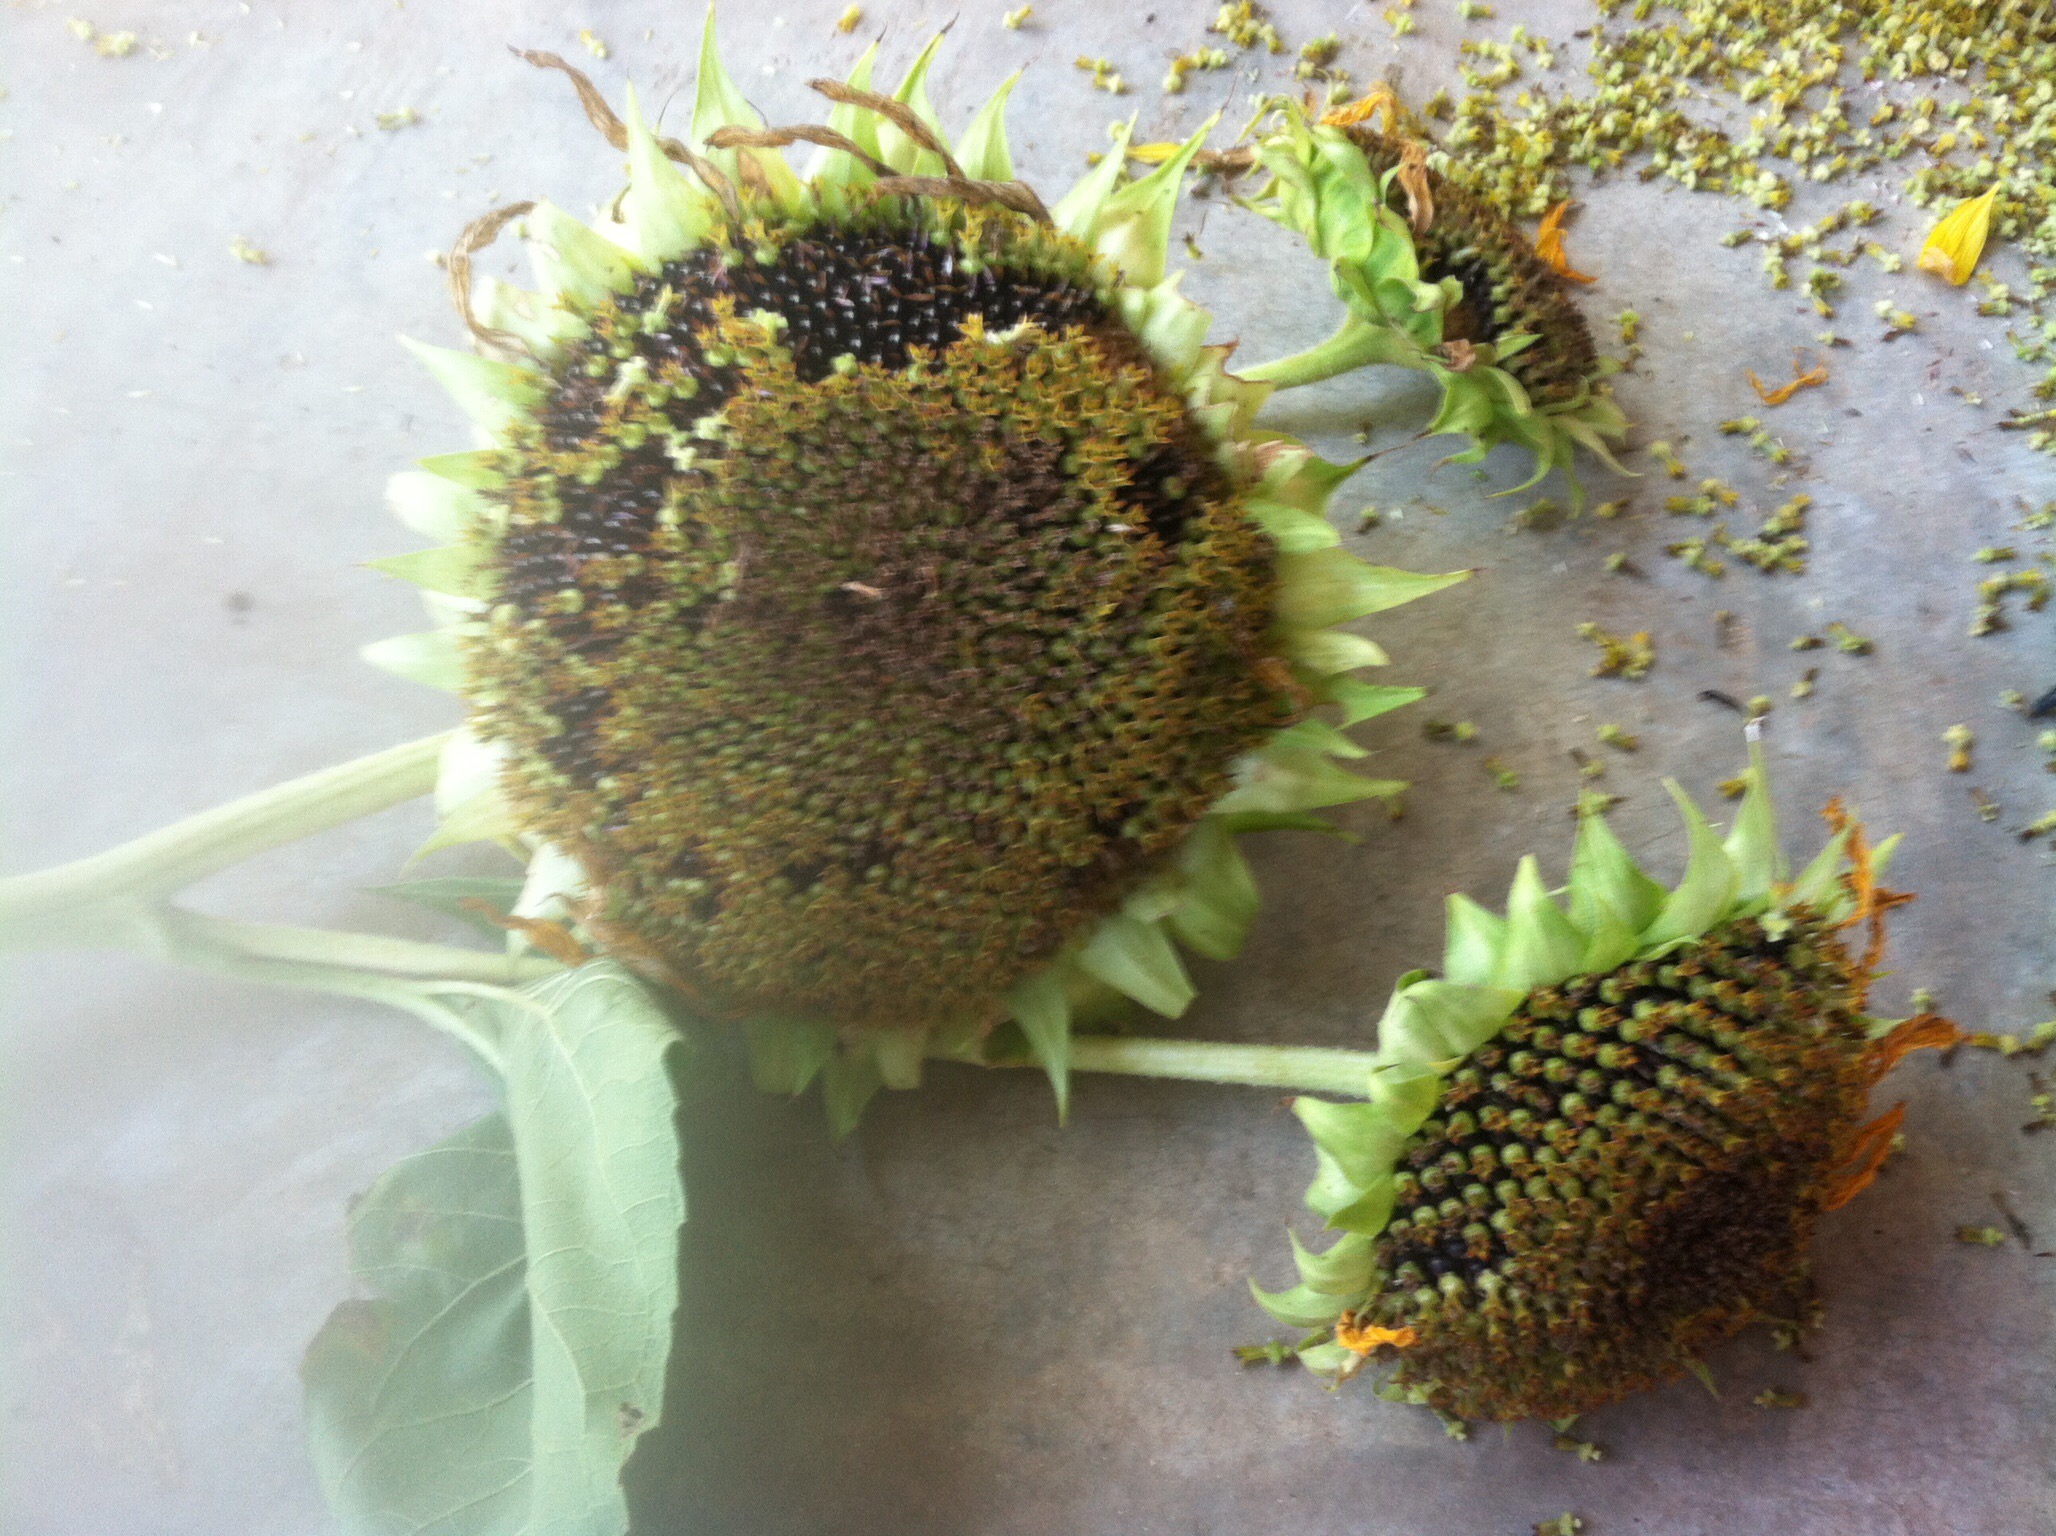
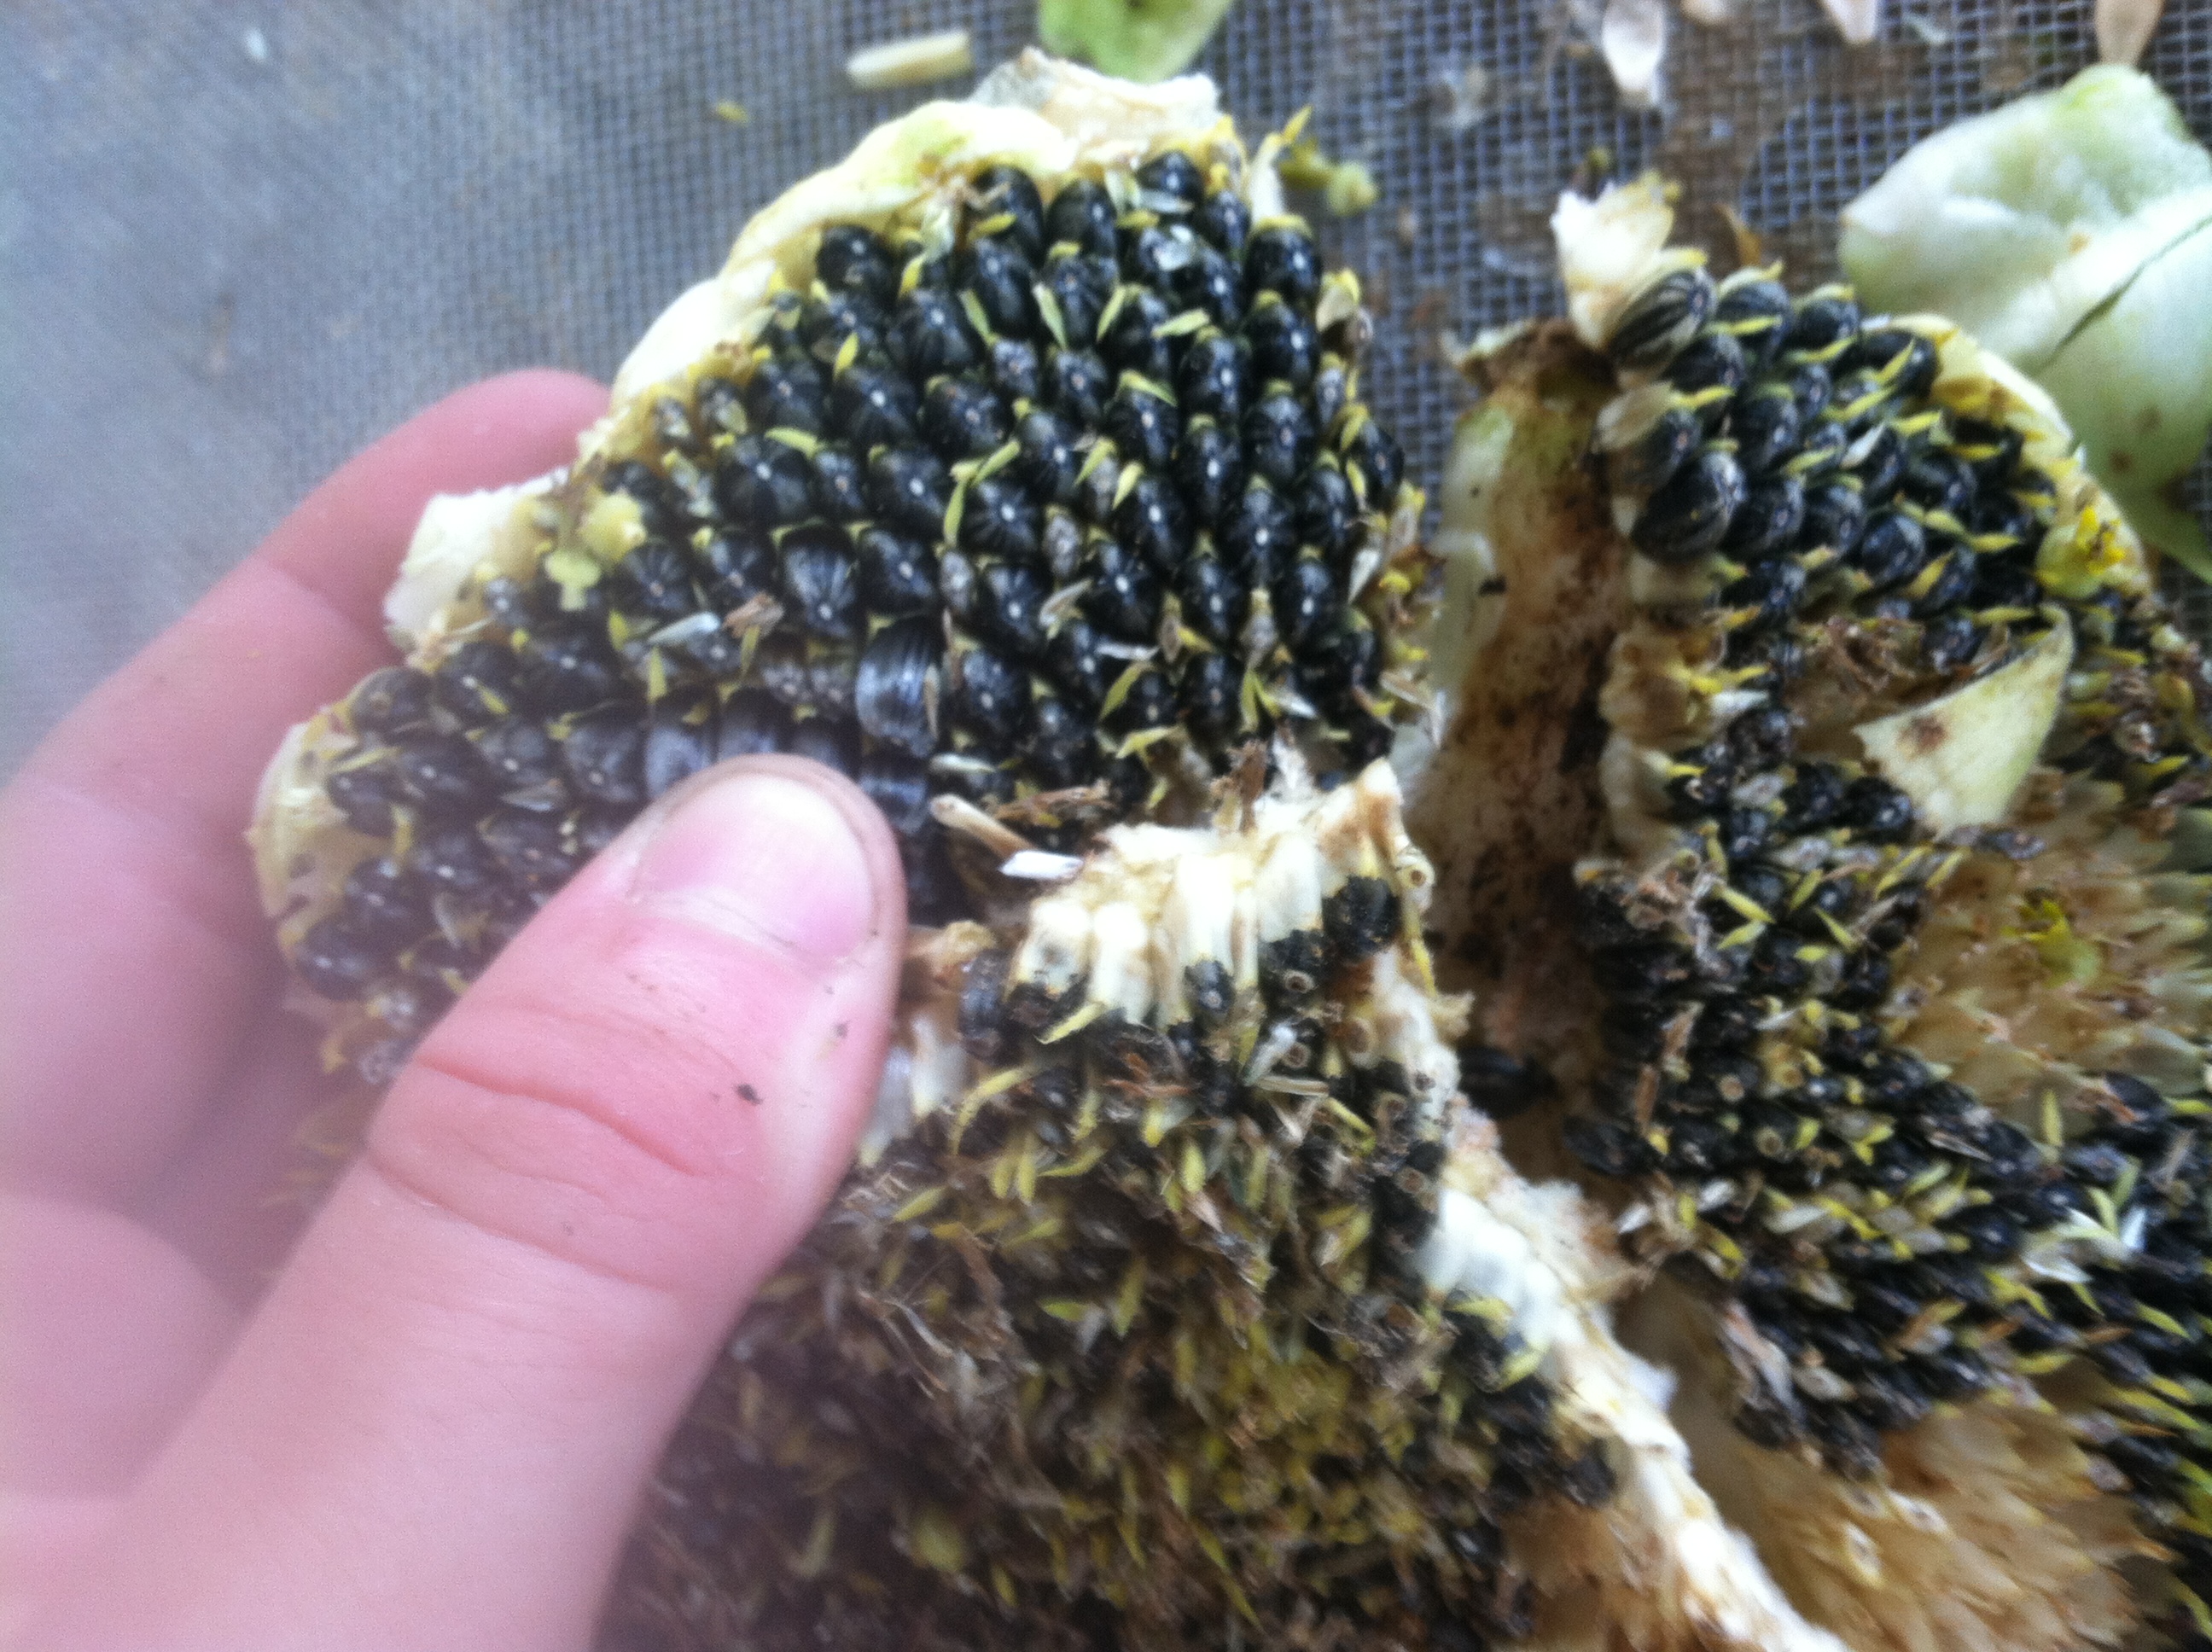
When you look at your flowers, make sure you can see the seeds – undeveloped seeds will not produce and the seed head will get moldy. They should look like the two pictures below:

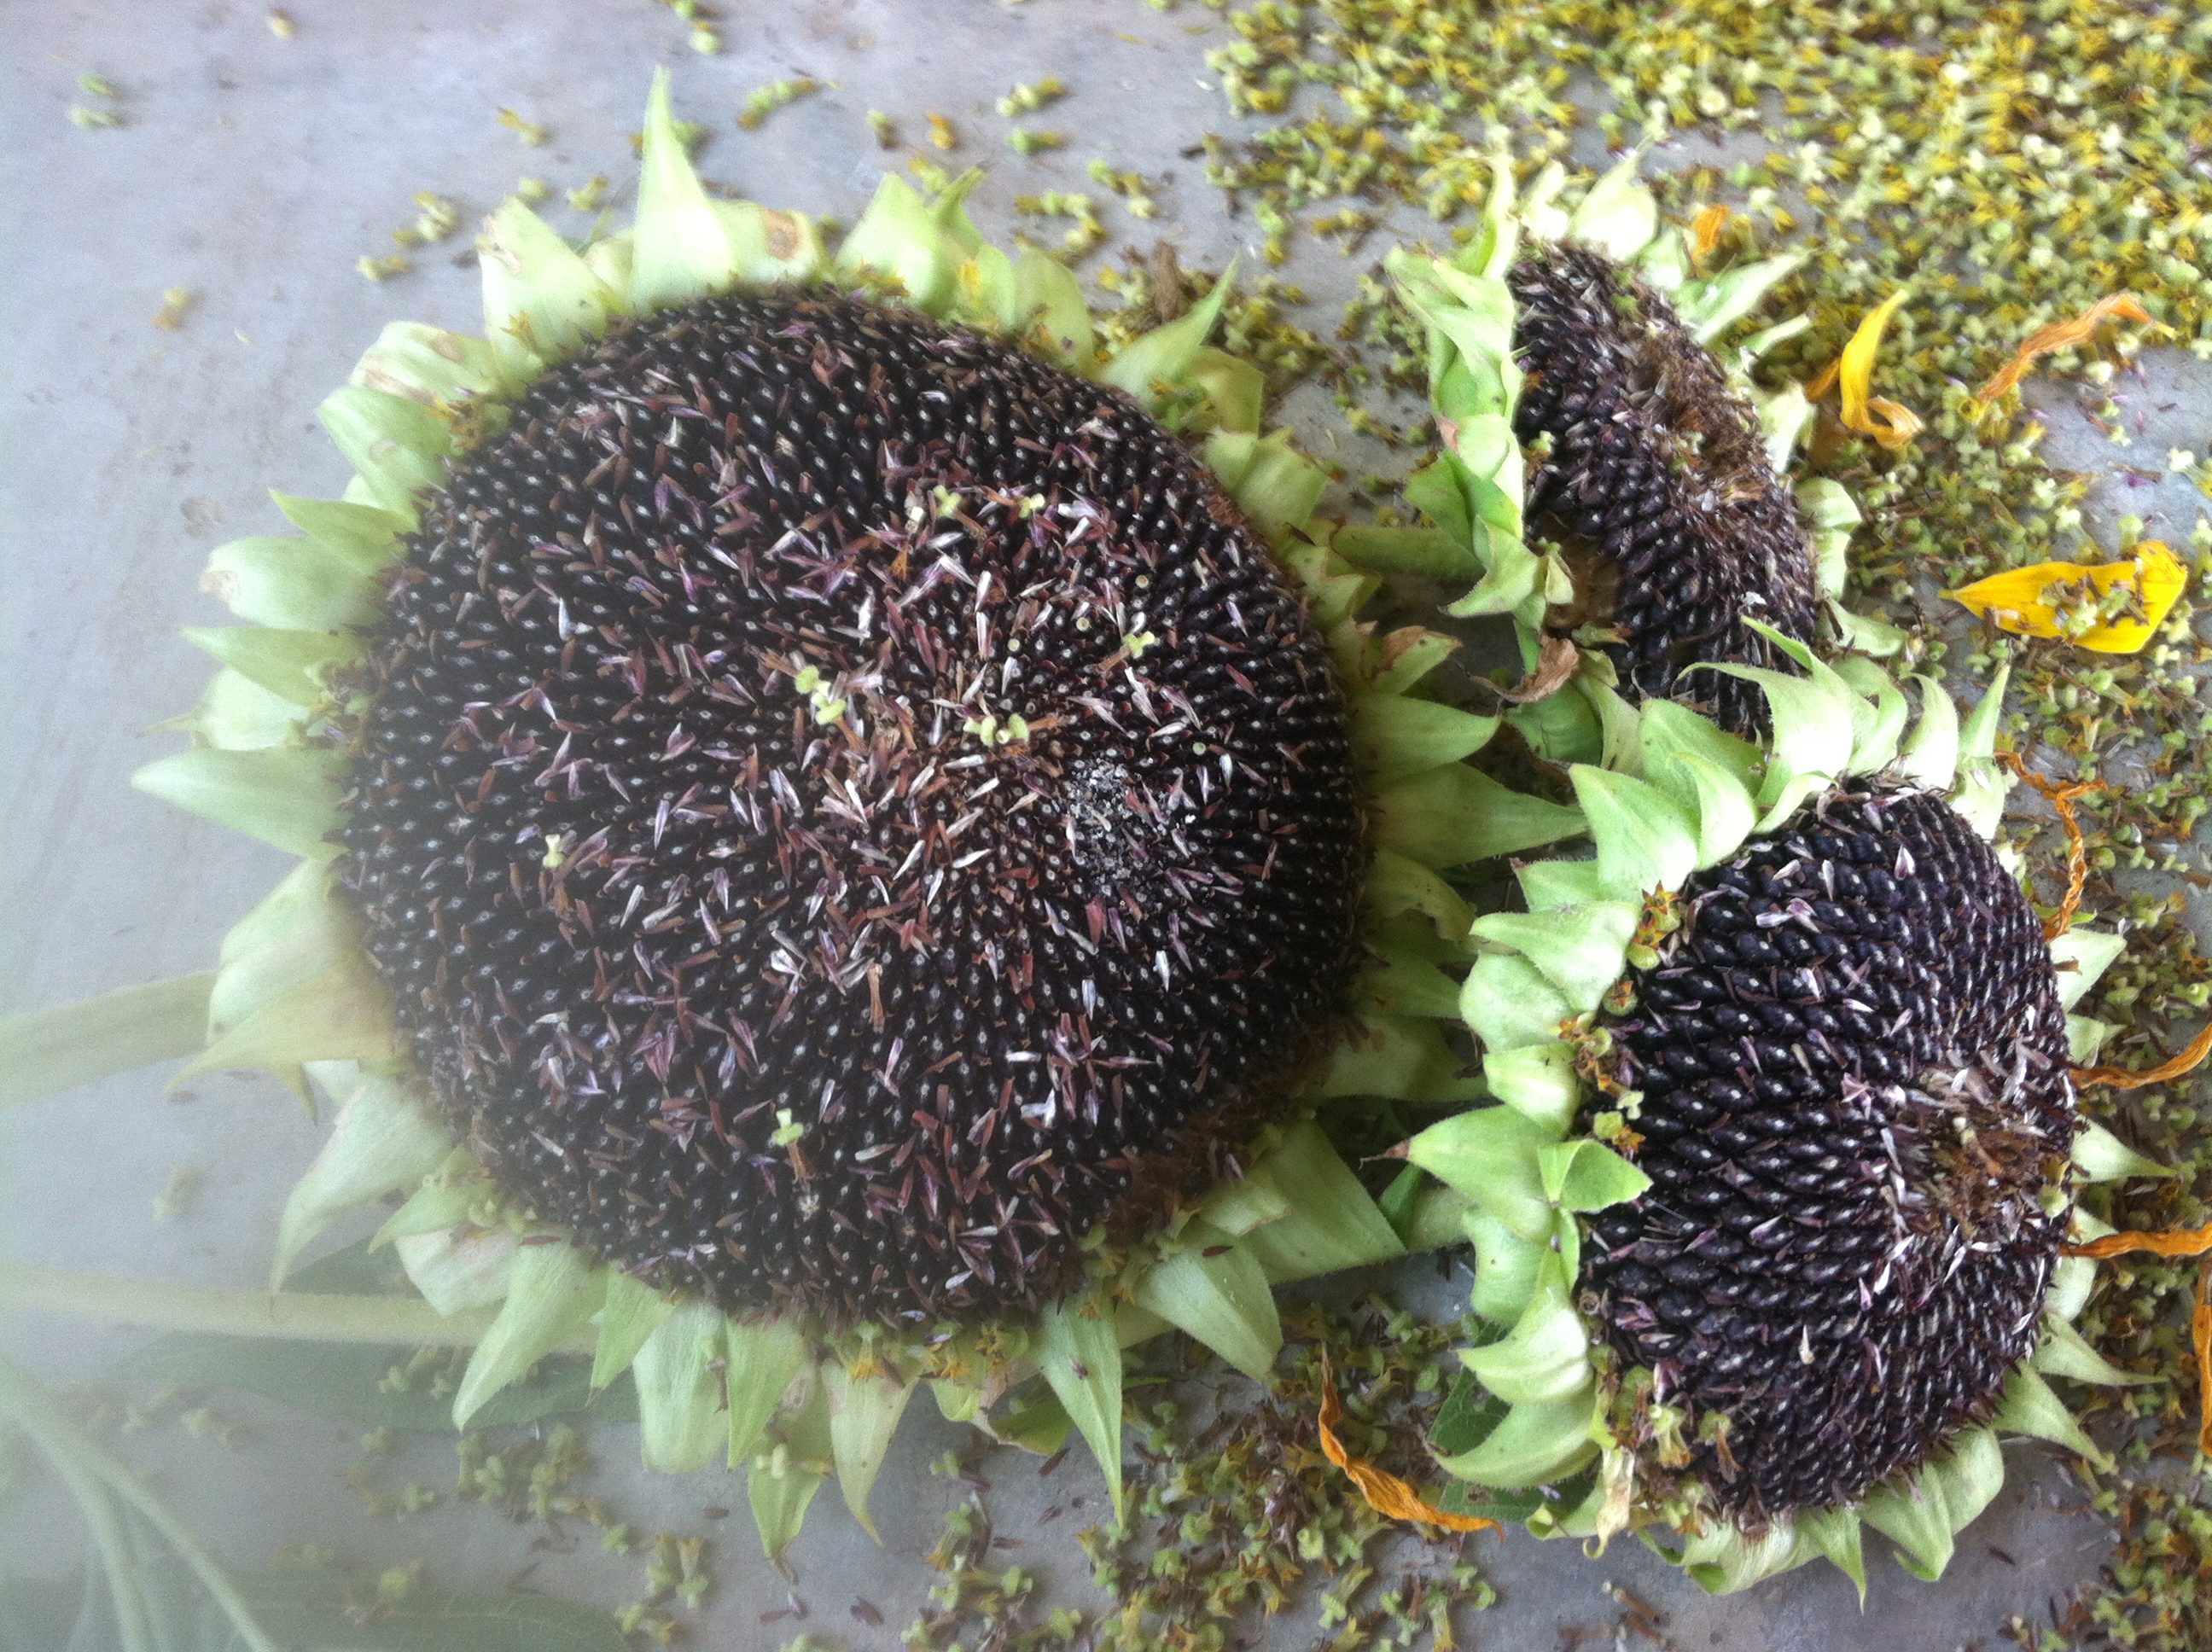
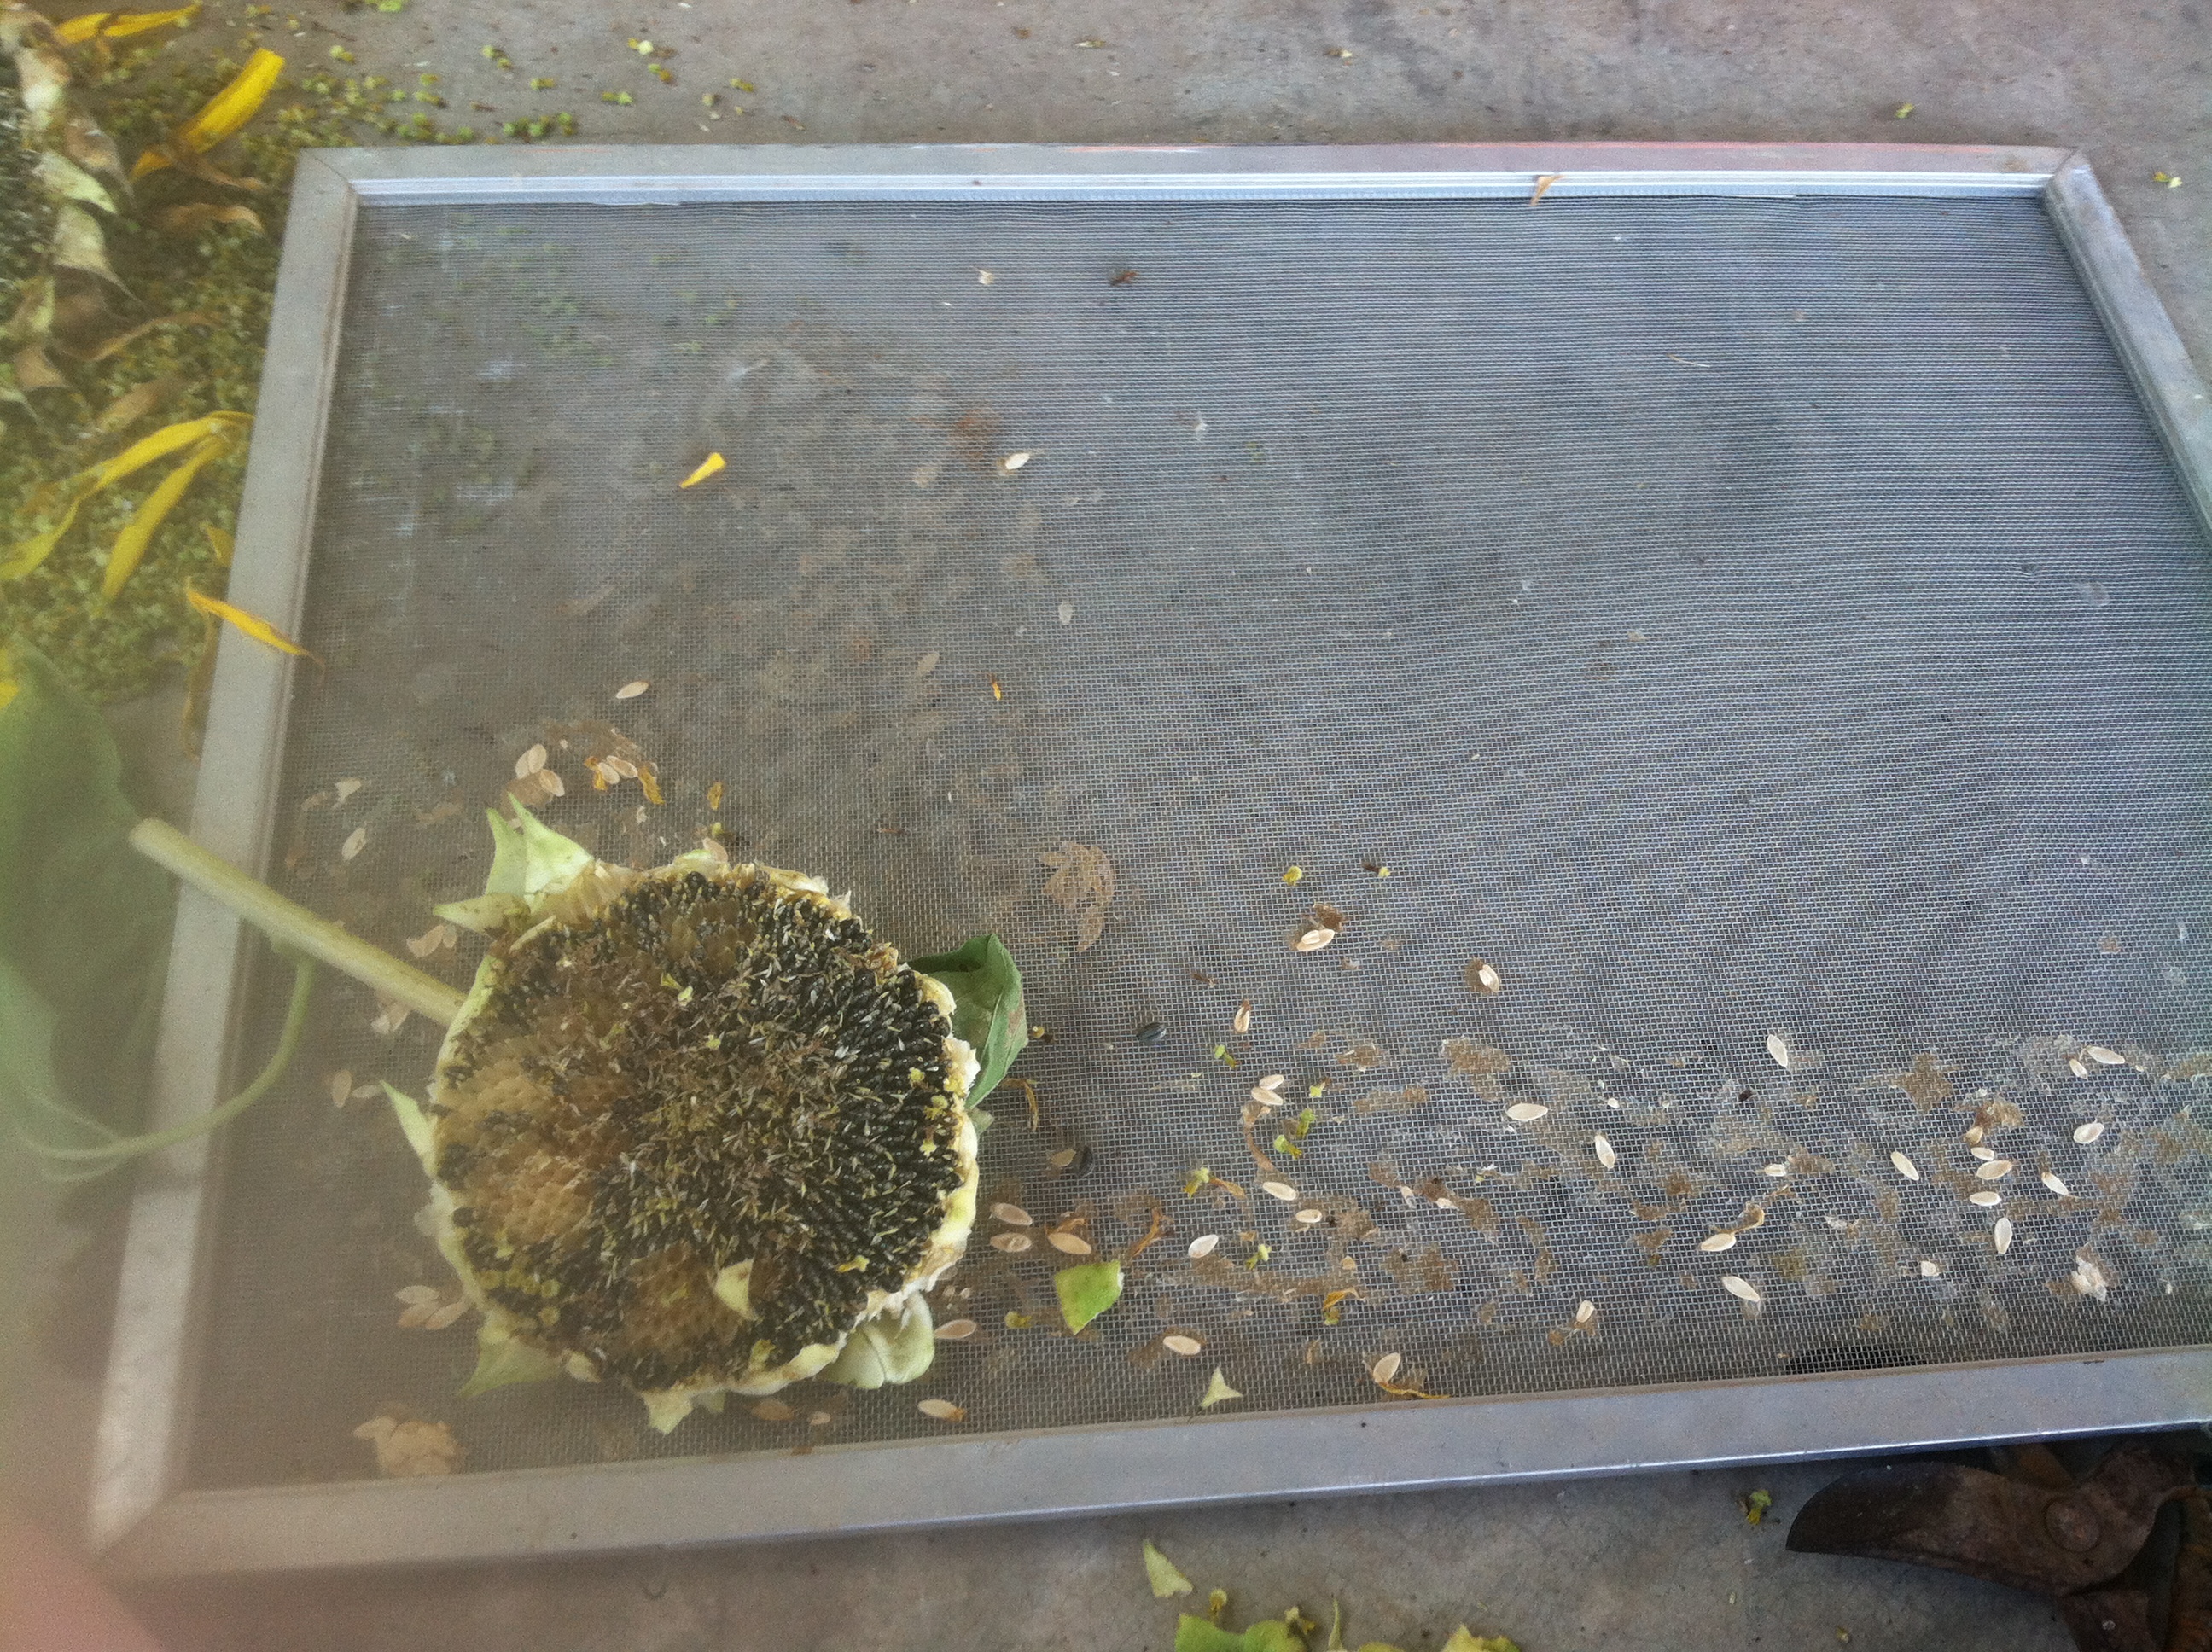
The birds got to this one:

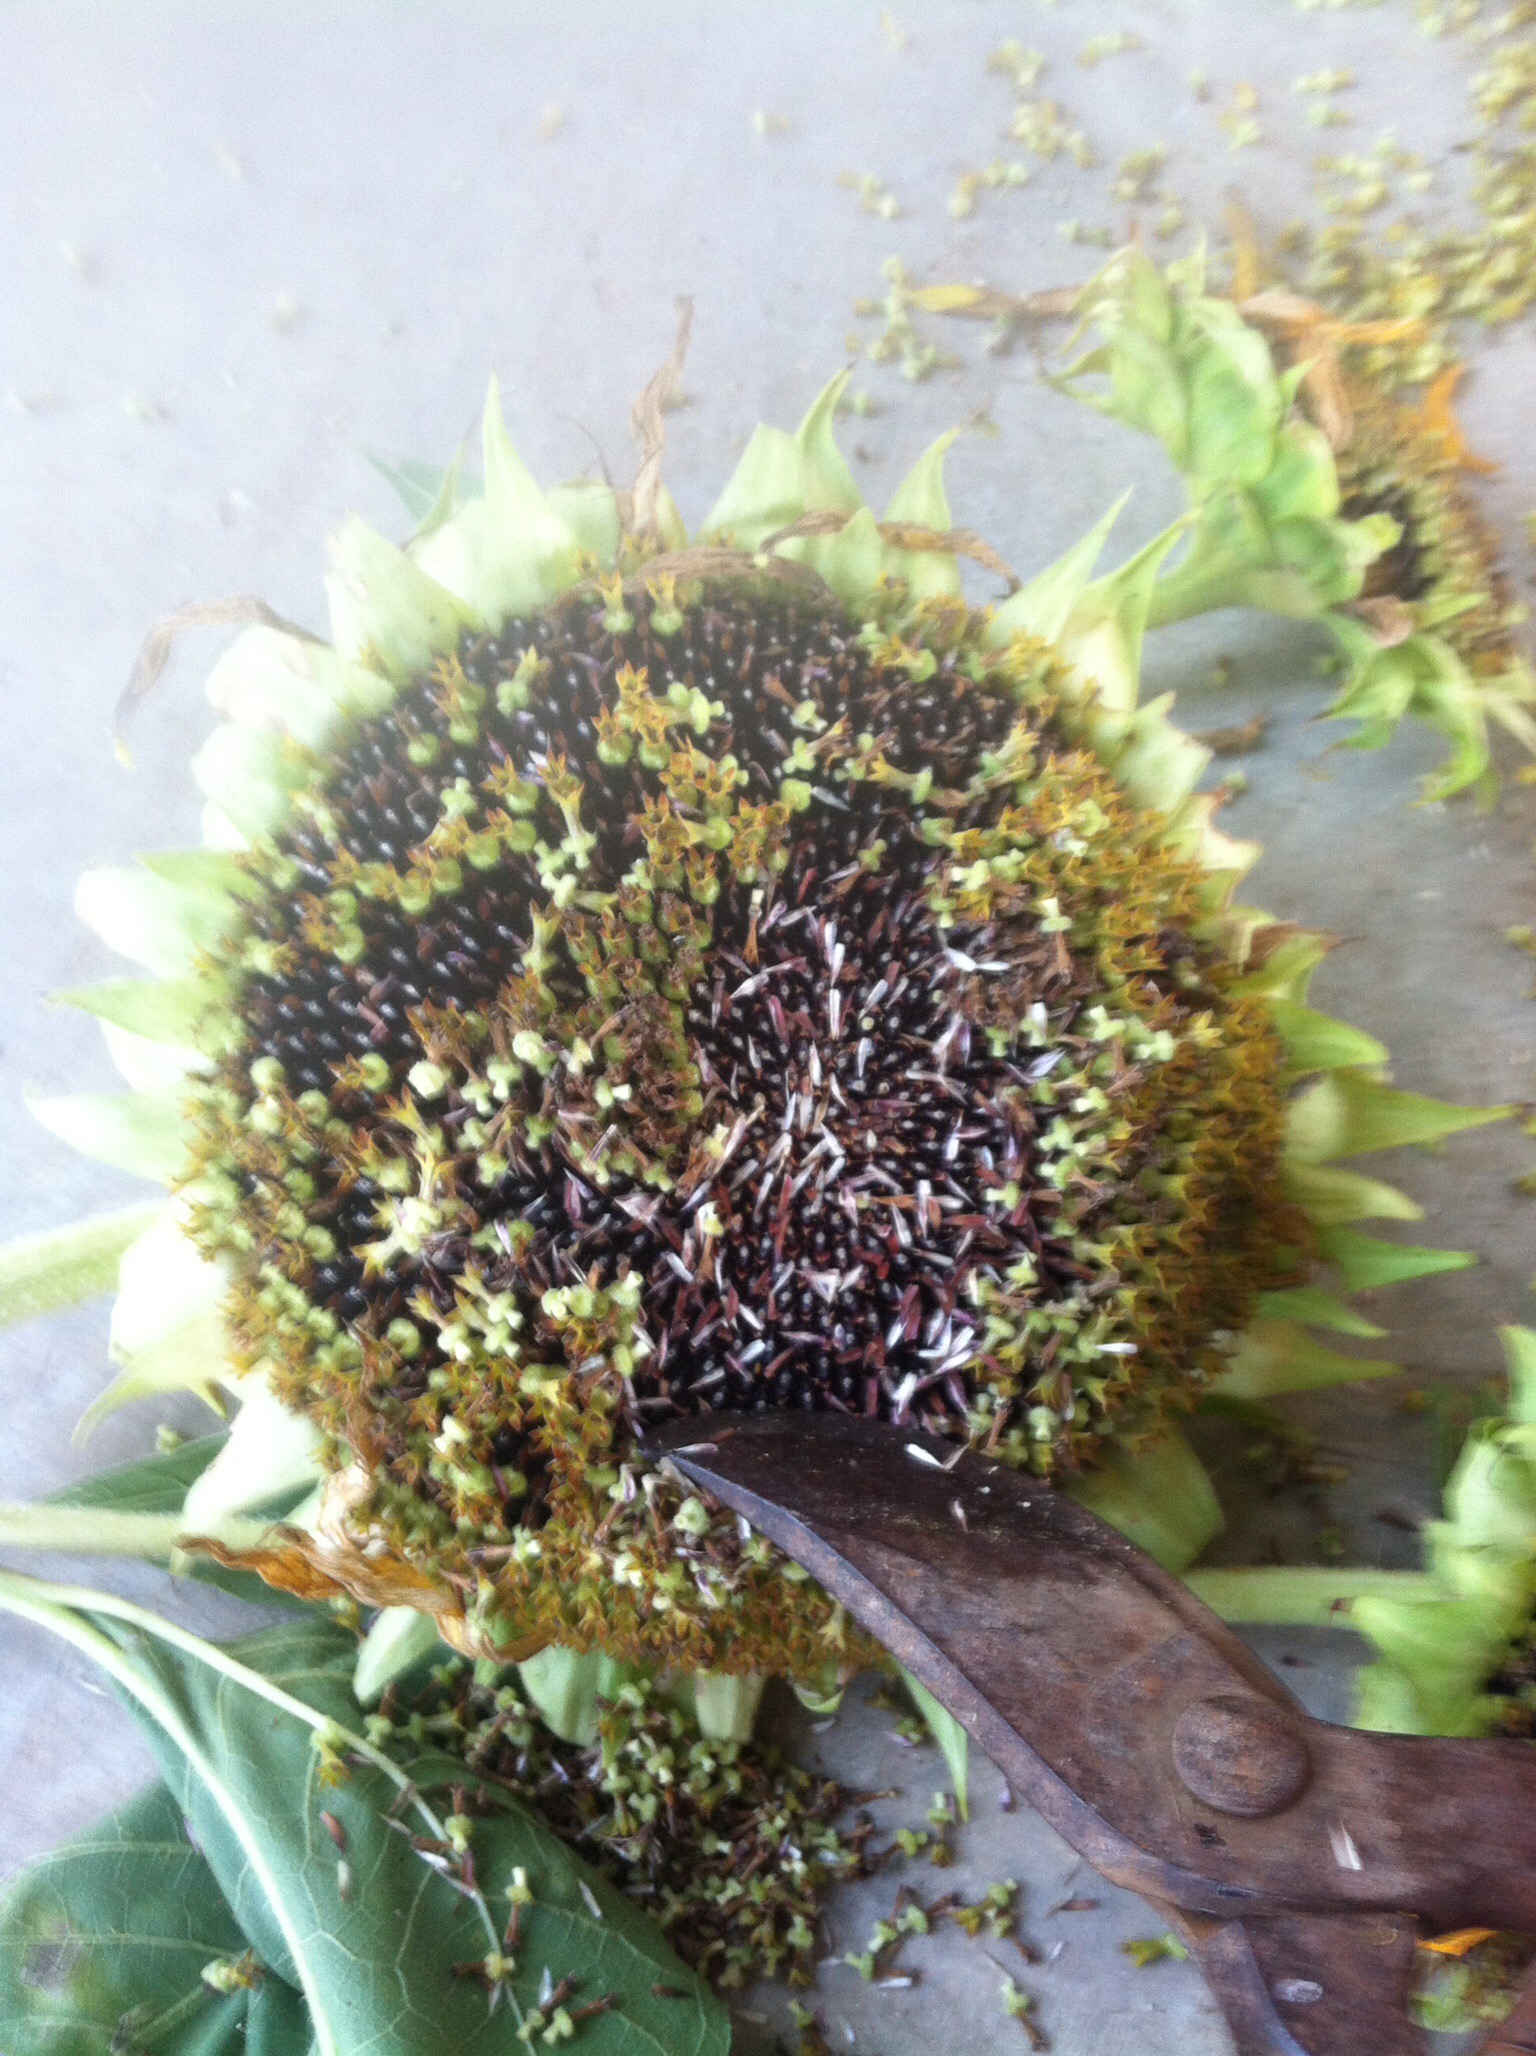
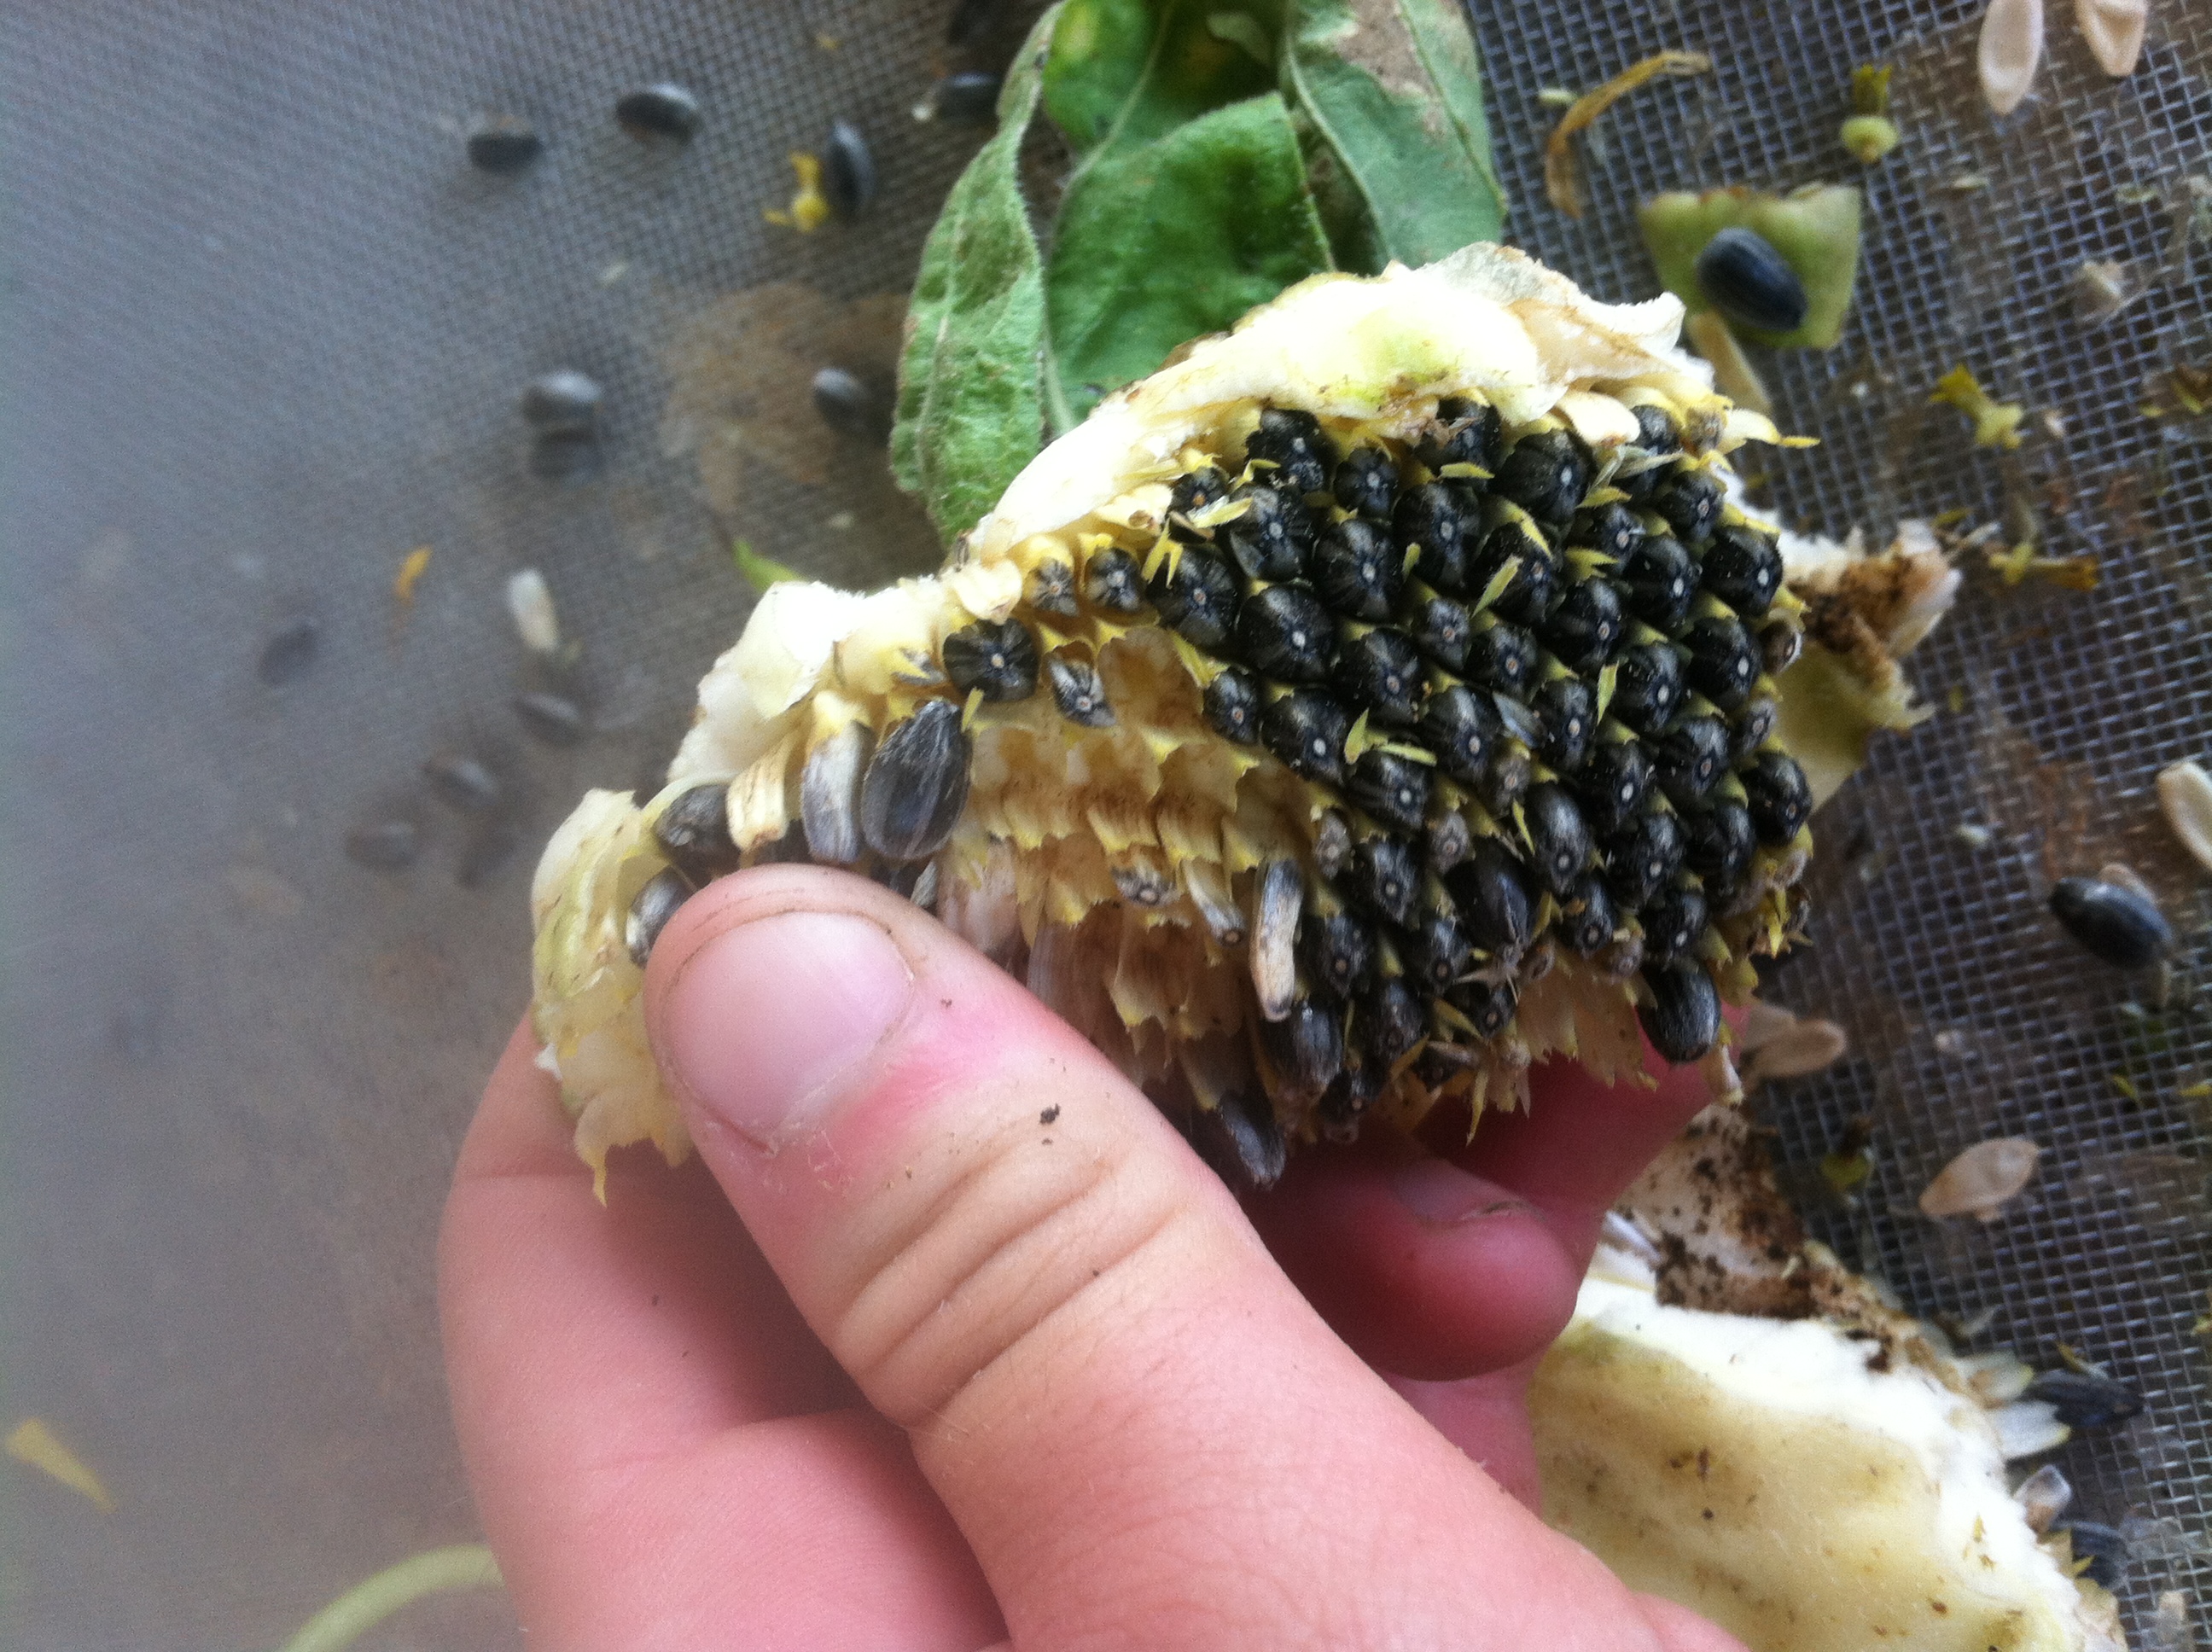
Once you select your seed heads, cut off to where you have some of the stalk left. Take your cutting tool or your fingers and strip off the pollen buds:
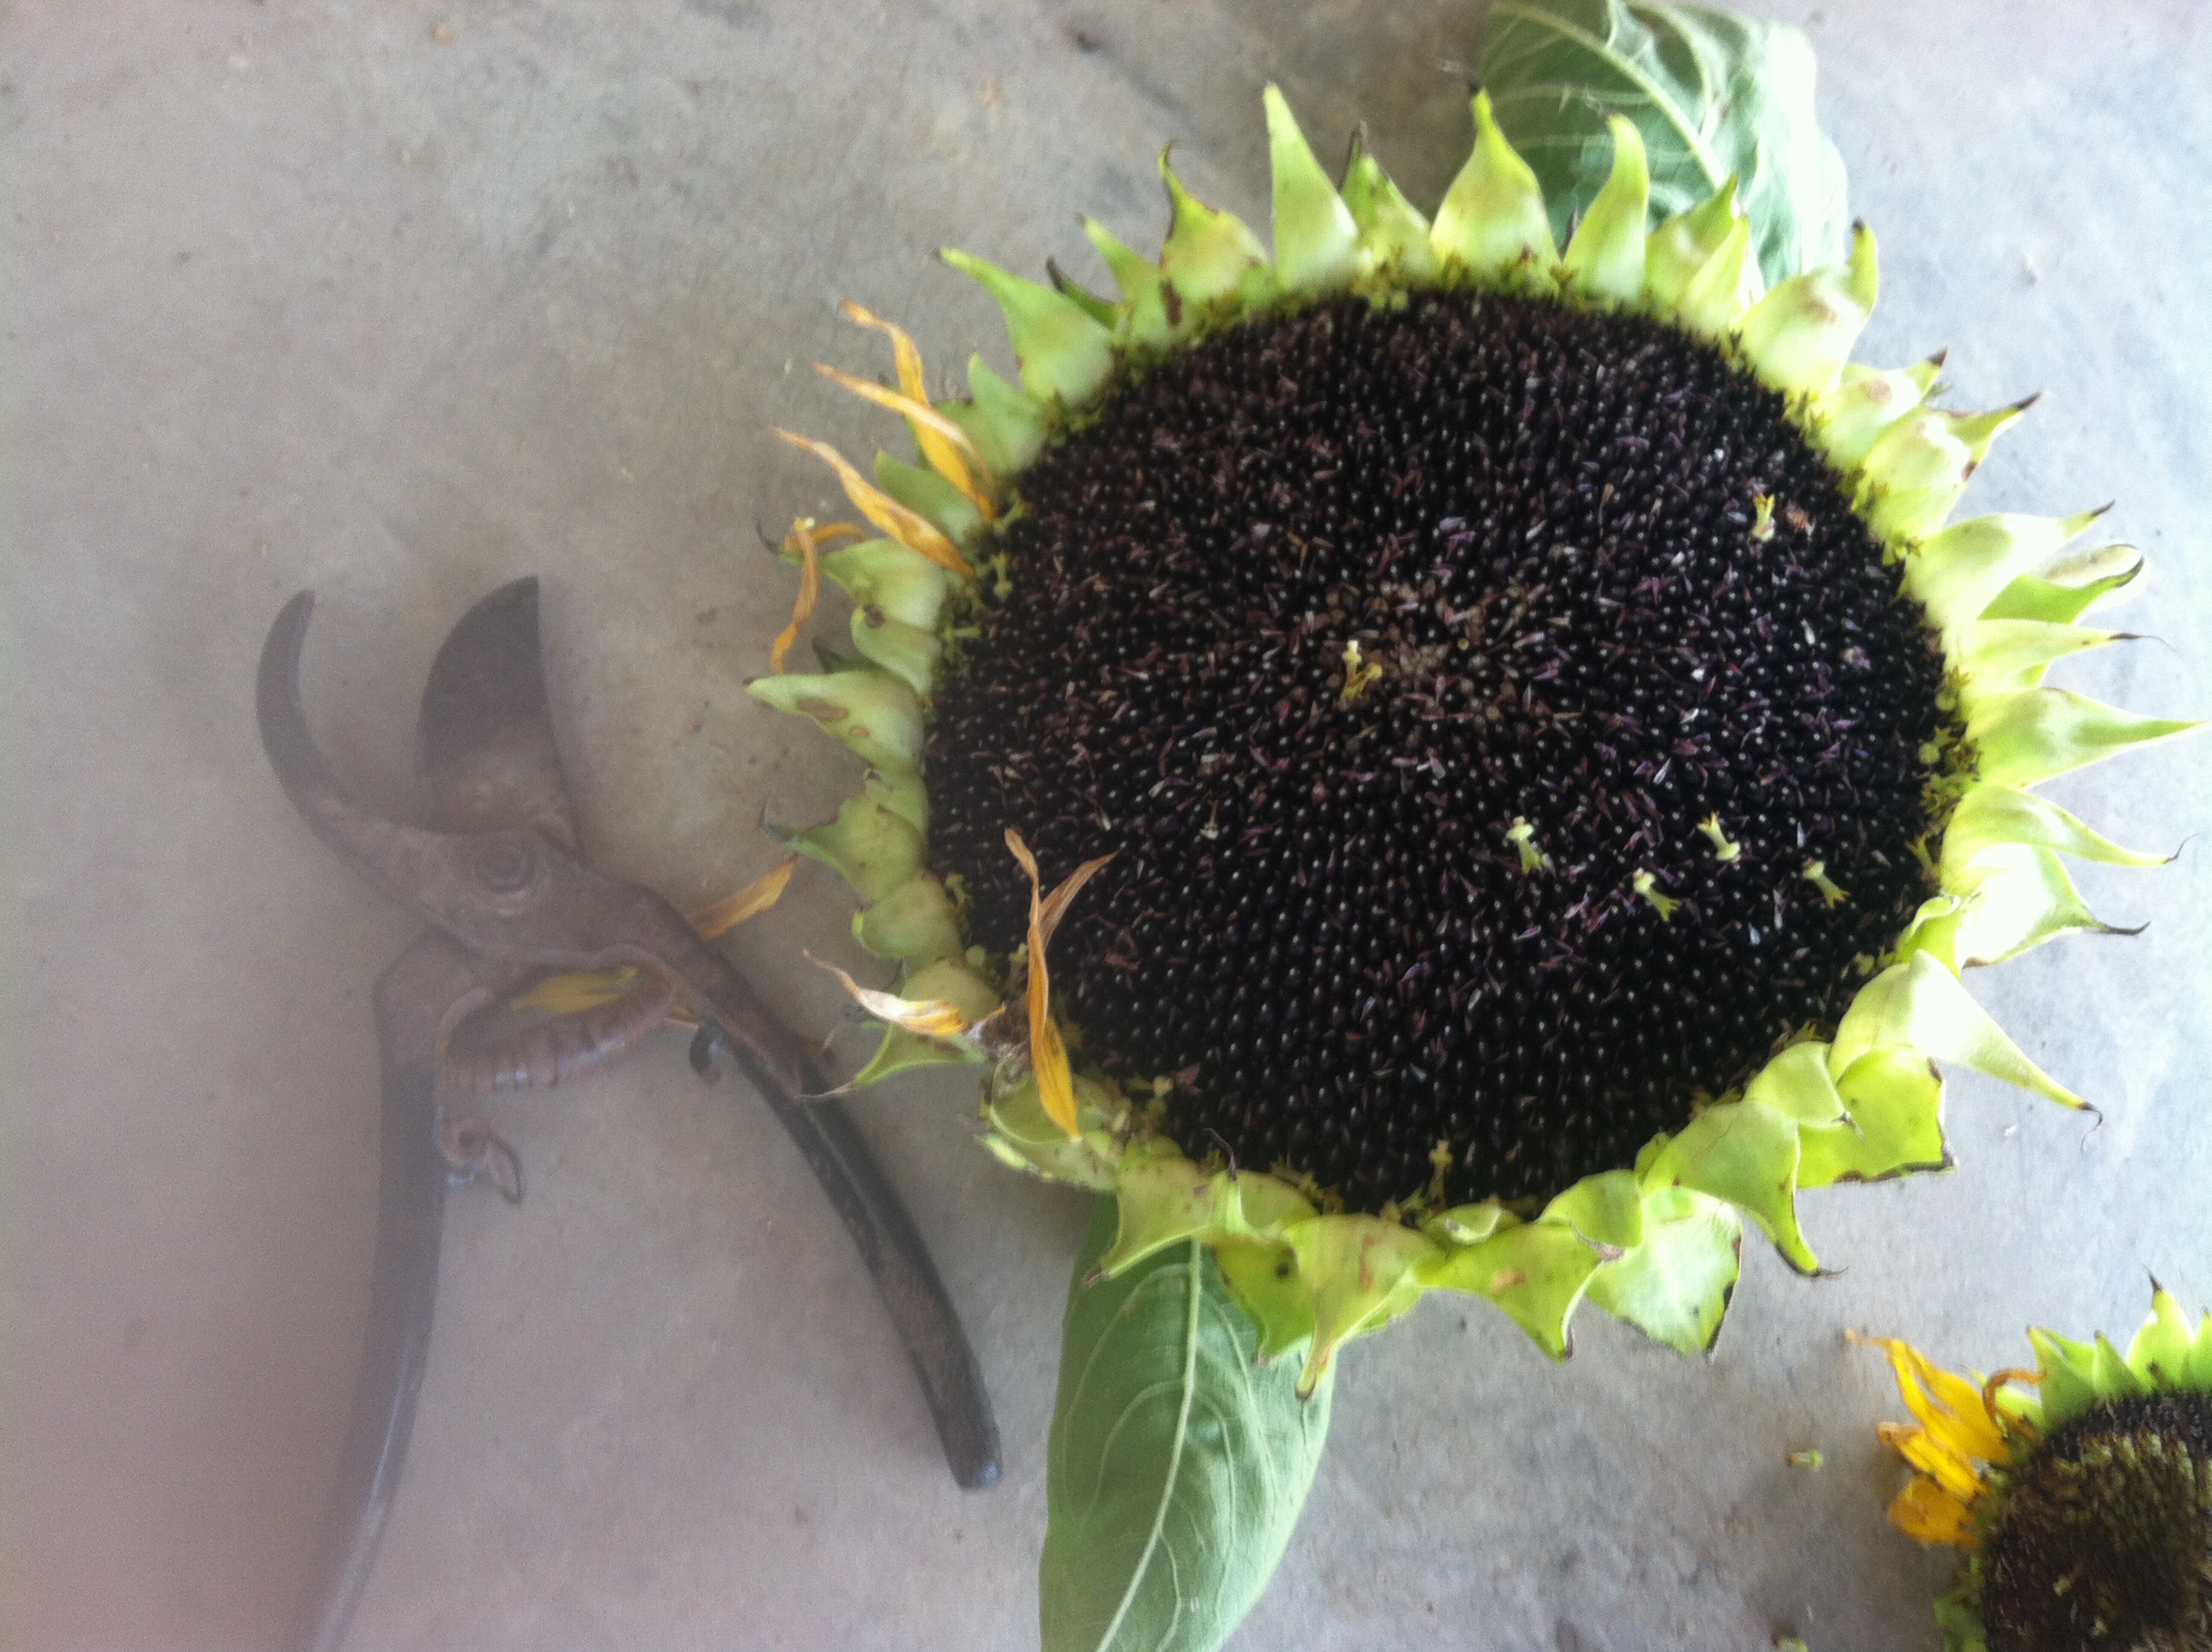
The end result should look like this:
Take a rack or tie strings to the cut ends and hang heads to dry. Once dry, the green part of the head should be brown and crackly like the one on the top right on the rack.
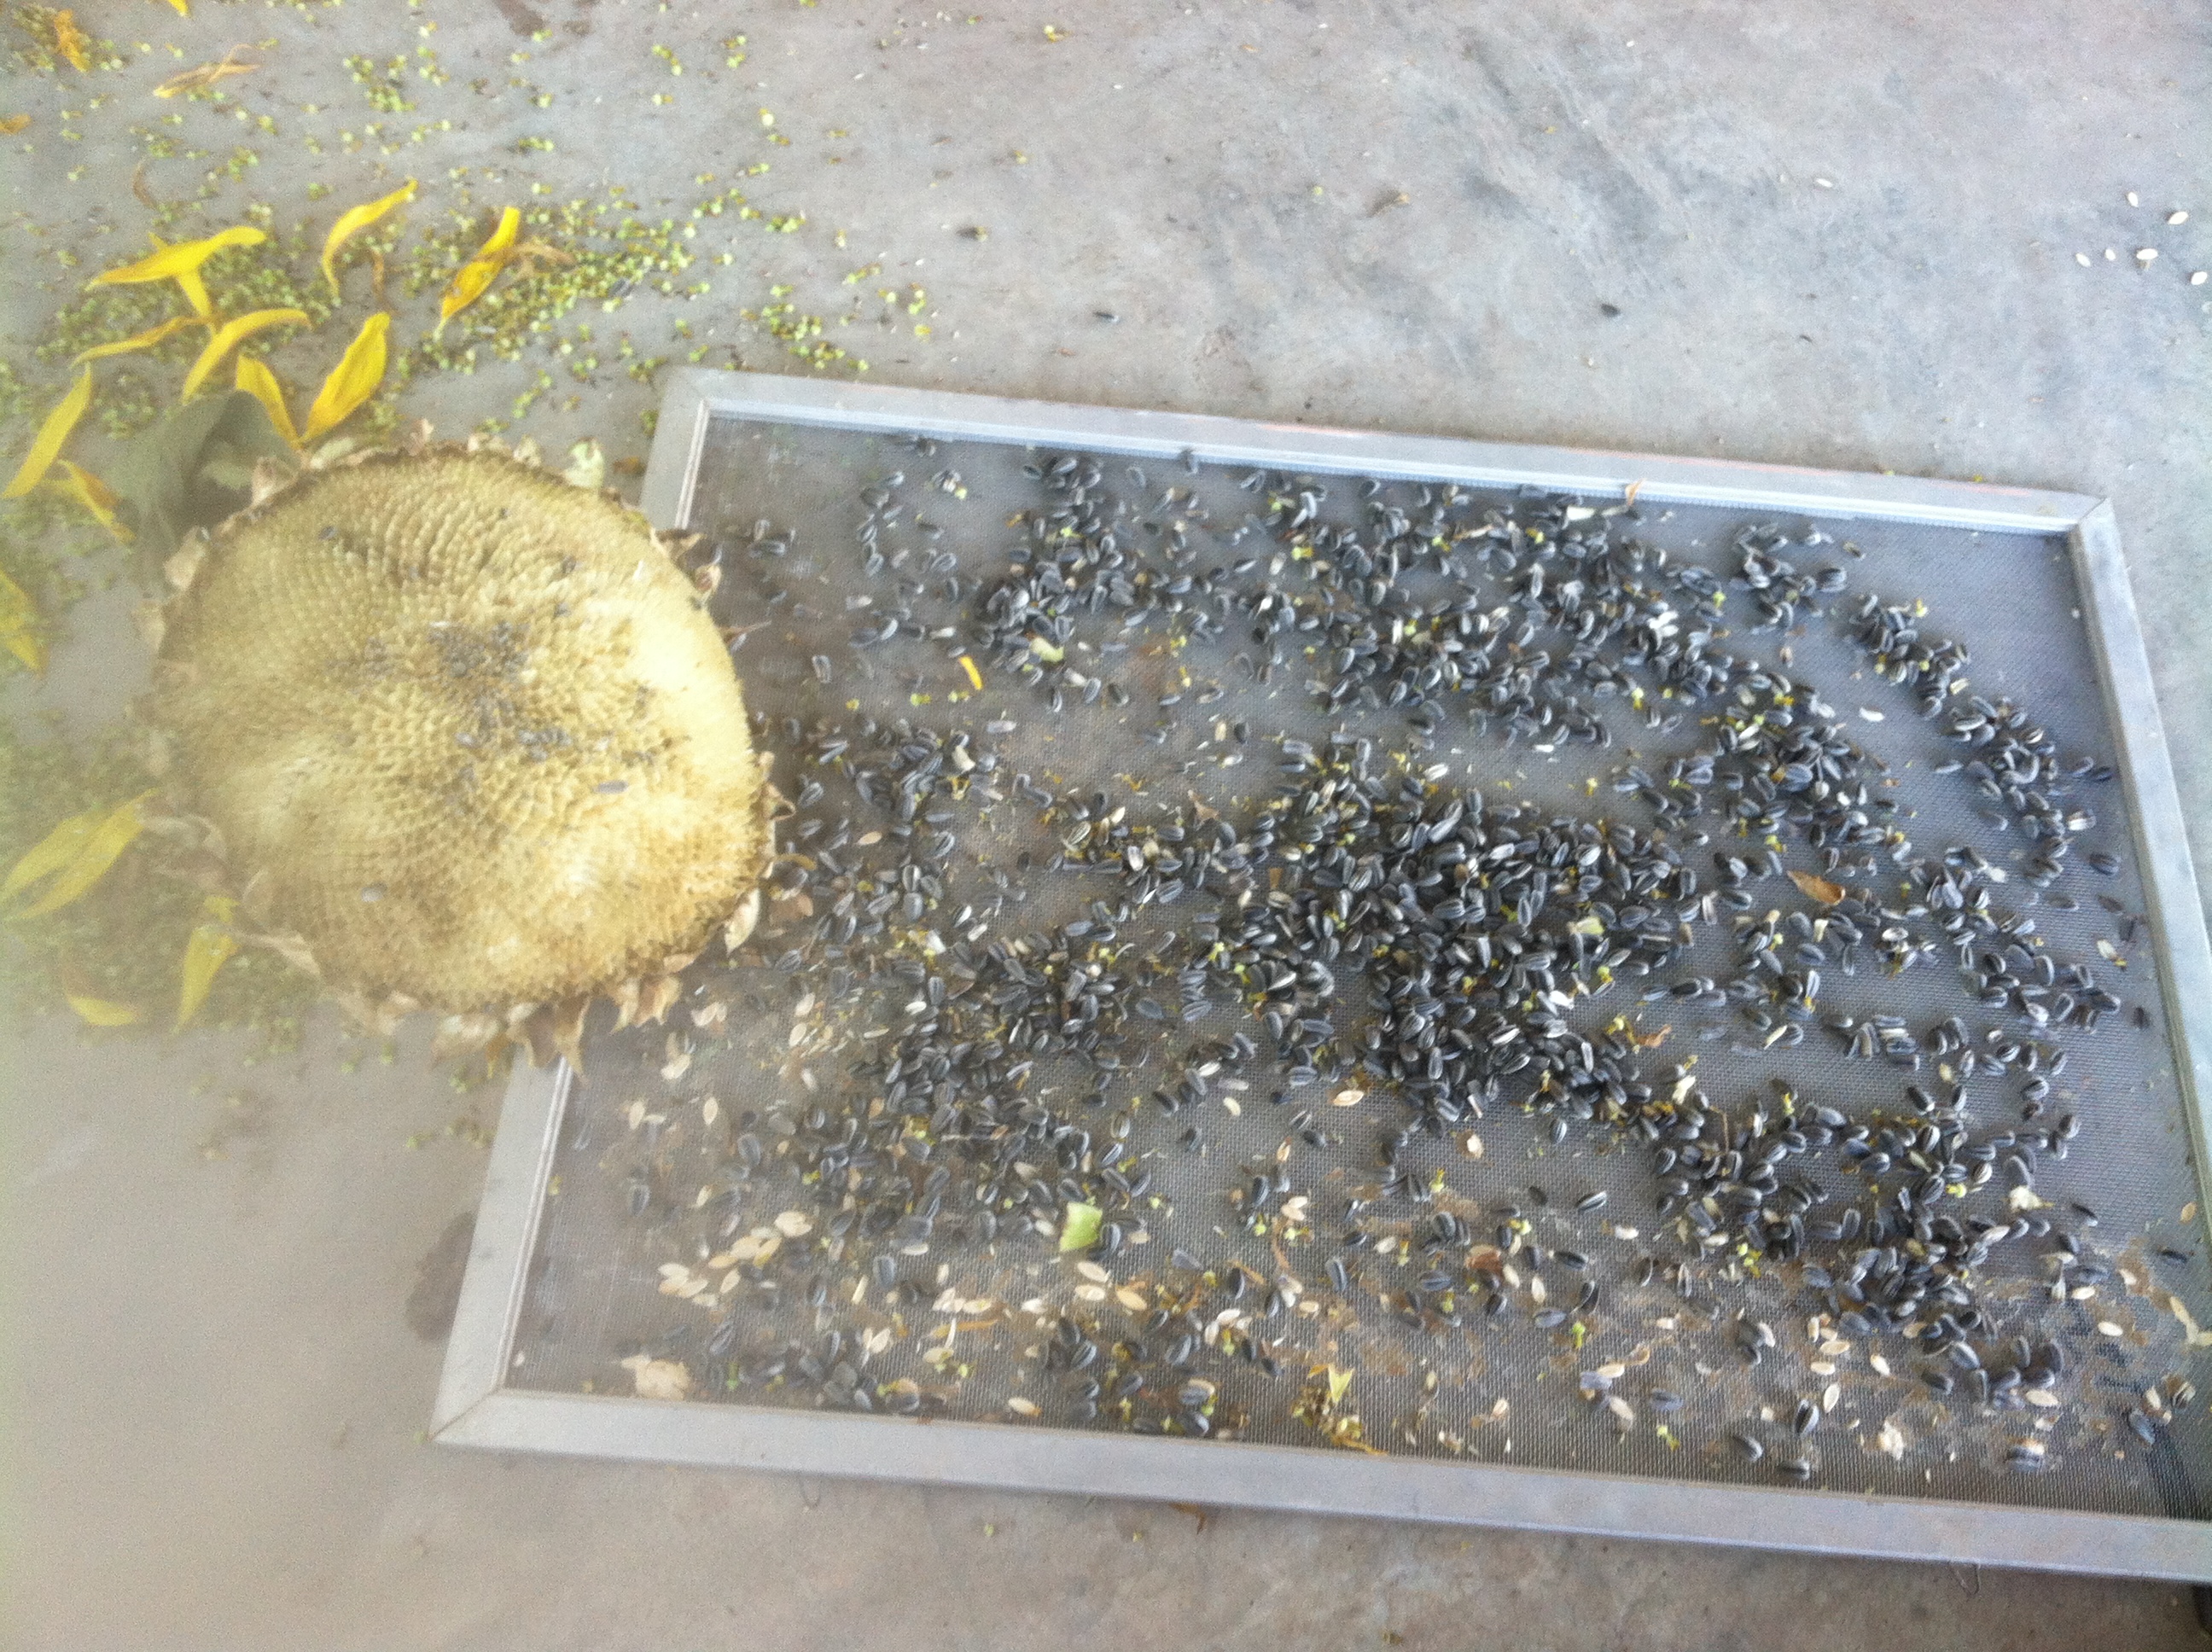
Use a screen (we used an old window screen) for drying the actual seeds.
To take the seeds out of the head, break apart the head into sections and then rub your finger along the seeds so they pop out of their little holders. Make sure you have the screen underneath!
This is what it should look like after! Make sure you spread the seeds out evenly. Lay the seeds in a dry safe place for about two weeks. Test out the germination rate once dry to see if your seeds are good. You can take about 20-30 containers with one seed each and whatever comes up, divide that by your containers and that will be your germination rate!
Feed leftovers to the goats. 😀

